
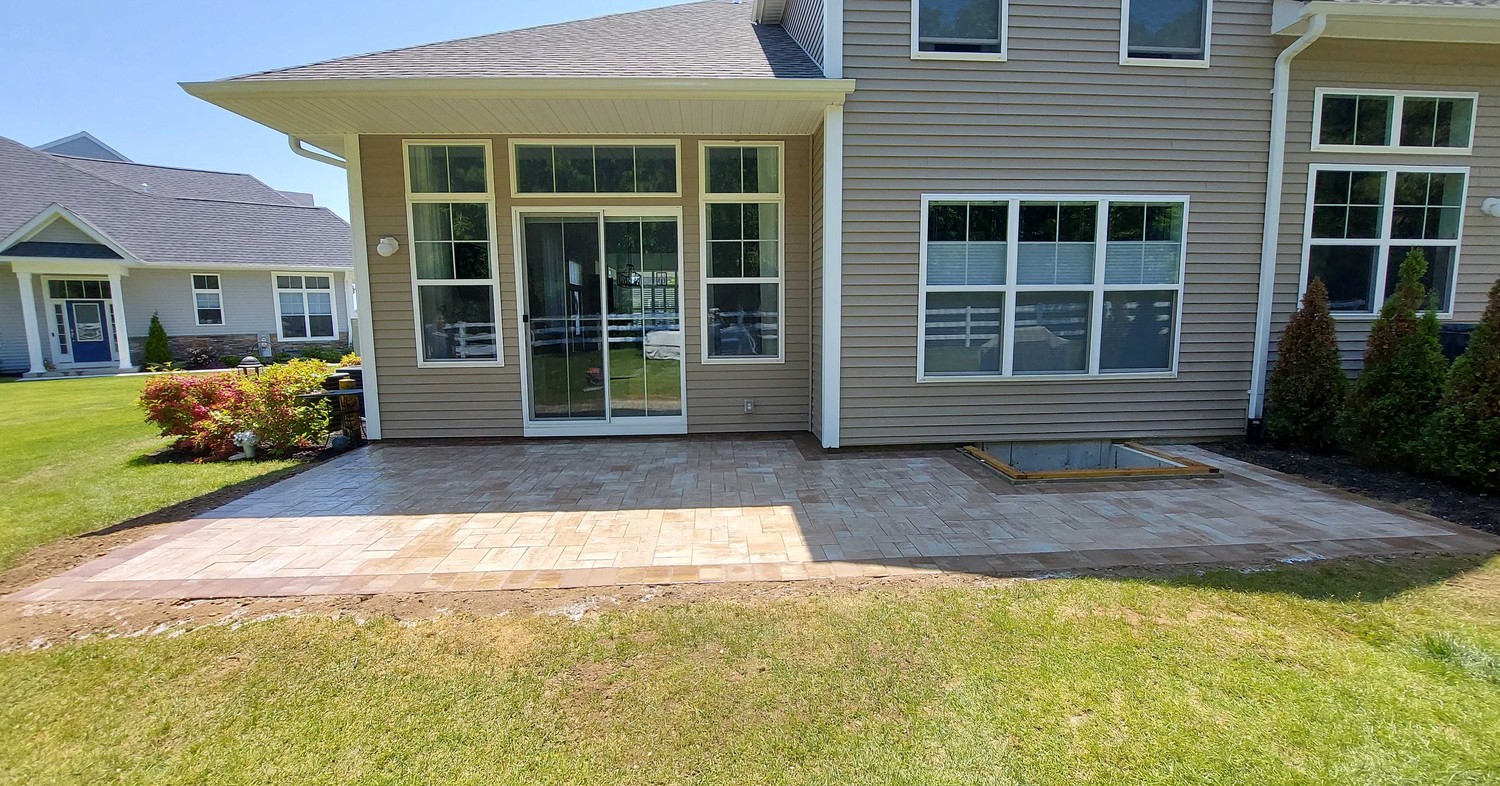
Spring patio preparation in Nassau County is the one maintenance window that determines whether your paver investment holds its value through the season or starts showing wear by June. Long Island winters hit pavers with a specific combination of stresses — freeze-thaw cycles that expand and contract the base layer, road salt and ice melt chemicals that penetrate joint sand, and the debris load of four months of wind, rain, and snow. By the time March arrives, most Nassau County patio surfaces need attention before furniture goes back out and the outdoor season begins. With 15 years of experience and 2,000+ completed projects across Nassau County, we know exactly what needs to happen each spring to keep a paver installation performing the way it was built to. This guide gives you the complete checklist.
Why Nassau County Winters Are Hard on Paver Patios
Spring patio preparation starts with understanding what winter actually does to your paver installation. Nassau County’s climate creates a specific set of stresses that differ from both upstate New York and warmer coastal climates. The key issue is the freeze-thaw cycle: Long Island averages 20 to 30 freeze-thaw events per winter, each one expanding water in the base layer and joints by approximately 9 percent as it freezes, then contracting again as it thaws. Over a full winter, this repeated expansion and contraction can shift pavers, compromise joint sand, and undermine the compacted base layer that keeps the surface level.
Salt and ice melt products add a second layer of damage. Most road salts contain chloride compounds that penetrate paver surfaces and accelerate efflorescence — the white mineral deposits that appear on paver surfaces after winter. De-icing products applied to driveways and walkways by municipalities and homeowners also break down polymeric joint sand faster than weather alone would, leaving gaps between pavers that allow weed seed infiltration and water penetration to the base. Patio maintenance spring checklist items that address joint sand are the highest-priority tasks for Nassau County homeowners whose pavers were exposed to ice melt through the winter.
The combination of moisture, cold, and biological growth through winter also sets up conditions for moss and algae to establish on paver surfaces, particularly on north-facing or shaded patio sections. If left through the outdoor season, algae creates slippery surfaces and stains the paver face. Addressing biological growth is a key part of clean pavers spring prep that most homeowners overlook until the problem is visible mid-season.
Spring Patio Preparation Step 1: Full Inspection
Spring patio preparation begins with a systematic inspection of the entire paver surface before any cleaning or repair work begins. Walking the patio with a specific eye for these conditions takes 20 to 30 minutes and tells you exactly what tasks the maintenance weekend needs to address.
- Heaved pavers: Individual pavers or sections that have lifted above the surrounding surface due to frost heave in the base layer. These create trip hazards and indicate the base layer needs attention before the paver is re-set.
- Settled or sunken areas: Sections where pavers have dropped below grade, typically indicating base compaction from drainage or load. Ponding water visible after rain confirms settled areas.
- Open joints: Joints where polymeric sand has washed out or degraded, leaving visible gaps between pavers. Open joints wider than 1/8 inch need immediate sand replacement.
- Cracked or chipped pavers: Winter impact damage from snowblower contact, heavy ice chunks, or falling ice from gutters. Individual pavers can be replaced without disturbing the surrounding surface.
- Efflorescence: White or gray powdery deposits on paver faces from mineral migration. Primarily cosmetic but indicates moisture movement through the pavers.
- Biological growth: Green or black growth in joints or on paver surfaces, indicating algae or moss. Most common on north-facing or shaded sections.
Document conditions with photos before starting work. This gives you a baseline to compare against when you inspect again next spring and helps identify whether any issues are recurring or isolated. Our Nassau County paver patio service page covers the base specifications we use on new installations — understanding how a properly built patio is structured helps you assess whether any subsidence or heaving issues indicate a base problem versus normal seasonal movement.
Spring Patio Preparation Step 2: Cleaning
Spring patio preparation cleaning is a two-phase process: first removing biological growth, then cleaning the paver surface. The order matters. Cleaning a surface that still has algae or moss present just spreads biological material across a wider area.
Removing Biological Growth
For light algae and moss growth, a diluted white vinegar solution (one part vinegar to four parts water) applied with a stiff brush is effective on Cambridge Pavingstones and most concrete paver surfaces without damaging the ArmorTec protective coating. Let the solution sit for 10 to 15 minutes before scrubbing and rinsing. For heavier growth established over multiple seasons, a diluted paver-safe cleaner from the paver manufacturer (Cambridge Pavingstones sells specific maintenance products compatible with ArmorTec) delivers faster results. Avoid bleach-based products that can discolor pavers and kill surrounding lawn areas with runoff.
Cleaning the Paver Surface
Patio maintenance spring cleaning of the main surface can be done with a garden hose and a stiff-bristle brush for most situations. If using a pressure washer, maintain a minimum distance of 12 inches from the surface and use a fan tip rather than a pinpoint tip — pressure washing with too much focused pressure erodes polymeric joint sand and can etch the paver surface. Keep the washer tip moving and never hold it stationary on a single spot. After cleaning, allow the surface to dry fully (24 to 48 hours for pavers to fully dry through) before applying joint sand or sealer. Clean pavers spring prep that skips the drying period produces poor results on both joint sand adhesion and sealer penetration.
| Task | Priority | When to Do It | Nassau County Timing | DIY or Pro |
|---|---|---|---|---|
| Full surface inspection | Critical | First, before any other work | Mid-March to early April | DIY |
| Reset heaved/settled pavers | High | After ground fully thaws | Late March to mid-April | Pro recommended |
| Biological growth removal | High | Before main cleaning | Early April | DIY |
| Surface cleaning | High | After biological removal | Early to mid-April | DIY |
| Joint sand replacement | High | After surface dries fully | Mid-April | DIY or Pro |
| Sealer application | Moderate | If 2-3 years since last seal | Mid to late April | Pro recommended |
| Edge restraint inspection | Moderate | During initial inspection | Mid-March to early April | DIY |
Need professional help with your spring patio preparation in Nassau County? Contact Affordable Patio for a spring inspection and maintenance quote — we serve all Nassau County communities including Massapequa, Levittown, Garden City, and Hicksville.
Spring Patio Preparation Step 3: Joint Sand Repair
Spring patio preparation joint sand replacement is the single most impactful maintenance task for Long Island paver surfaces after winter. Polymeric joint sand — the sand mixed with a binding agent that hardens when activated with water — degrades over time from freeze-thaw cycles, traffic, and chemical exposure. When joint sand degrades below the paver surface level, it creates the conditions for weeds, ants, and water infiltration that damage the base over subsequent seasons.
For more detail on what a properly built paver base looks like, see our step-by-step patio installation process. For Nassau County patio owners doing this task themselves: sweep out all loose or degraded sand from open joints using a stiff brush before adding new polymeric sand. Blow out any remaining debris with a leaf blower. Pour new polymeric sand across the surface and sweep it diagonally into joints using a push broom, filling to within 1/8 inch of the paver surface. Tamp the surface gently to settle the sand, then blow off excess from the paver faces. Mist the surface with water to activate the polymer binding agent — follow the manufacturer’s specific instructions for your sand product, as activation methods vary between brands. Allow the sand to cure for 24 hours before allowing foot traffic.
For more context on how joint sand affects long-term paver performance, our blog on pavers vs. concrete patios covers the structural differences that make joint integrity critical to paver longevity.
Spring Patio Preparation Step 4: Sealing
Spring patio preparation sealing is not a task for every spring — it is appropriate when the paver surface has not been sealed in two to three years or when water is no longer beading on the surface (indicating the existing sealer has worn off). Applying sealer over existing sealer that has not worn off creates a cloudy finish that is difficult to correct.
The appropriate sealer for Cambridge Pavingstones with ArmorTec depends on the finish you want: a penetrating sealer maintains the natural matte look while providing stain and UV resistance; a wet-look sealer enhances color depth and adds a slight sheen. Both require a fully clean and dry surface — sealing over damp or dirty pavers traps moisture and creates efflorescence and discoloration. Apply with a low-pressure sprayer in overlapping passes, keeping coverage even. Allow 24 to 48 hours for curing before furniture and foot traffic return. According to the National Association of Home Builders, proper maintenance including sealing extends the life of paver installations significantly and helps preserve home value, which is particularly relevant in Nassau County’s competitive real estate market.
Not sure whether your patio needs professional spring maintenance or a complete upgrade? Reach out to Affordable Patio — our team assesses your surface condition and gives you an honest recommendation.
Frequently Asked Questions
When should I start spring patio preparation in Nassau County?
Spring patio preparation in Nassau County is best started in late March to mid-April, once the ground has fully thawed and overnight temperatures are consistently above freezing. Starting too early while frost is still possible in the base layer risks re-heaving any pavers you reset. The Long Island growing season typically establishes stable ground conditions by the third week of March in most years, though late winters can push this to early April in inland Nassau County communities.
How do I know if my paver joints need to be refilled with sand?
Check the joint depth by pressing a fingernail or a toothpick into a joint. If the material is loose, dusty, or has washed out more than 3/8 inch below the paver surface, the joint needs to be refilled with fresh polymeric sand. Visible gaps between pavers, weed growth emerging from joints, or ant activity under pavers are all clear signs that joint sand has degraded and needs replacement as part of your patio maintenance spring work.
Can I pressure wash pavers during spring cleaning?
Yes, with care. Use a pressure washer set to 1,500 to 2,000 PSI maximum, with a fan tip nozzle (25 to 40-degree tip), and maintain at least 12 inches of distance from the surface. Keep the tip moving — never hold it stationary on one spot. Avoid spraying directly into the joints at high pressure as this erodes polymeric sand. After pressure washing, inspect the joints and replace sand where needed. Allow the surface to dry fully (24 to 48 hours) before applying new joint sand or sealer.
What is the best way to remove efflorescence from patio pavers?
Efflorescence — the white mineral deposits that appear on paver surfaces after winter — is best removed with a diluted acid-based efflorescence cleaner specifically formulated for concrete pavers. Apply according to manufacturer instructions, scrub with a stiff brush, and rinse thoroughly. Avoid household vinegar or bleach on heavy efflorescence as they are not strong enough for established deposits. Light efflorescence sometimes weathers off naturally over one to two months of sun and rain exposure if not addressed immediately.
Should I seal my paver patio every spring?
No. Sealing is appropriate every two to three years, not annually. Over-sealing builds up layers that can cloud or peel over time. The test for whether sealing is needed: pour a small amount of water on the paver surface. If it beads and rolls off, the existing sealer is still active and does not need to be reapplied. If the water absorbs into the paver surface within 30 seconds, the sealer has worn off and the surface is ready for resealing as part of your spring patio preparation routine.
Make Spring Patio Preparation a Yearly Investment in Nassau County
Spring patio preparation done consistently each year is what separates a Nassau County paver patio that looks great for 20 years from one that needs a full renovation after 10. The tasks are manageable — inspection, cleaning, joint sand repair, and sealing on the right cycle — and the return on that one or two weekends of effort is a surface that remains structurally sound, visually clean, and fully protected against the next Long Island winter. Affordable Patio has helped over 2,000 Nassau County families build and maintain beautiful outdoor spaces. If your patio needs more than routine spring prep — whether that means resetting significant areas, repairing base damage, or planning a new installation — contact our team today for an honest assessment and a free estimate.