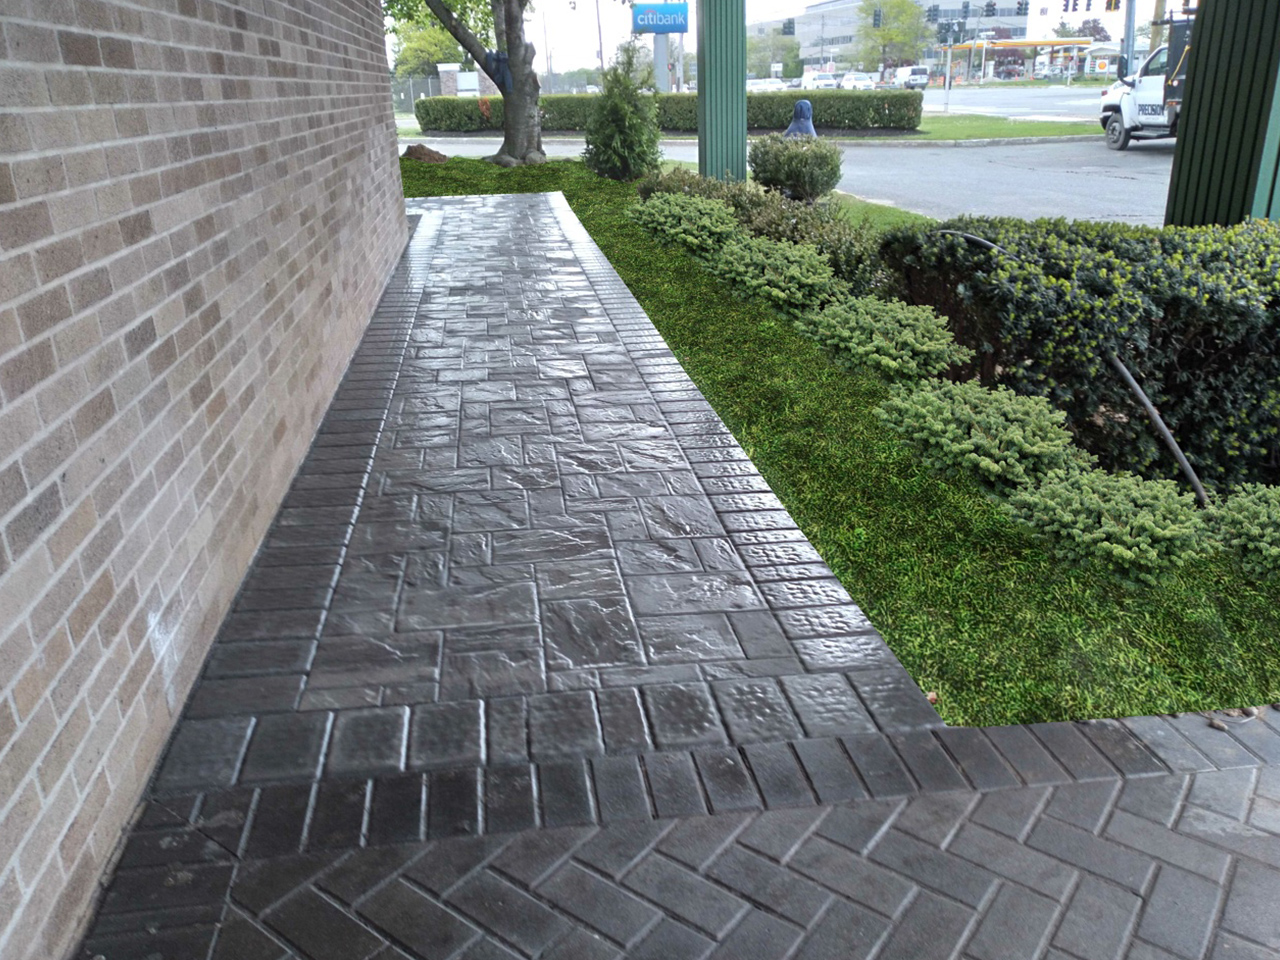
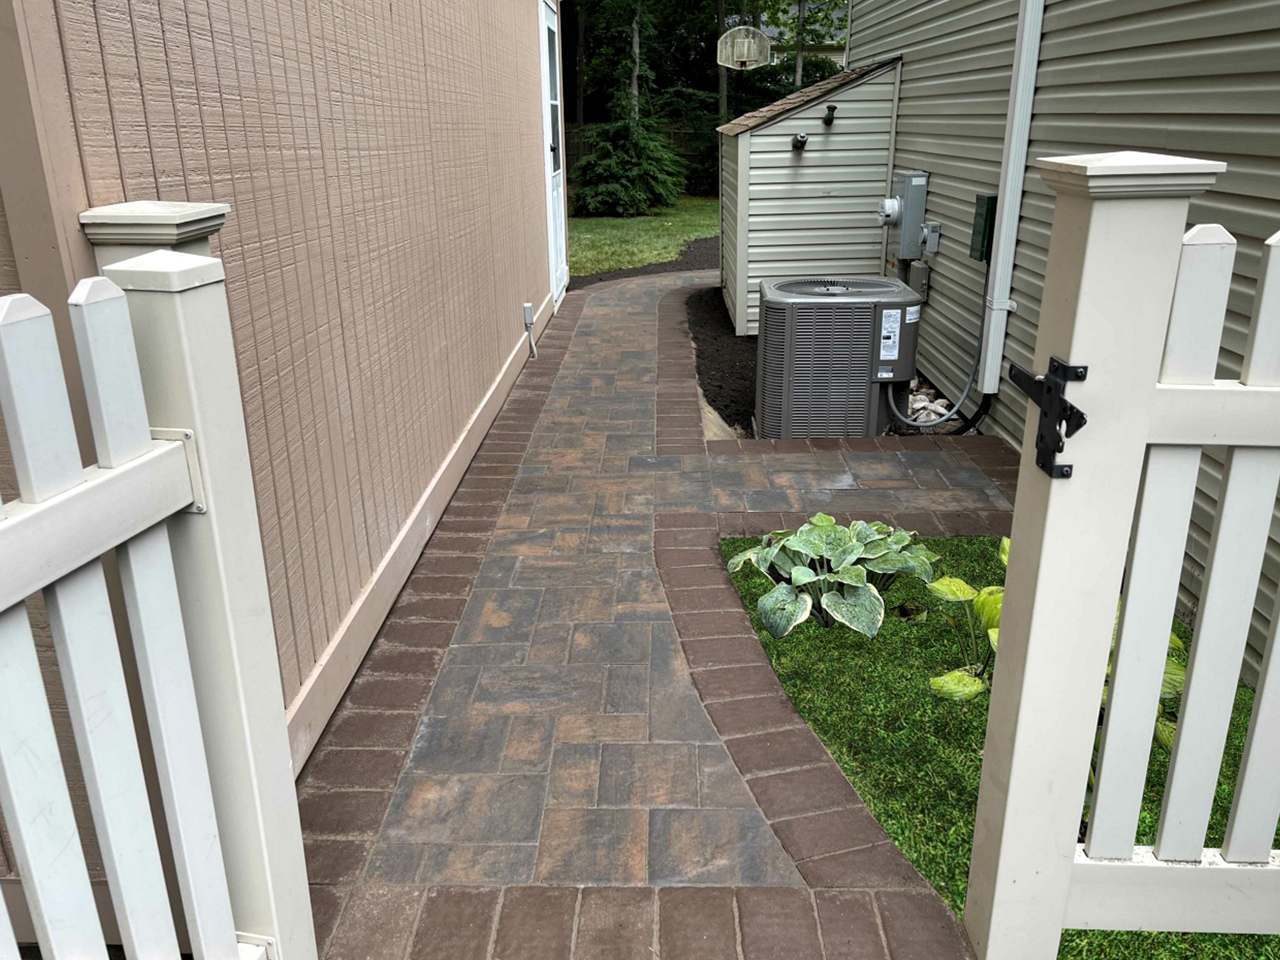
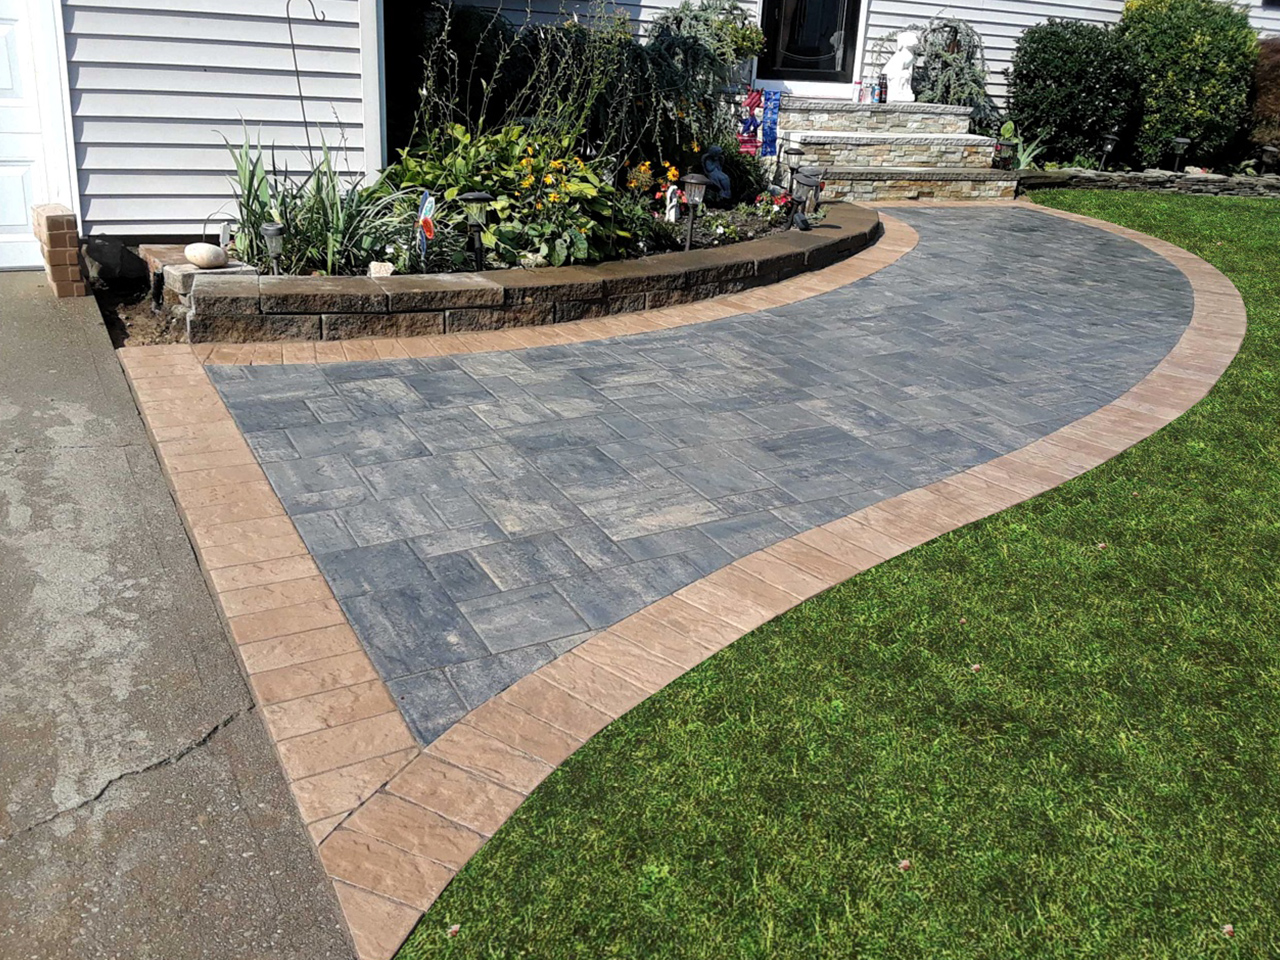
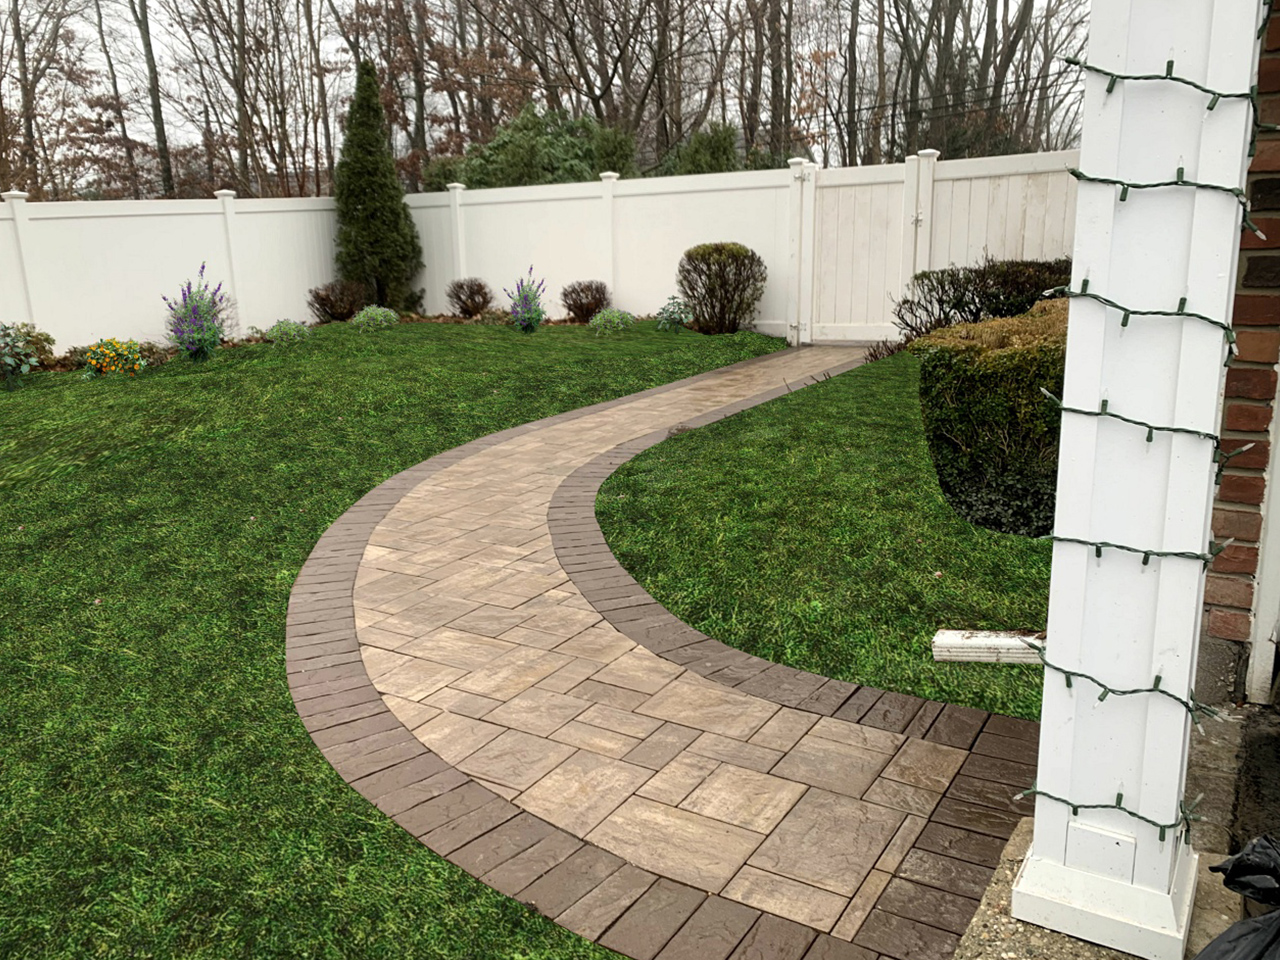
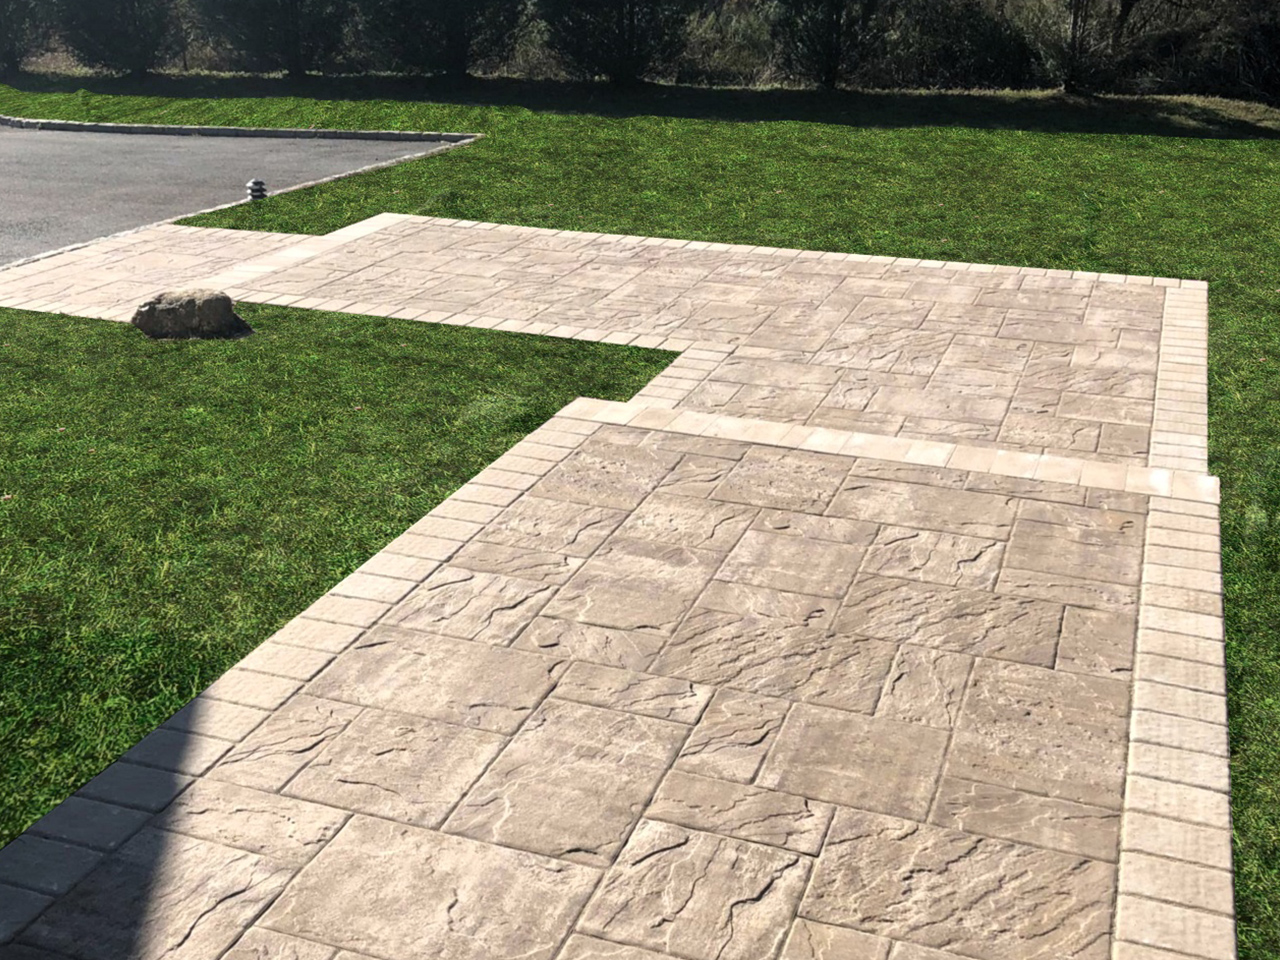
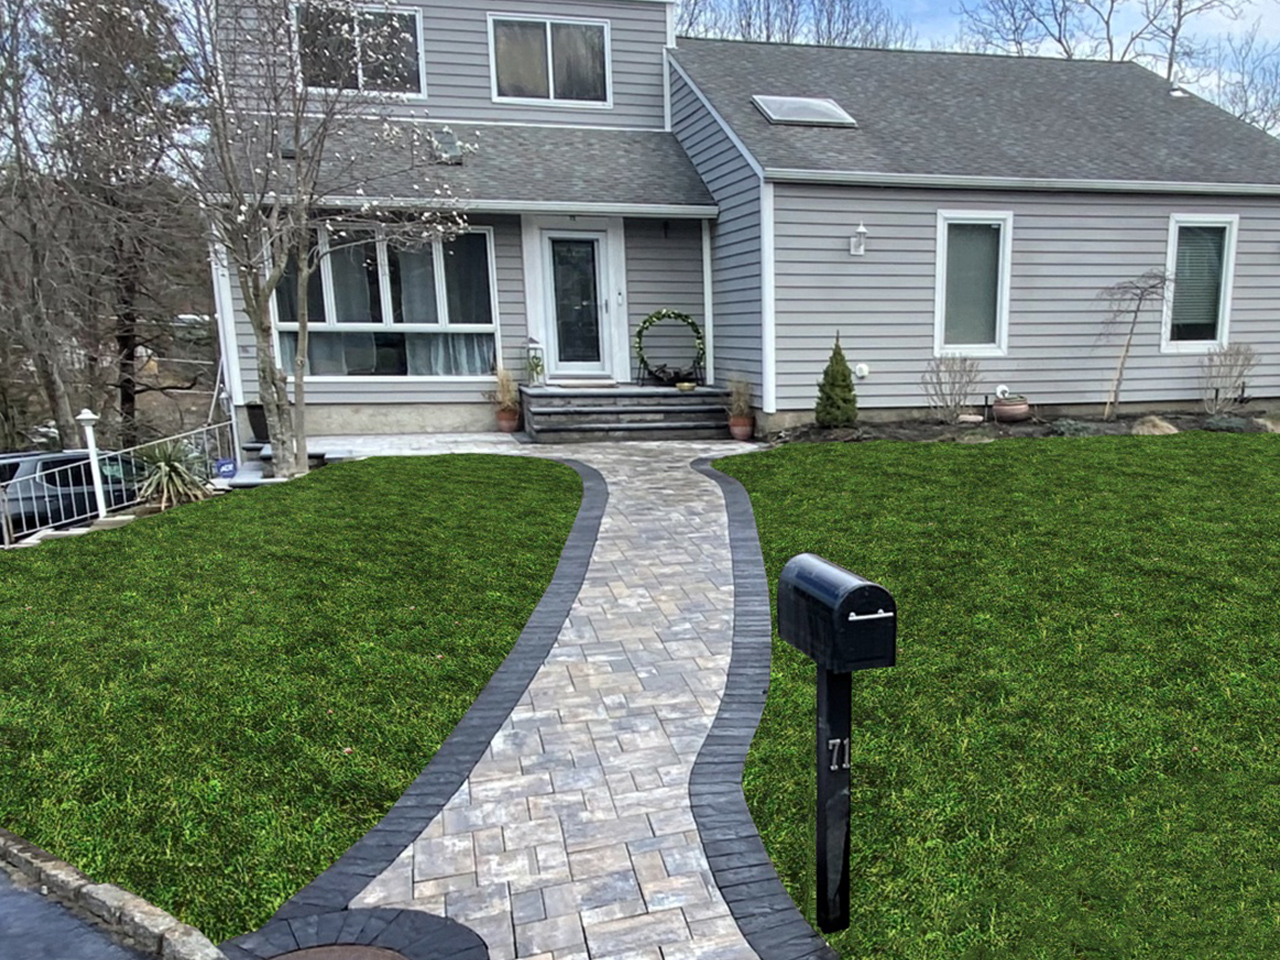
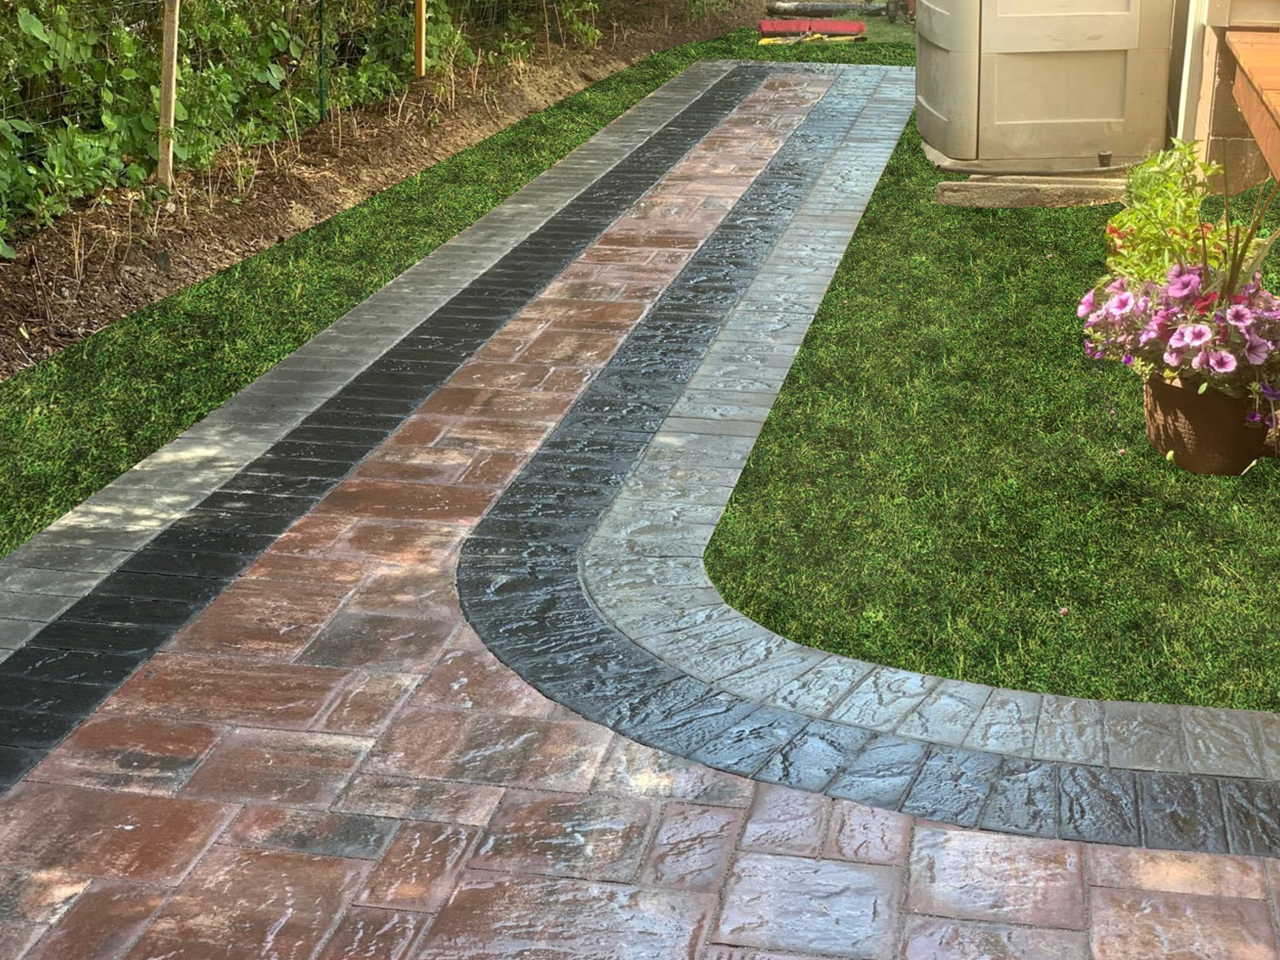
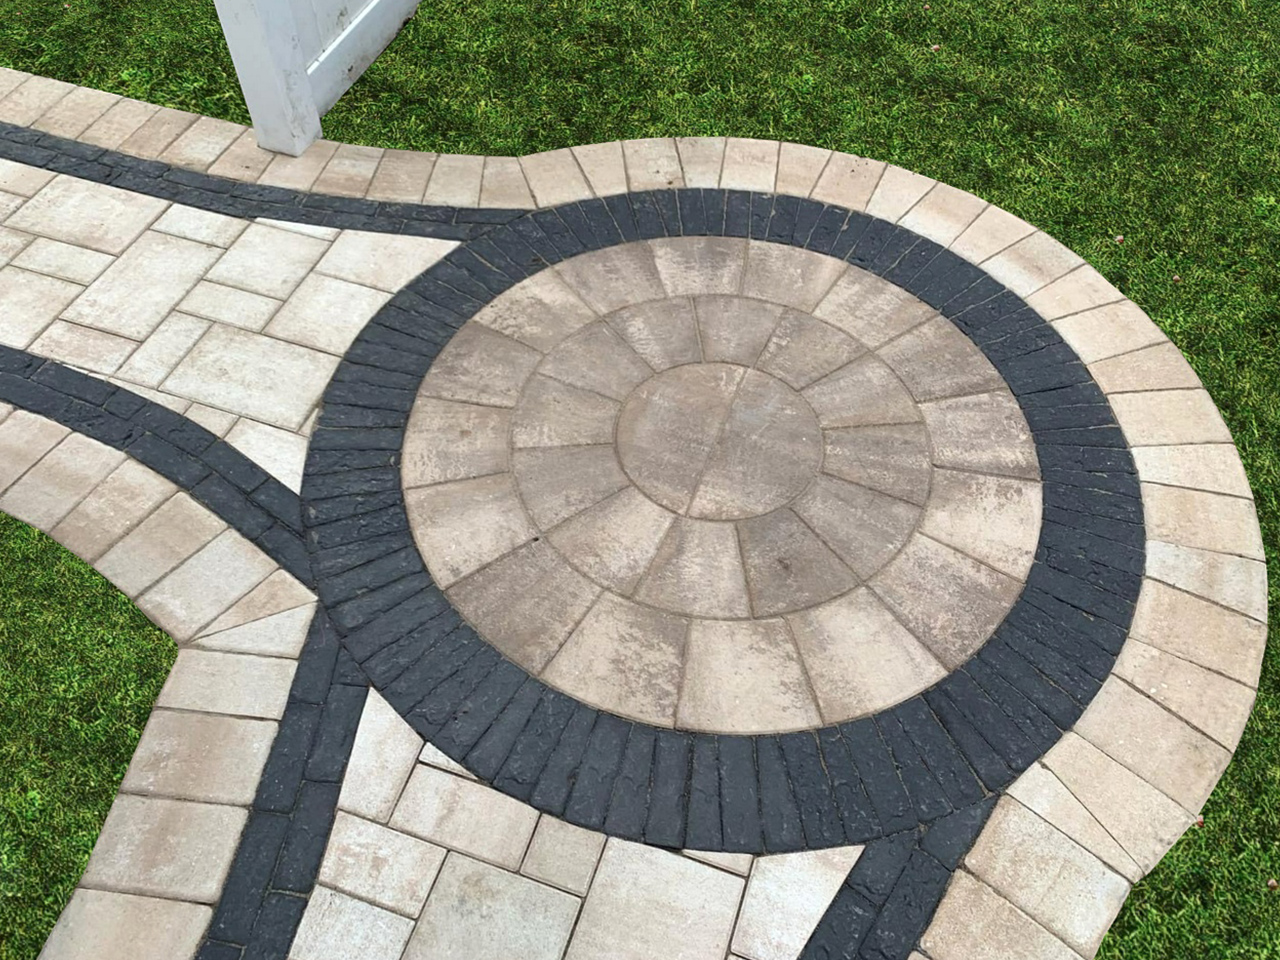
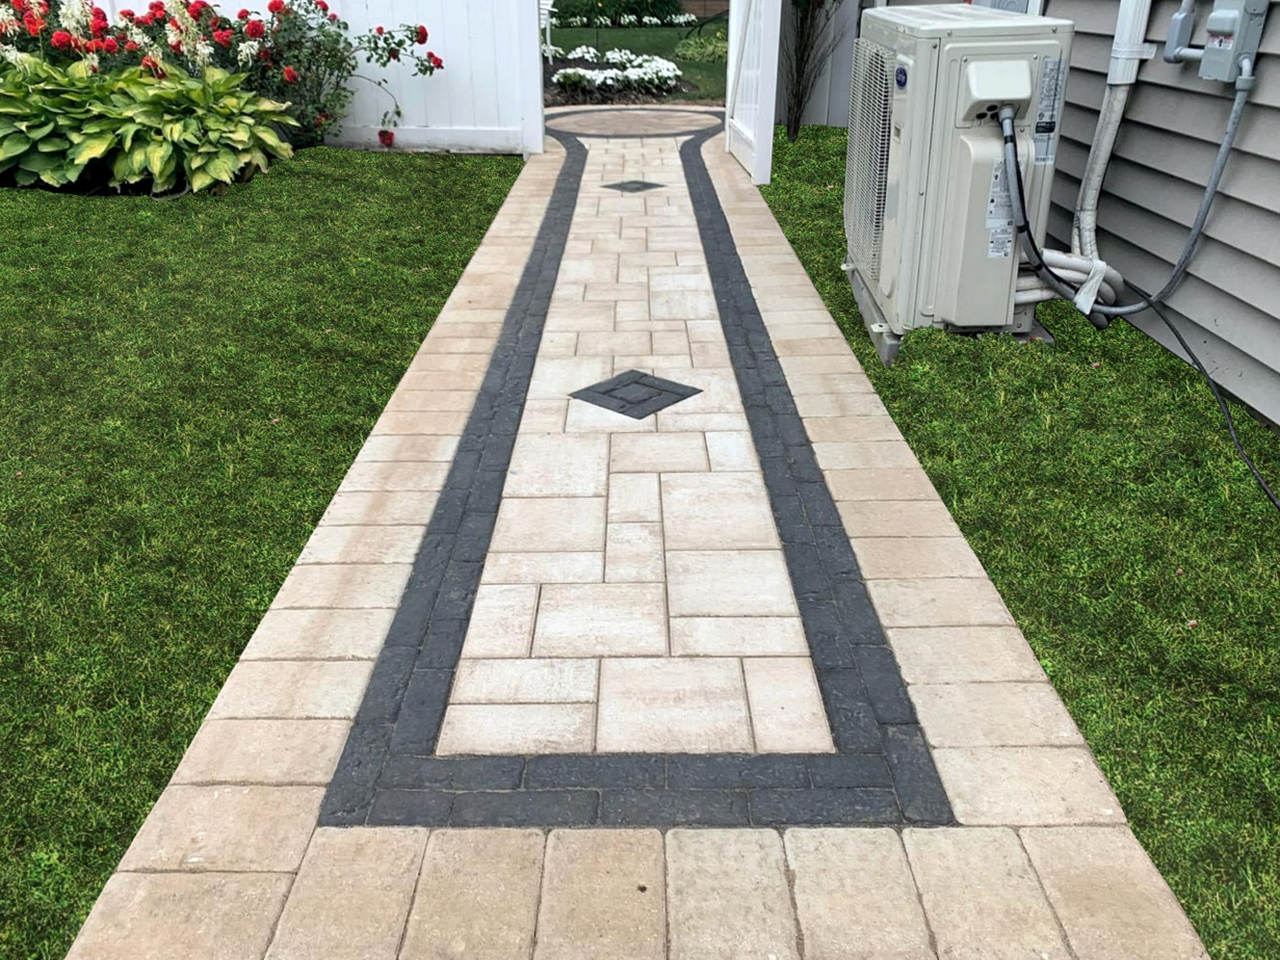
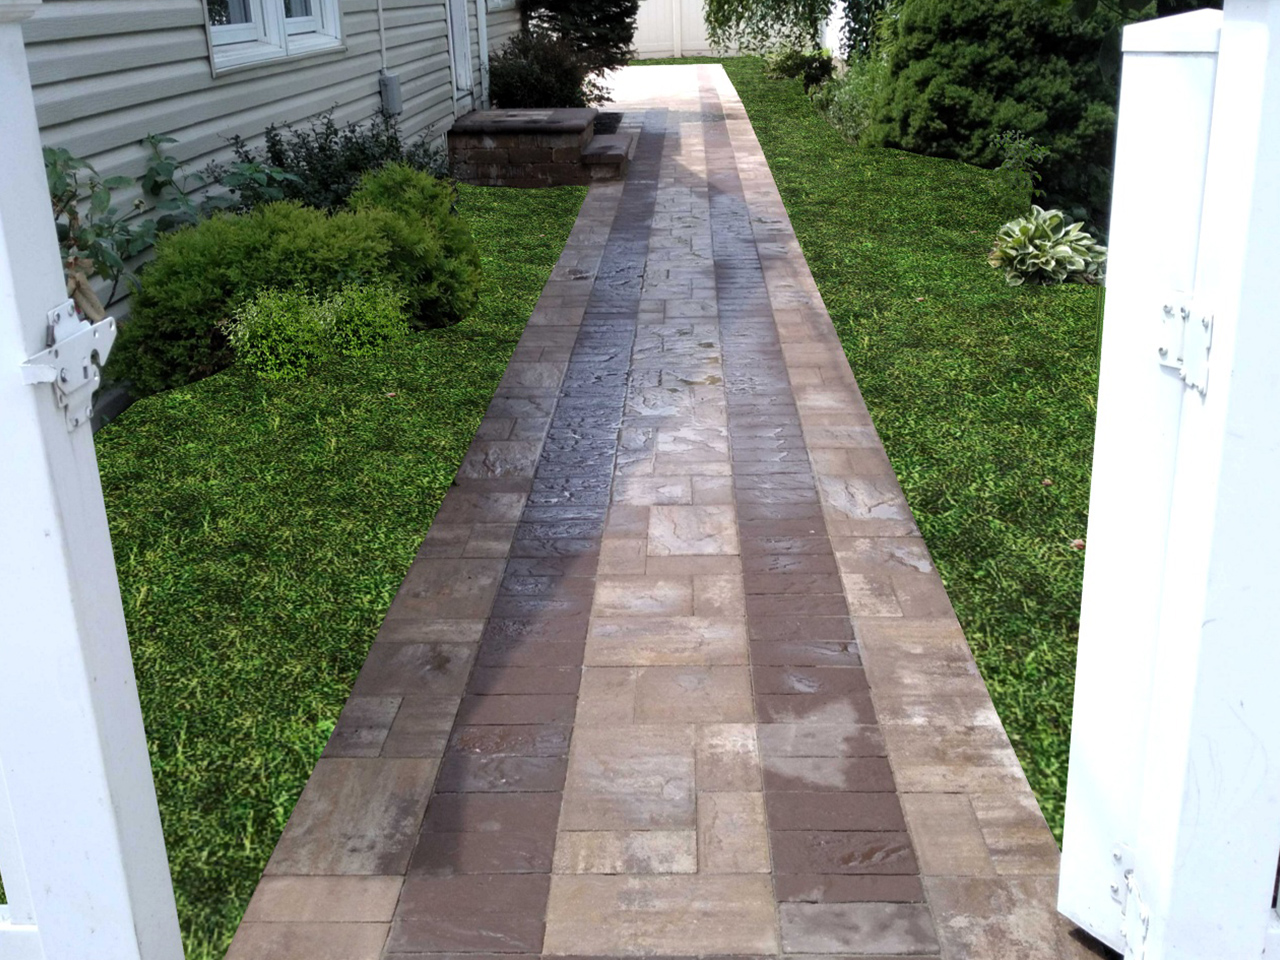
Suffolk County’s Premier Walkway Installer
Experience exceptional outdoor transformations with our skilled Paver Construction team. Elevate your space with our professional paver walkway installation near me services. Transform your patio today! See a video below for a visual example.

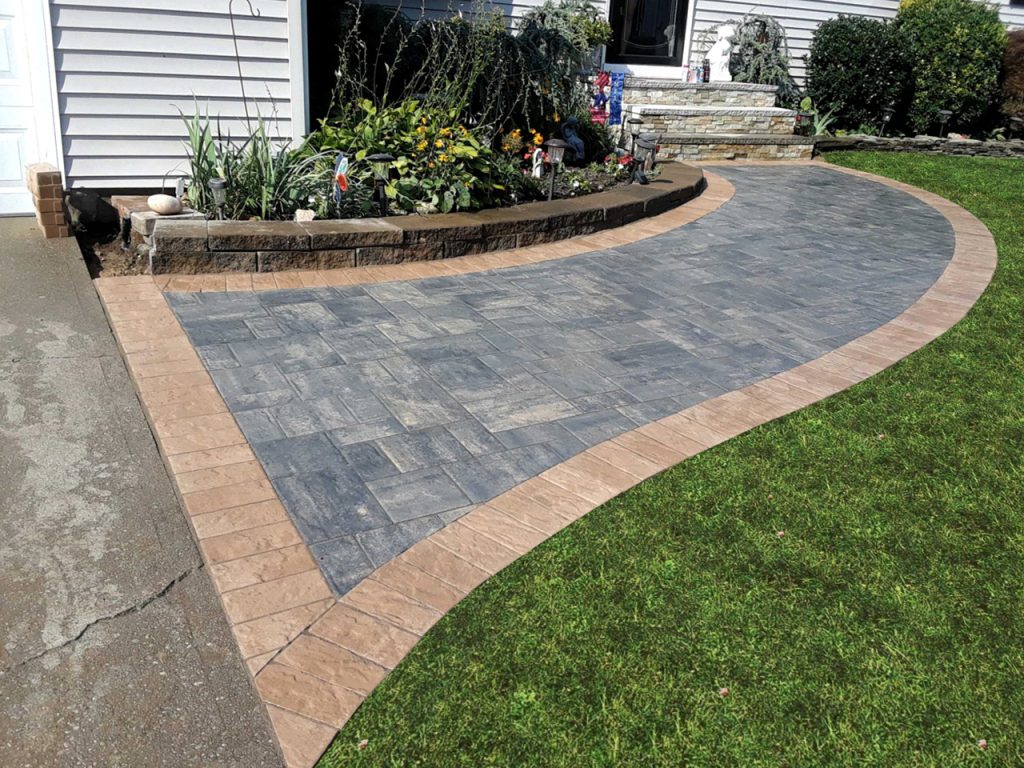
Affordablepatio.com has built an outstanding reputation across Long Island, which has led us to become a top masonry contractor. Over the last 15 years, we have installed thousands of walkways across Suffolk County. We specialize in installing paver walkways. Above all, our dedicated Walkway Installers ensure a flawless result for your project. To further emphasize our dedication and professionalism, we have been granted the title of being a Preferred and Certified Cambridge Paving Stone Installer.
Our team prides itself on educating all of our customers, which we have found eliminates any stress that may arise when starting a project like this. Accordingly, if you’re searching for a paver walkway installation near me, we’re here to guide you through every step. To make this process even easier for you, everything that you need to know about your new walkway installation can be found below. Also, we’re committed to providing you with an exceptional experience from start to finish.
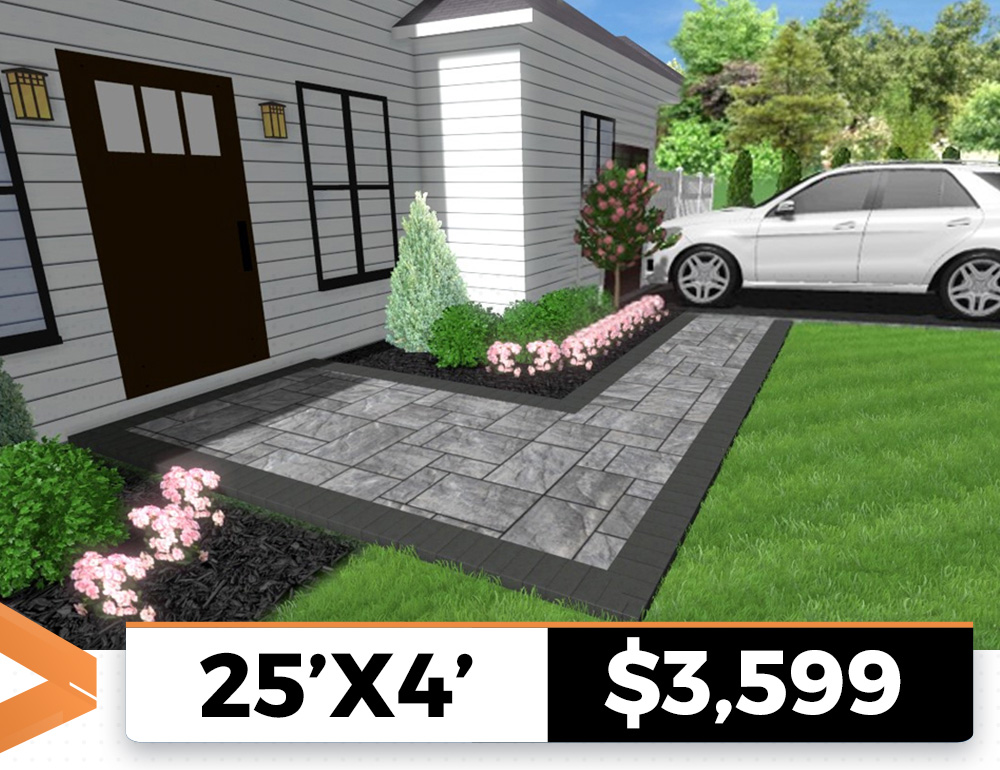
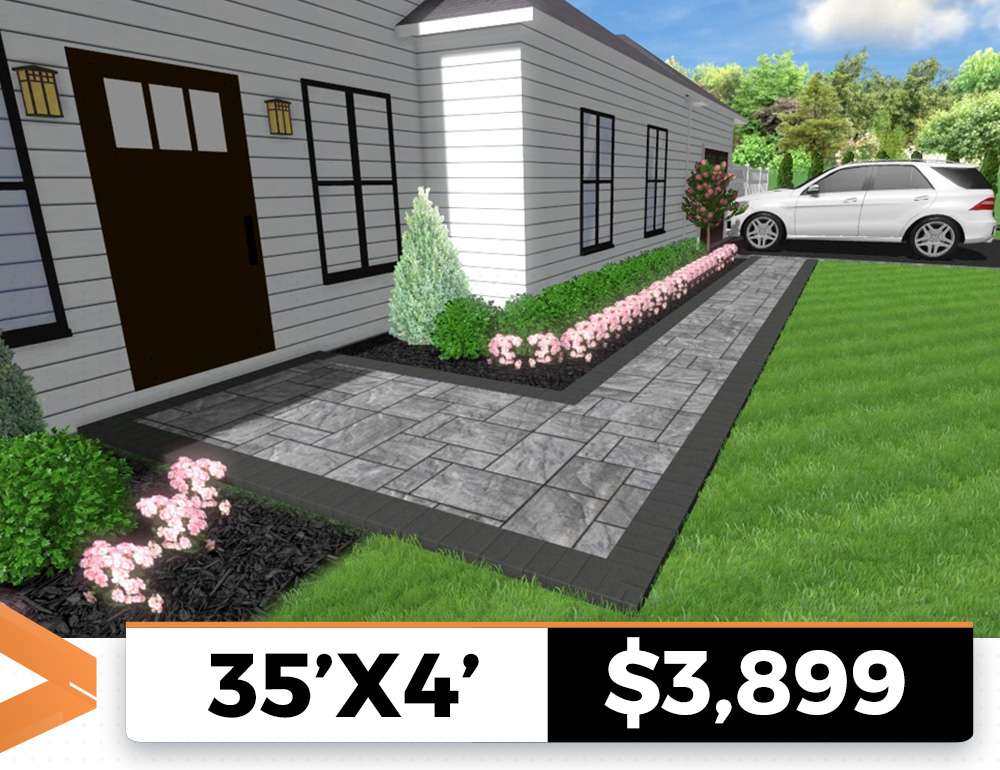
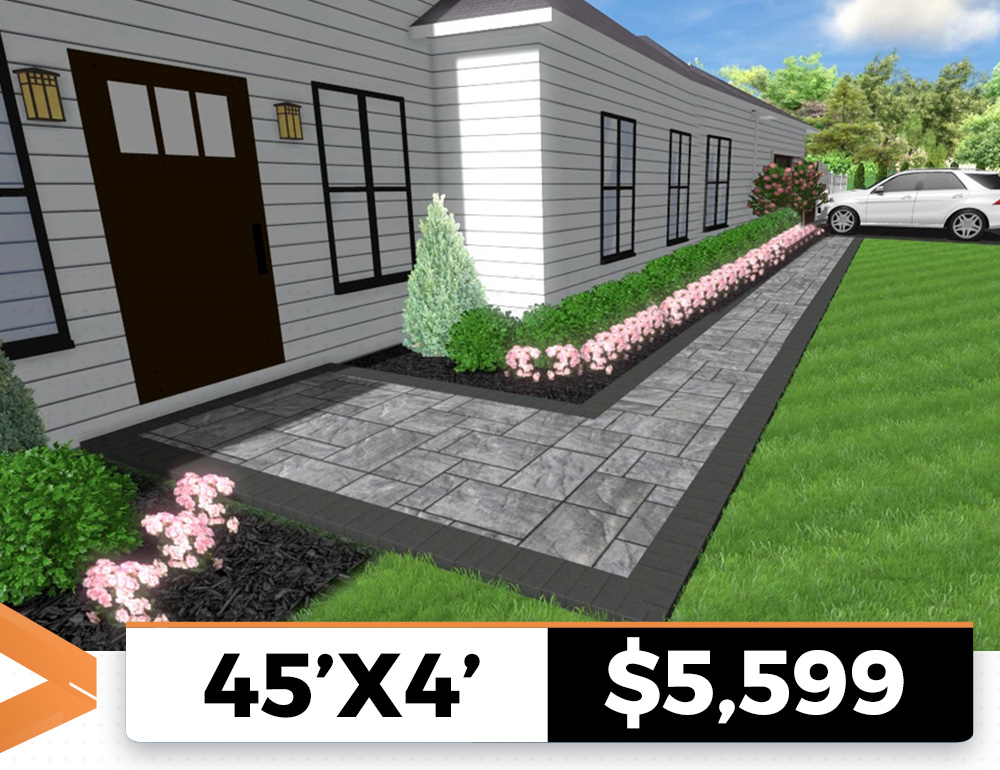
How Much Does a Paver Walkway Cost?
What's under our Walkways
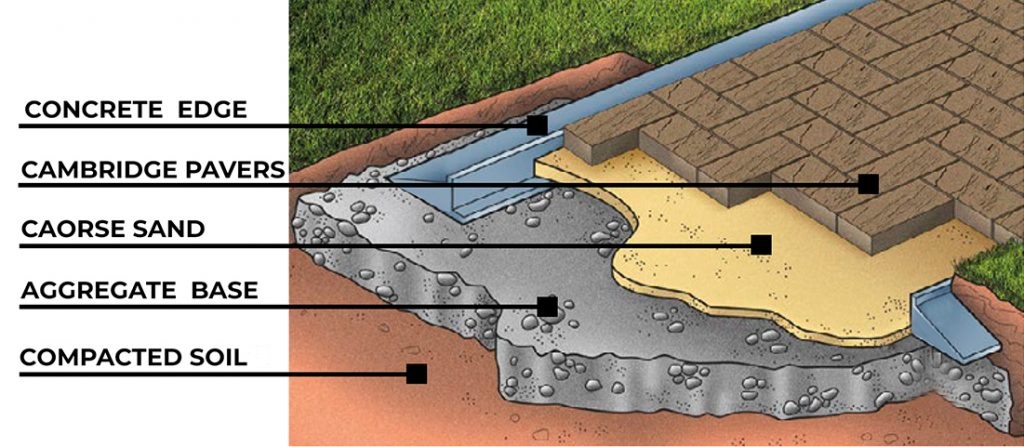
We install our walkways to manufacture specs. 4-6” of crushed concrete base, compacted with a gas-powered plate compactor followed by a ¼” of fine mason sand for the leveling process. Next step is paver installation, concreting edges in, and lastly poly sanding the joints of your new walkway. (More detailed info provided below)
Although the installation process may seem complicated, rest assured that our expert Walkway Installers handle every detail. Certainly, we ensure each element is meticulously executed for a durable and stunning walkway.
Setting Heights Based off the Grade of Your Property
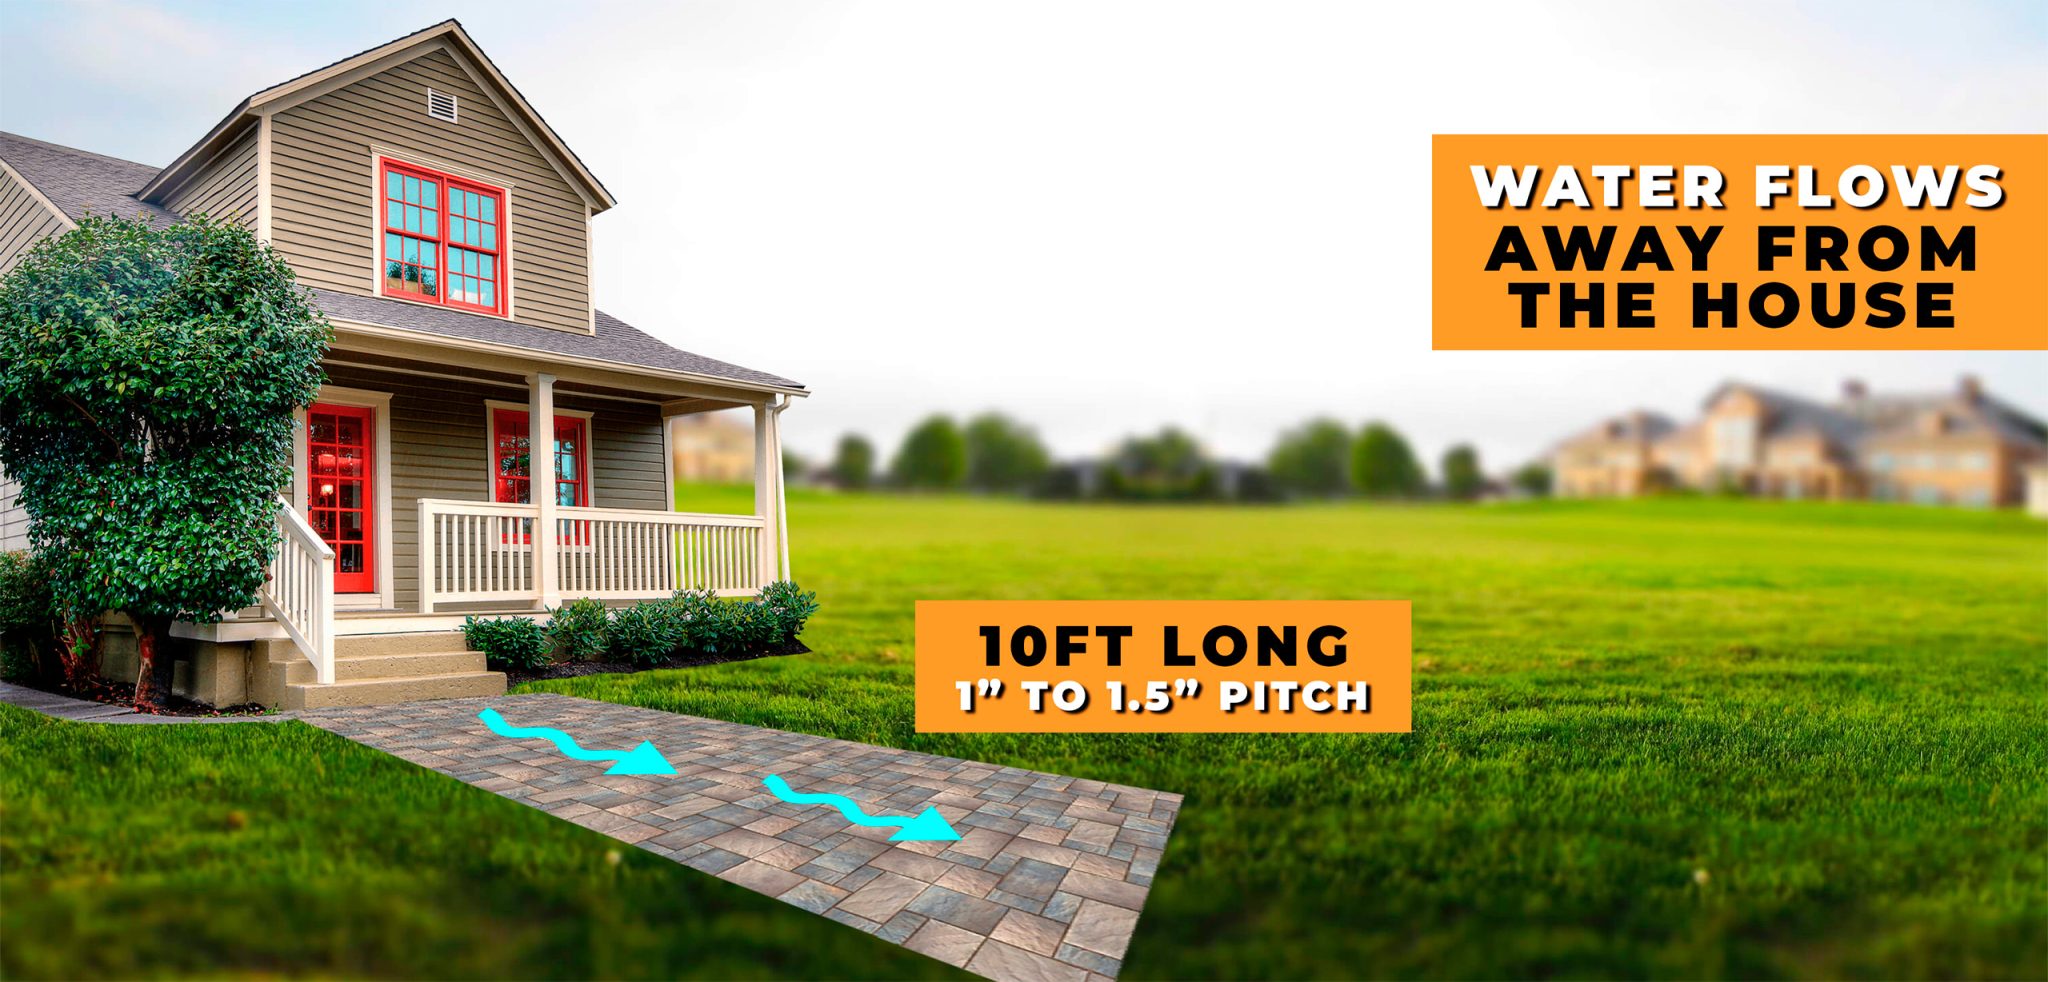
The first step to do a paver walkway installation is evaluating the level of your property. This is the most important step in figuring out the height of your new Paver Construction project. This will determine everything else moving forward. Concurrently, understanding the elevation is crucial. Once we know our starting height, we will add “pitch” to the pavers, we like to add 1.5” every 10ft pitched away from your home. This will ensure proper water run-off and make sure the walkway does not feel like a ramp. As much as aesthetics matter, functionality is equally prioritized.
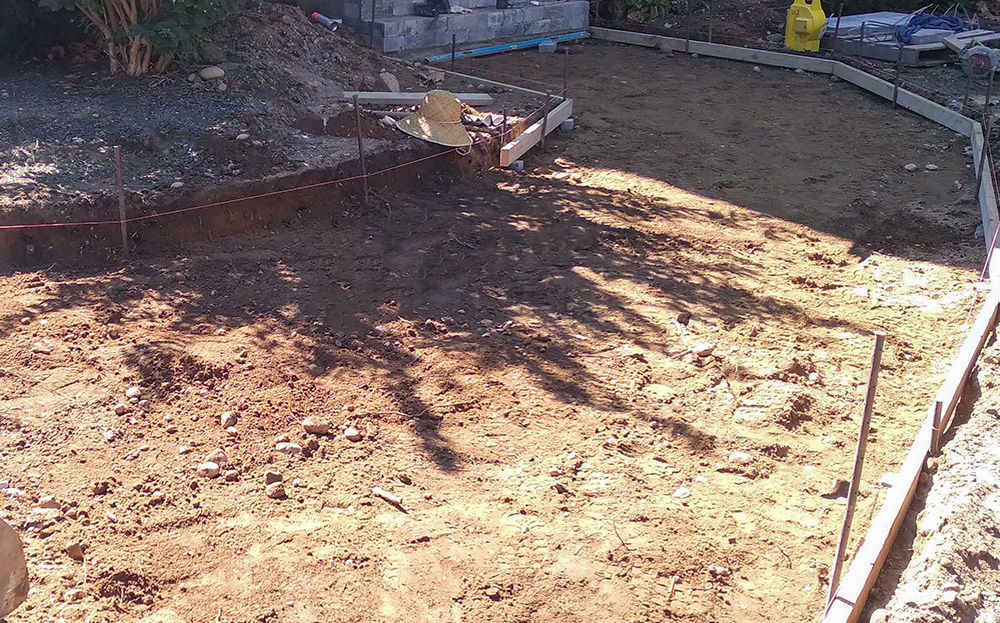
Excavation, Removal of Soil or Debris in the Area of Your New Paver Project
Setting Up Forms & Installing Subbase
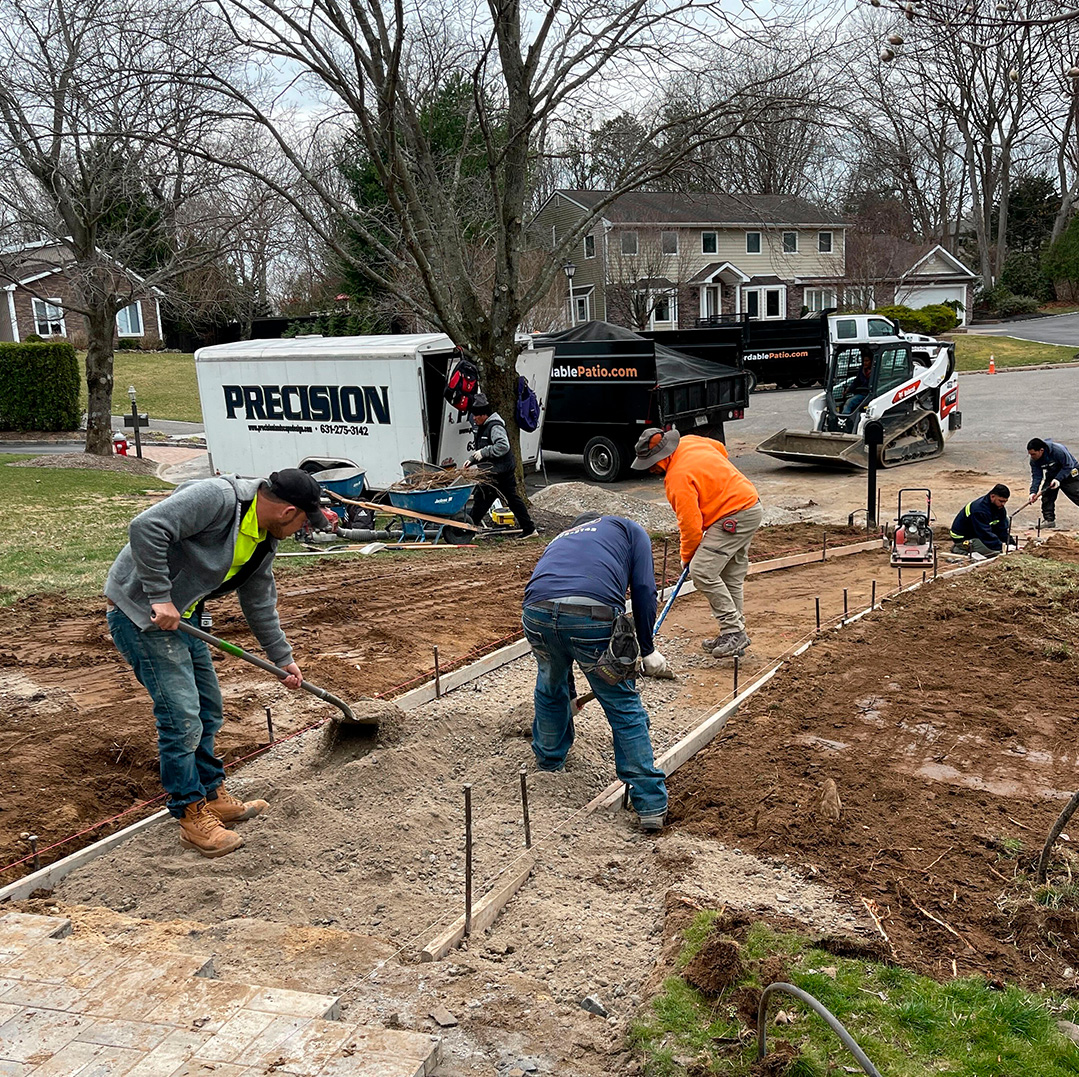
While one crew is working, other crew members will start to set up forms, these wood forms are used to keep our sub-base at the level we need it. Once the forms are in place and temporarily secured, we start to fill the area with RCA. Recycled concrete aggregate, is what we use as a subbase for all residential. Paver walkway installation is only necessary around new pools and driveways. The RCA is installed in “lifts,” meaning we fill the area with 2-3” of base, compact it, and then repeat until we reach the top of our forms. As a result, our Paver Construction project achieves a strong foundation. Once we have achieved a satisfied amount of subbase, it is time to add fine sand. The sand will get spread over our RCA subbase, tamped, and then screeded out to a smooth finish. Since the pavers are manufactured with a 1/16th of an inch error from the molds, the sand will allow us to get the top of the pavers to a leveled surface. This meticulous process ensures precision as well as aesthetics.
Setting Up to Lay Pavers
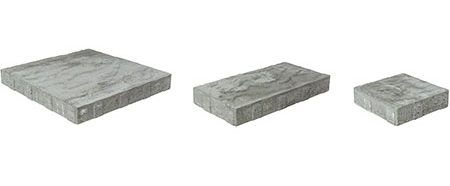
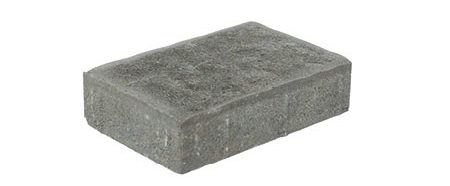
Once the sand is ready we can set up our square lines. When you lay pavers, the joints in between each paver create bond lines, when setting up the walkway we want to ensure it is “square” with your home or any other designated and stationary structure in that area. This is proper construction edicate and most visually appealing to the eye. Our team is trained to lay pavers first and borders after.
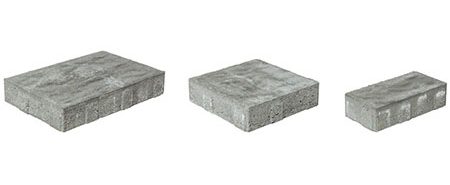
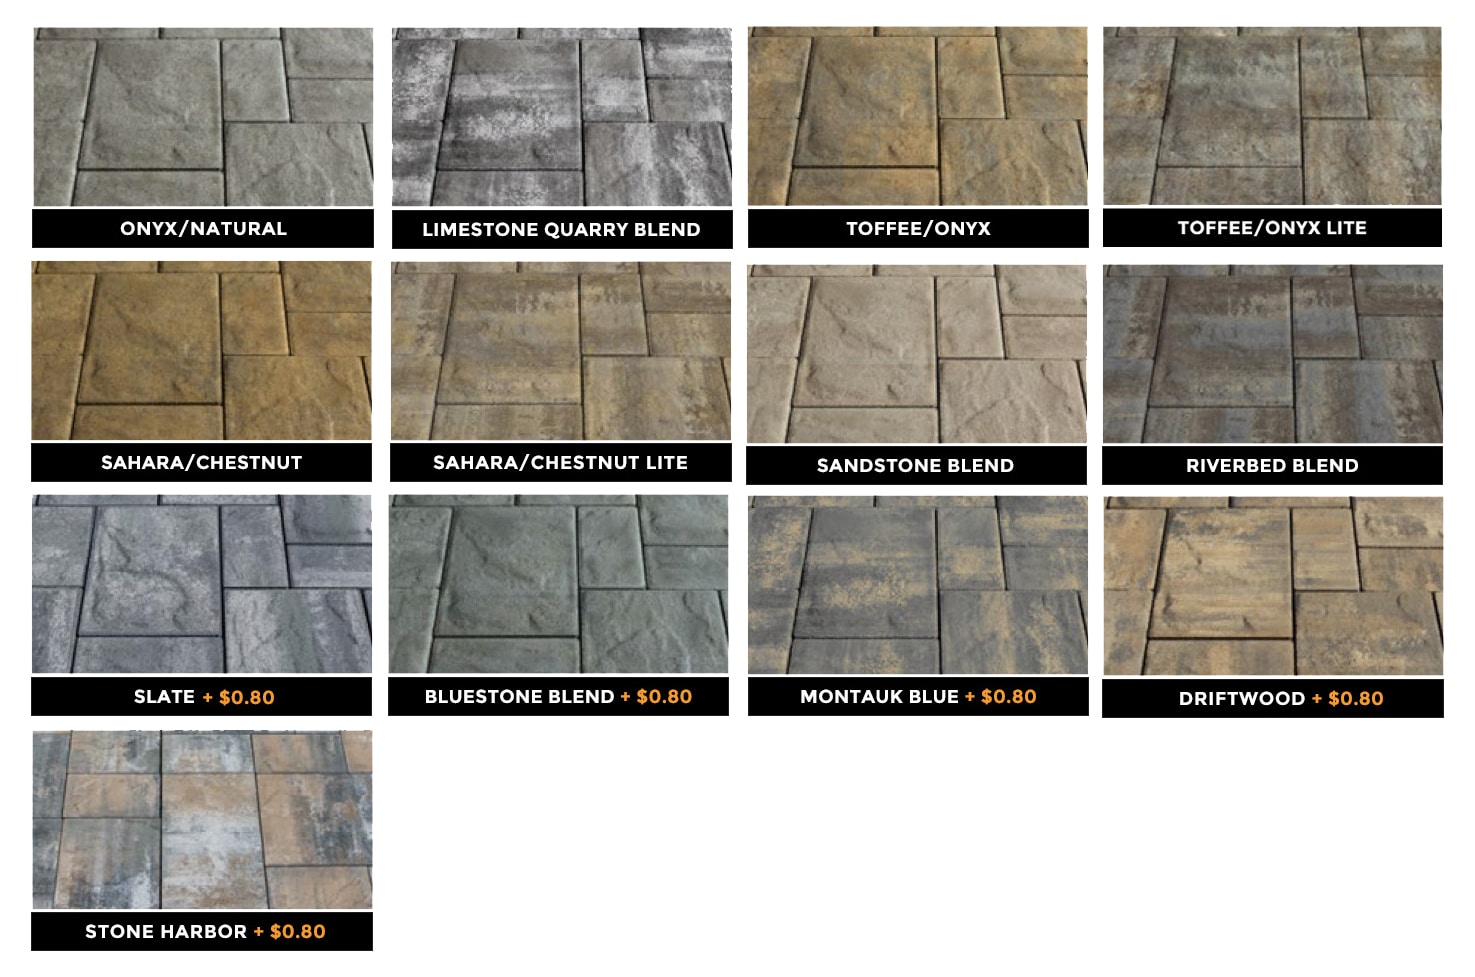
Pavers Included
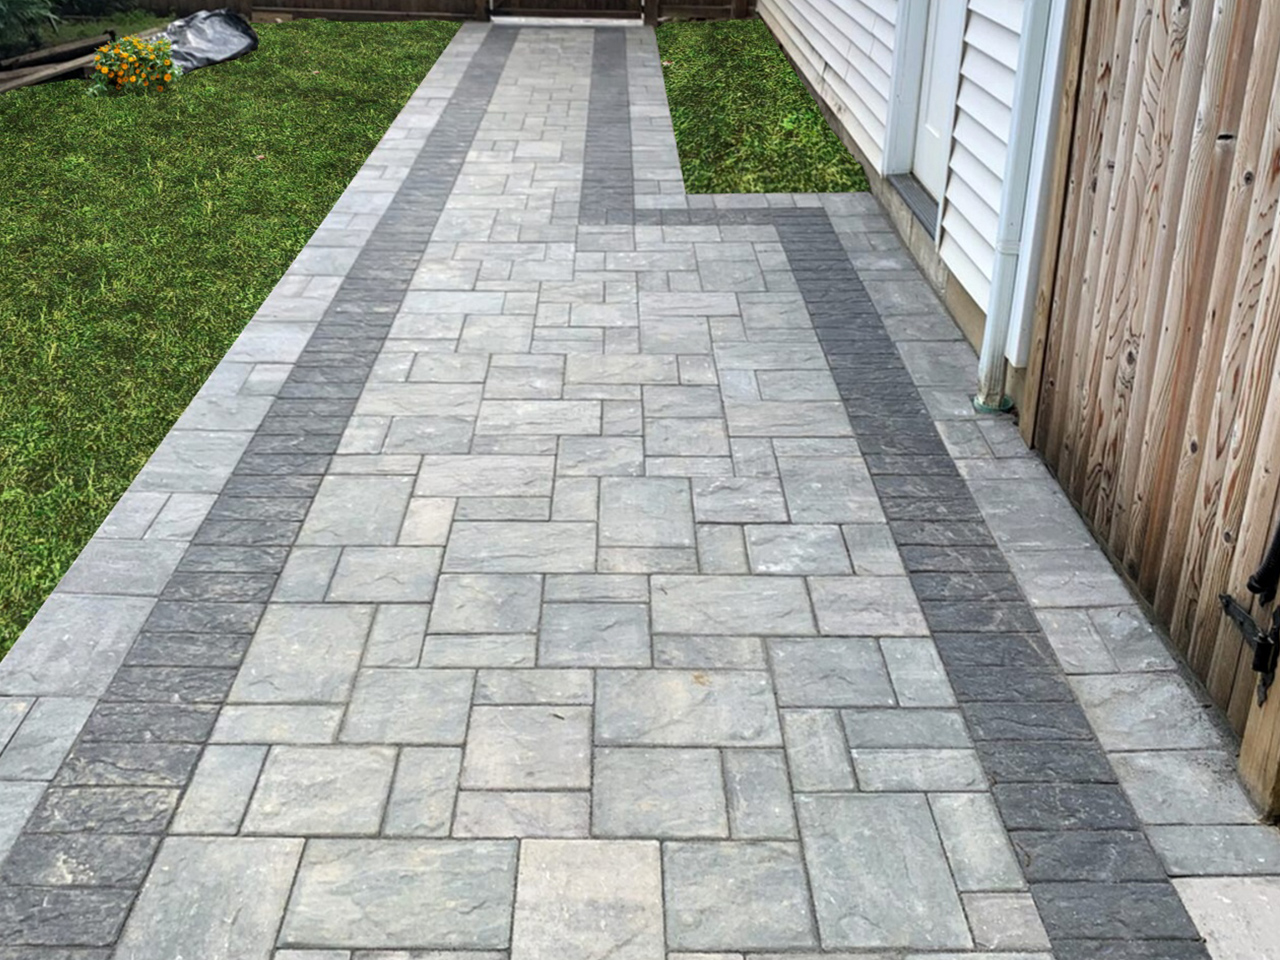
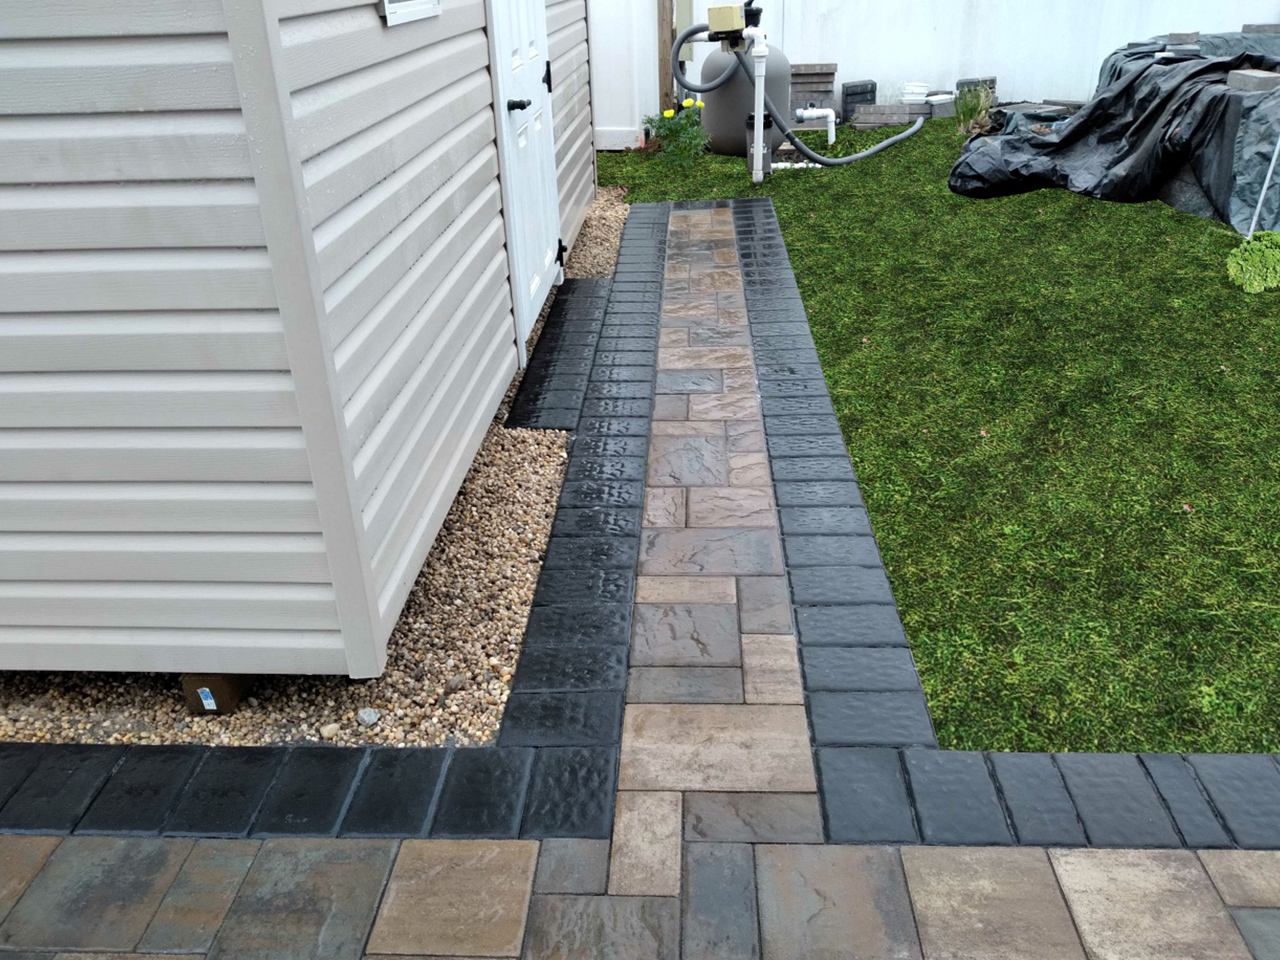
Borders
Single
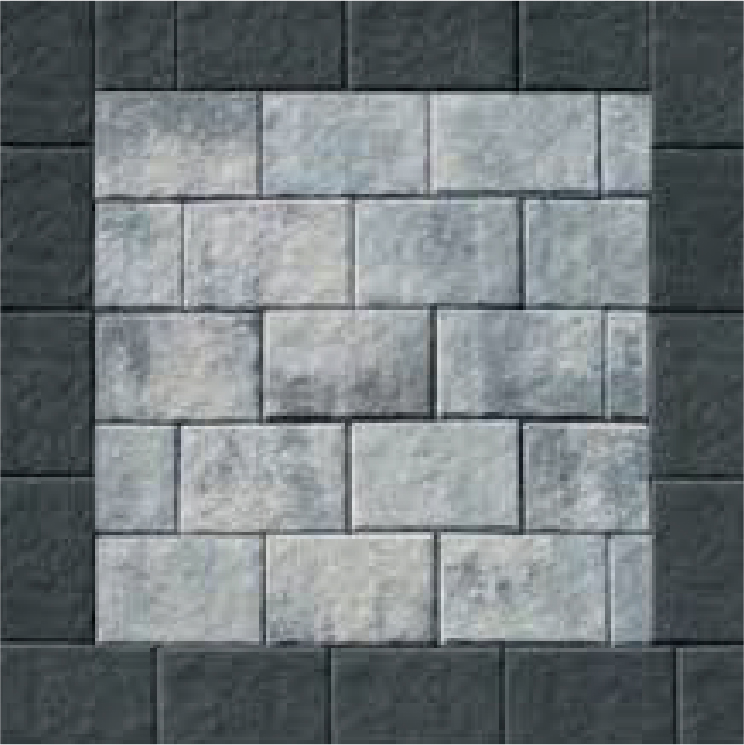
Matching
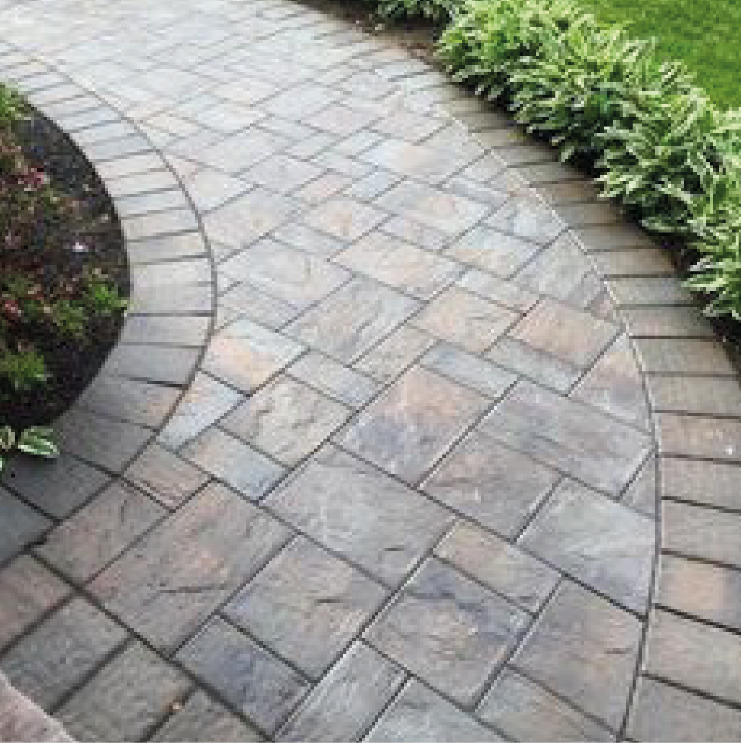
Double
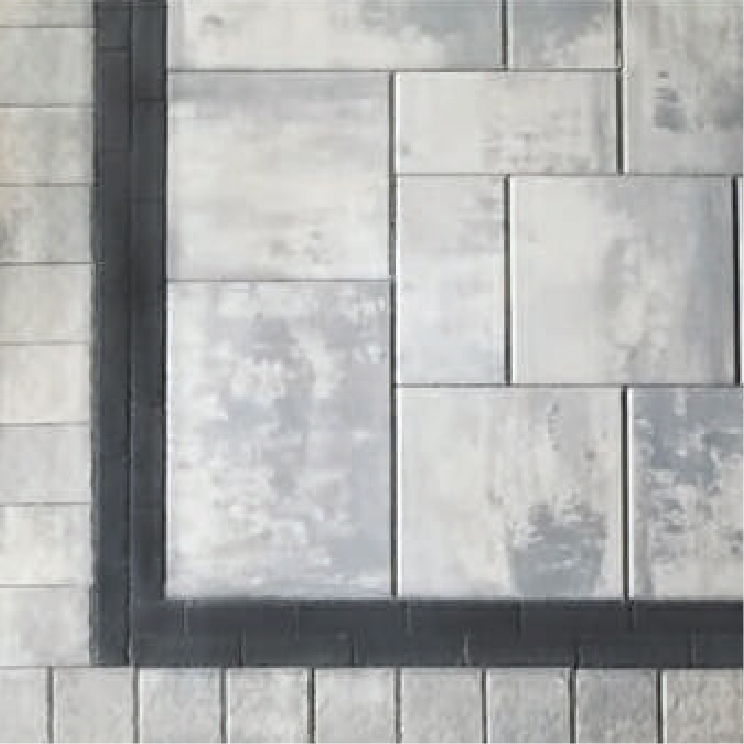
Final Stages to Paver Construction
What we do next is add a concrete edge to the perimeter of the walkway that is exposed. This concrete edge is a restraint and keeps the pavers from shifting out of place. The concrete is set about 1 inch below the top of the paver and then gets covered by topsoil. To fill in all the joints between the pavers we use polymeric sand.
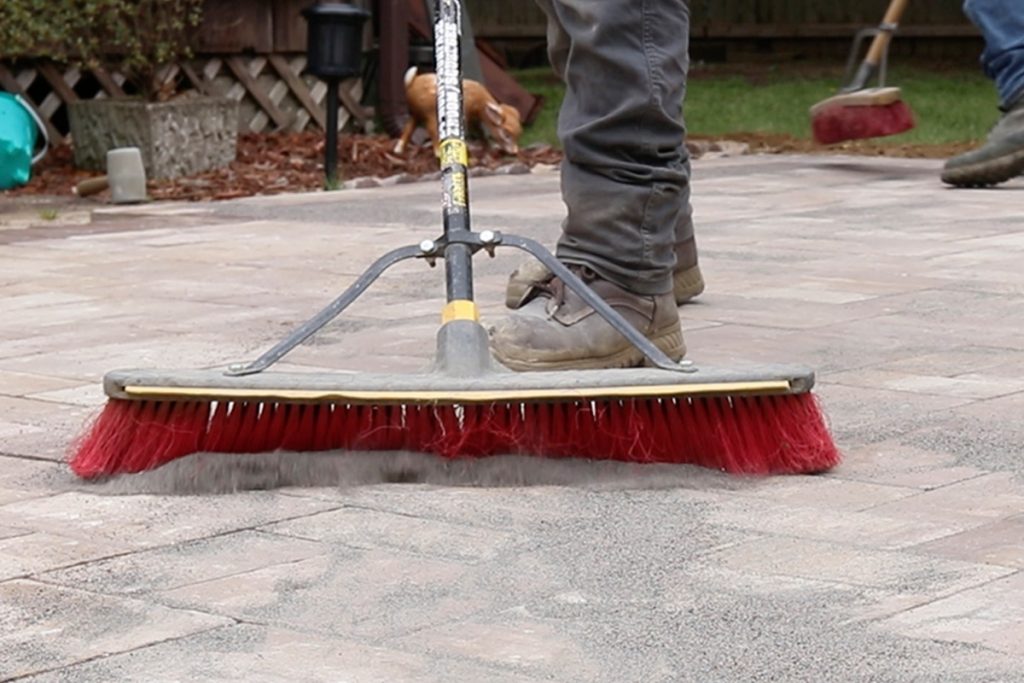
This process is where we sweep the sand into the joints and after proper installation and adding water the sand will set to a hard finish. Ultimately locking out weeds and helping keep the pavers together.
Paver Sealants
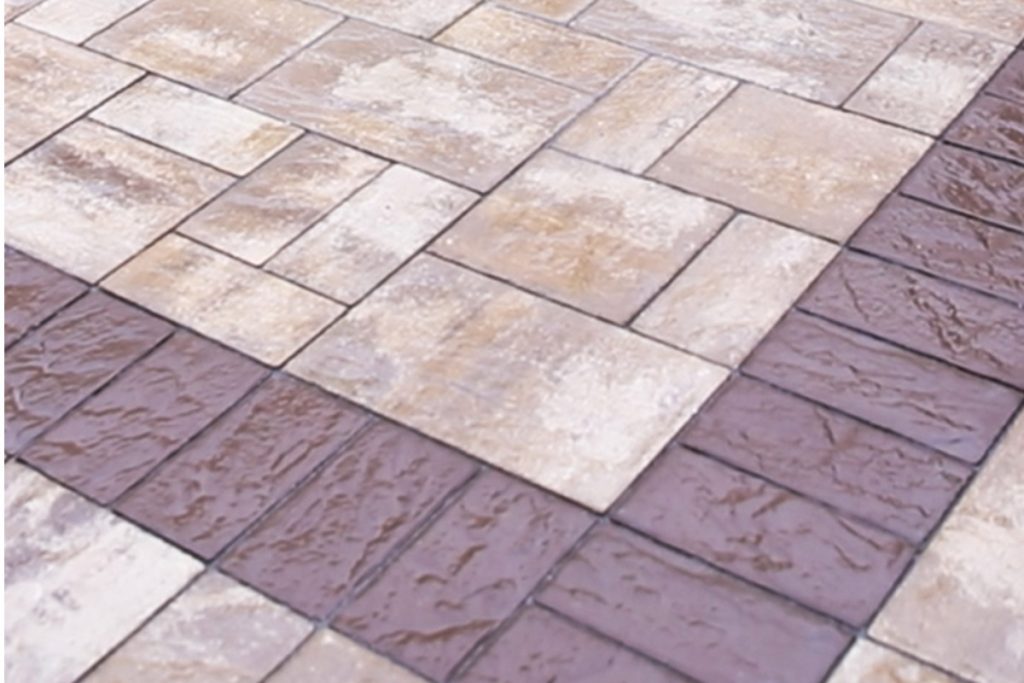
You may say to yourself you love the way the colors look when the walkway is wet. There are sealers that can leave the pavers with that look.
However, to seal your walkway you will need to wait at least 1 year to seal it. The reason for the wait is to allow the efflorescence to come out of the pavers. You can read about this in another section below.
What AP Customers Are Saying
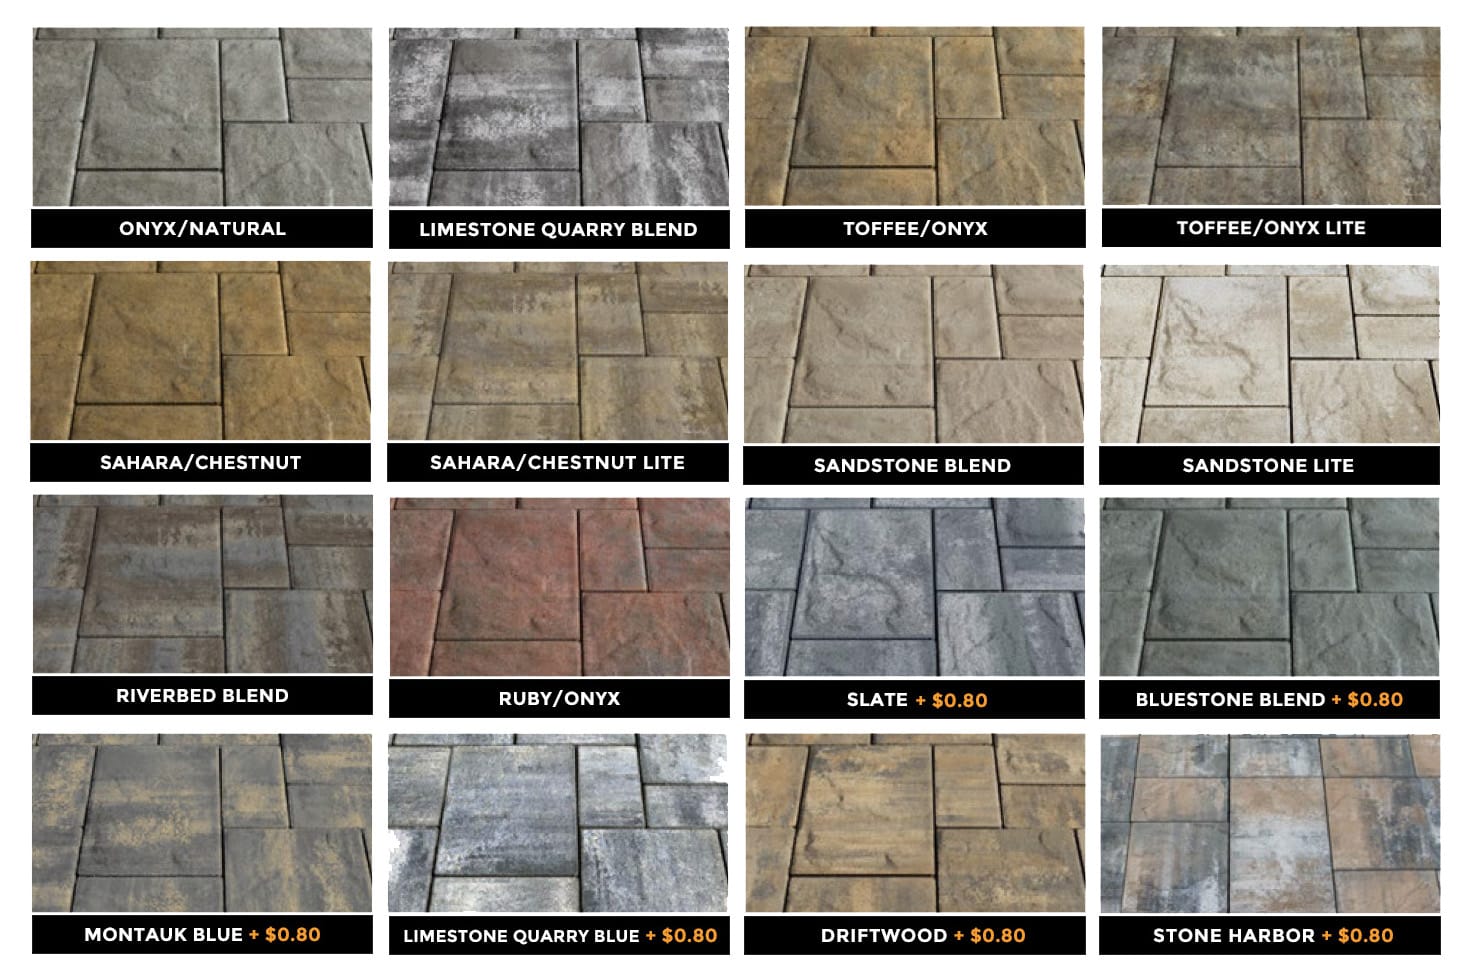
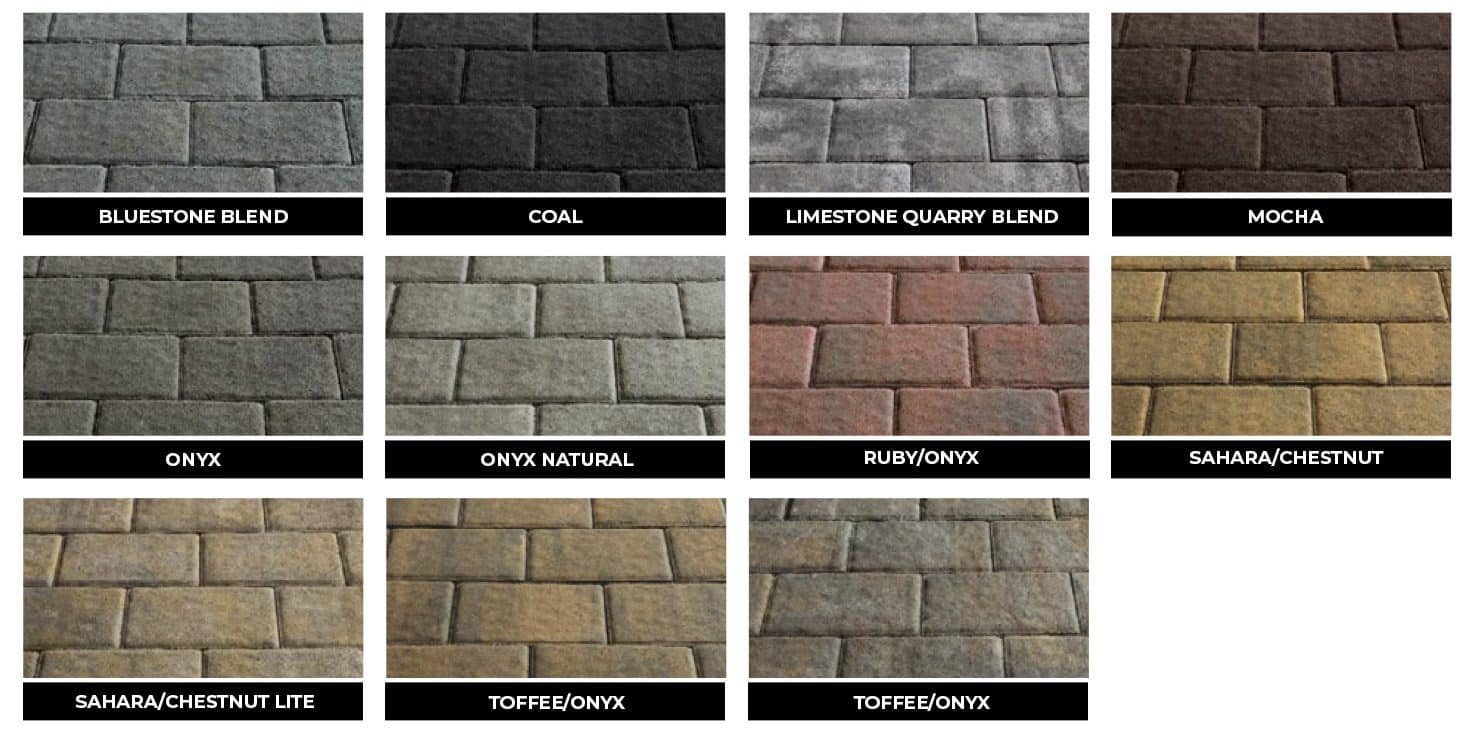
Trustindex verifies that the original source of the review is Google. I have used Affordable Patio three times now for three different projects and I have always been happy with their service. Dealing with James and Kristina in the office is a pleasure. The entire project is thoroughly planned out and executed appropriately. I highly recommend this company. Thanks again AP for all your help!!!Trustindex verifies that the original source of the review is Google. You guys killed it. Thanks for rocking out the back patio. We’re super excited to make new memories. Thanks for the great work guysTrustindex verifies that the original source of the review is Google. We had a wonderful experience from start to finish. James, Kristina, and the entire crew were great to work with!! We will have them back for more projects for sure!!Trustindex verifies that the original source of the review is Google. Working with James Gio Kristina and evo plus his team was an awesome experience. As somone in the industry I was truly impressed and couldn’t believe the standard held by precision. Would recommend 10/10!! Super knowledgeable and worth every penny! felt better than family!!Trustindex verifies that the original source of the review is Google. I just had my patio done and from start to finish everything went amazing. From the moment they came for an estimate, to the moment they finished, everything went smoothly. All the workers were professional and worked so fast. There were no hidden costs, no surprises. Kristina in the office keeps you informed step by step from the point they send the estimate, selecting the brick, start of the project and even throughout the project. She even sent photos of different color combinations as I was indecisive at first. Can't wait to enjoy my backyard with family and friends this summer. Will definitely be using them for future projects to come. Home projects can be stressful and feel like a chore between companies not showing up for estimates, hidden costs, poor workmanship, etc. That was not the case with James, Kristina and the rest of the crew. They made it feel like a breeze!Trustindex verifies that the original source of the review is Google. Affordable Patio is an amazing company! From the estimate, to the install and the clean up. We went online and more or less got a price on our own. We then scheduled an appointment with James, Kristina answered the phone and all of our questions, she’s was polite, knowledgeable and courteous! James came to give us an estimate and was able to figure out a way for us to get a fire pit! We always dreamed of a fire pit! When the install was getting done, the crew was courteous and walked us threw every step and cleaned up like we never had any work done! 5 ⭐️ I love them and recommend them to everyone!Trustindex verifies that the original source of the review is Google. From the initial email that I sent for a quote, to the meeting with James, to the final finished project, I have nothing but excellent things to say about this company. It was an absolute pleasure working with Kristina throughout this whole process. She was very attentive and very quick with responses and questions that I had. Joe and his crew did beautiful work on my patio. I highly recommend this company to anyone looking for a backyard transformation.Trustindex verifies that the original source of the review is Google. Recently had a patio done 18x 35 in size . The crew that came was one of the best that I have seen . They all worked as a team . The lead guy joe was great , explained every detail that was going to happen . They worked together and completed the job in a day and a half . The bob cat did rip up some grass but they brought in top soil and leveled. the lawn to repair the damage . Clean up was just as good . The garbage was placed in bags , removed the dirt from the driveway . Filled the track marks with top soil . Did a great job and would use them again . The entire process was painless .Trustindex verifies that the original source of the review is Google. James and Kristina were very helpful and got the job done very quickly. My patio came out great! I would highly recommend them.Trustindex verifies that the original source of the review is Google. James, Kristina and their work crew did an amazing job. They not only did our backyard they also did stone work on the front of our home and of course our front porch. The crew always cleaned up after their work day.. We couldn't be happier with how our home turned out!
Ready for Pricing?
Suffolk County’s Premier Patio Installer and Patio Contractors
Affordablepatio.com is Suffolk County’s Premier Patio Installer, patio contractors, retaining wall, fire pit and more. We typically work with Cambridge Paving Stones, but utilize other great materials as well to ensure your patio project turns out the way you want and lasts for many decades to come. All of our patio installations are installed to manufacturer specs, which are provided to you below. The reason we are trusted as a Long Island’s masonry contractor is because we pride ourselves on educating our customers and providing the utmost value to this experience. We have been installing paver patios across Suffolk County for the last 15 years, which amounts to more than 2,000 patios!


