Florida’s Premier Patio Installer
Experience high quality outdoor transformations with our expert Premier Patio installers. Find the best Patio installers near me and improve your space with a skilled Patio installer team.

How Much Does a Paver Patio Cost?
Click to expand images


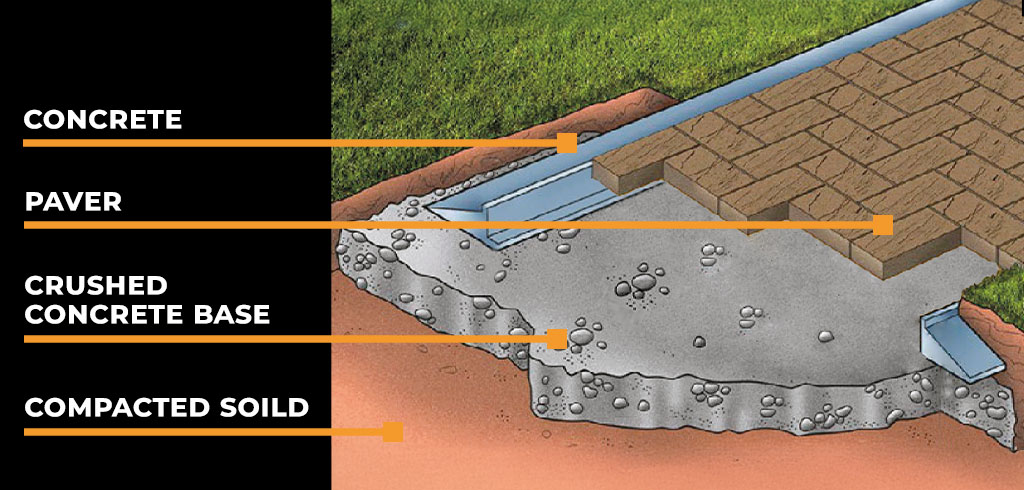
What’s Under Our Patios?
Setting Heights Based off the Grade of Your Property

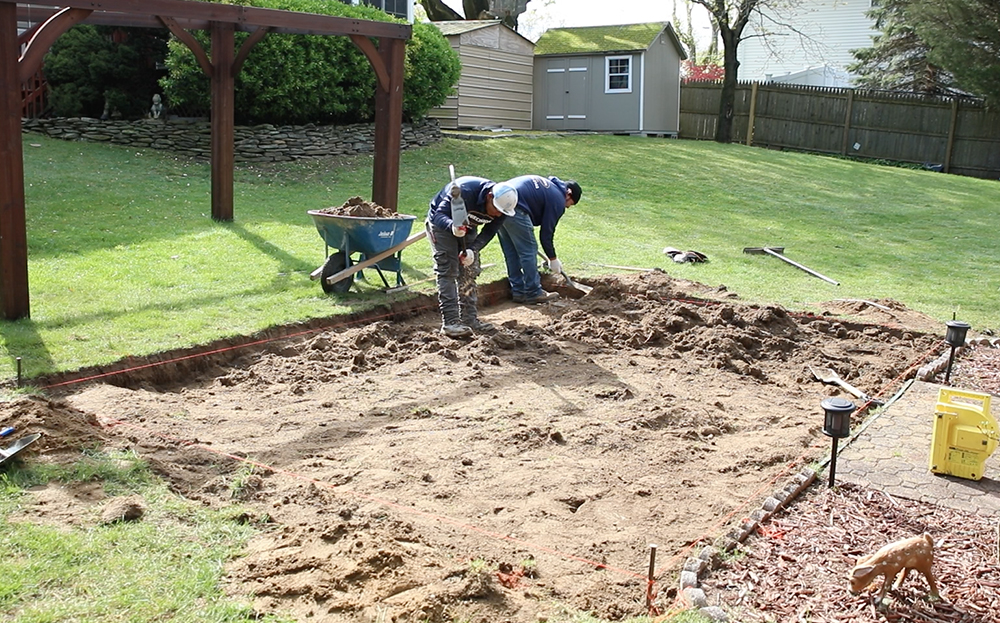
Excavation, Removal of Soil or Debris in the Area of Your New Paver Project
Now that the heights are set the crew can start to excavate. From the height of our stringline we dig down 5-7 inches. All the soil we excavate will be carted away. With that complete and all the soil removed, the crew will check one last time to confirm their heights and then start compacting the ground. This will help prevent settling.
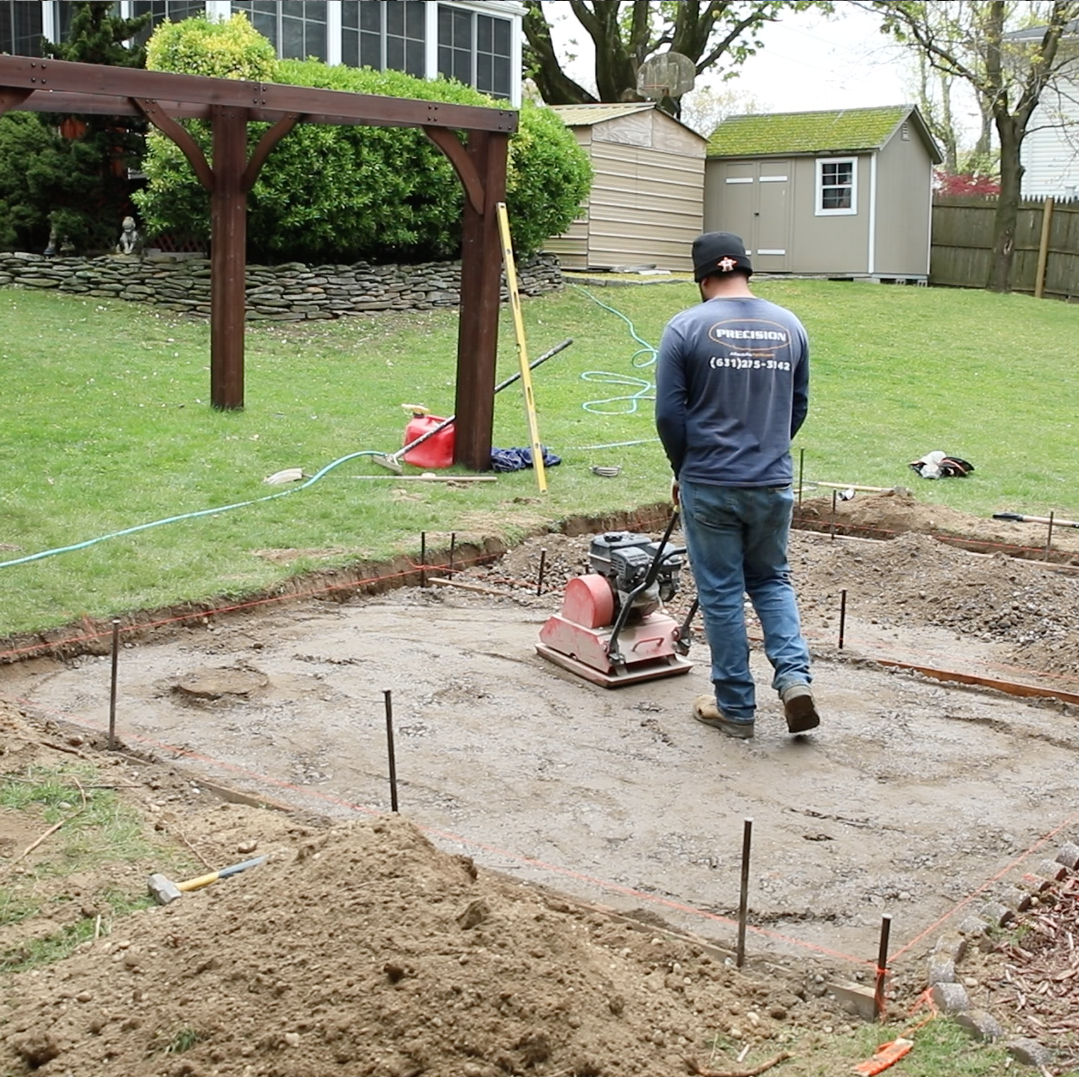
Setting Up Forms & Installing Subbase
Setting Up to Install Pavers
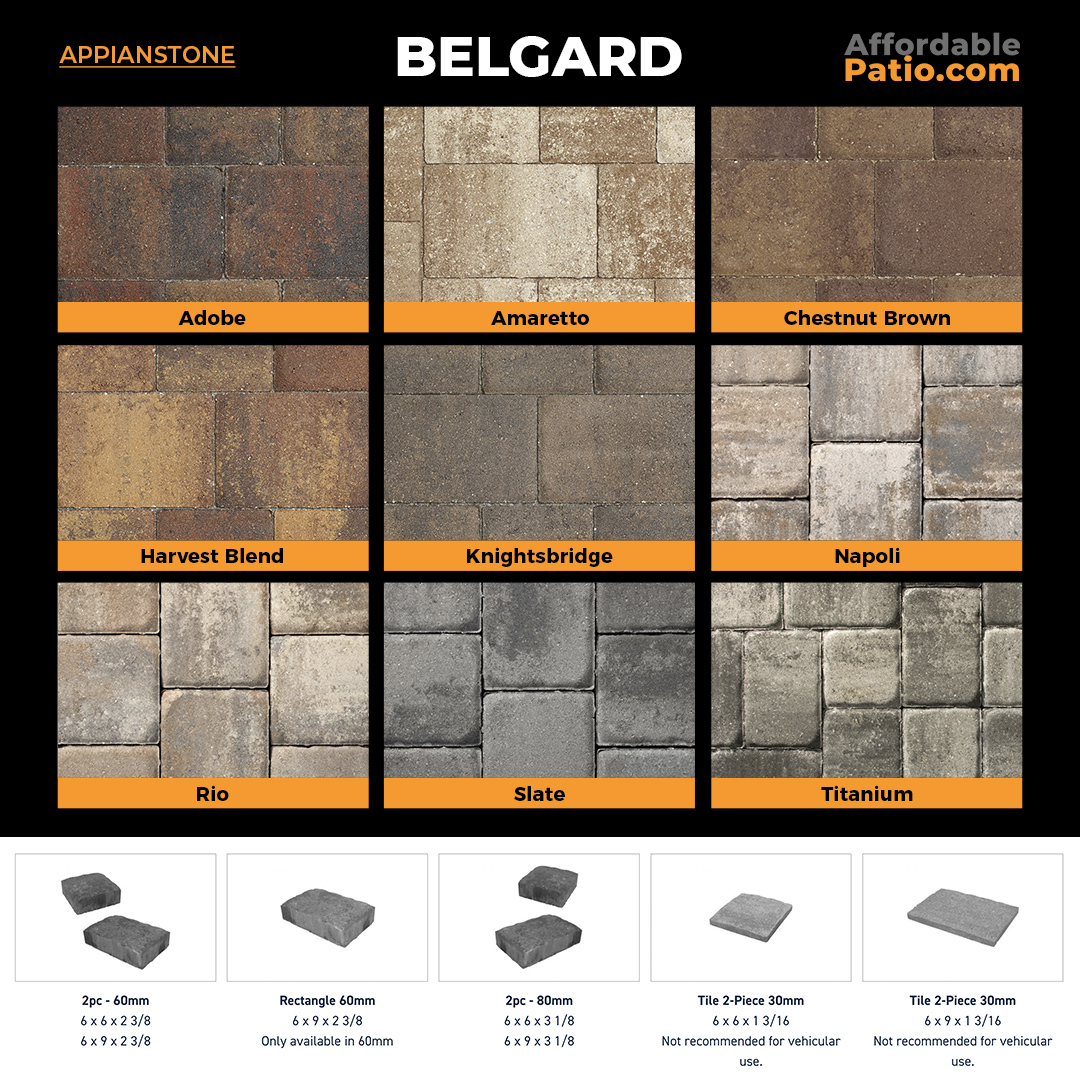
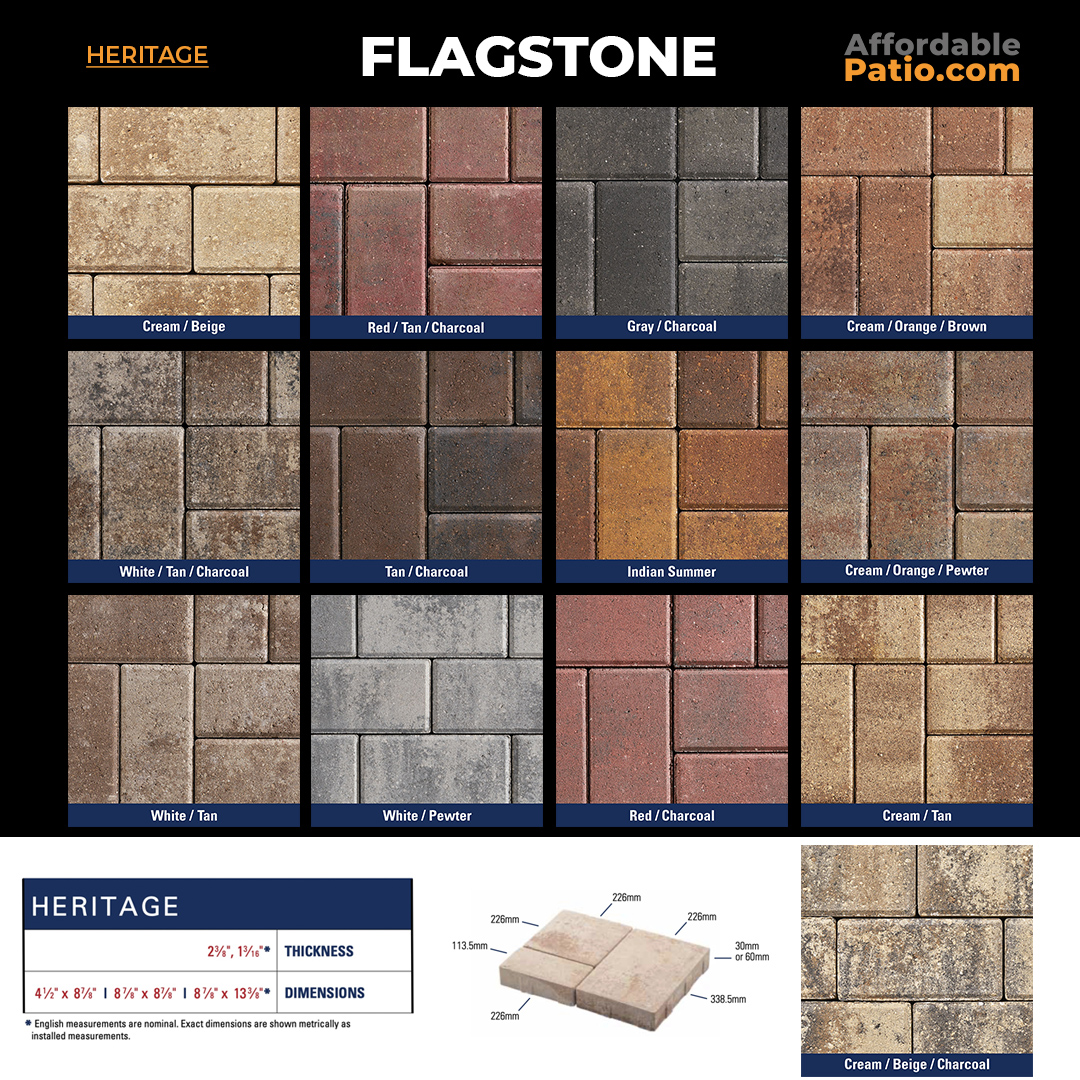
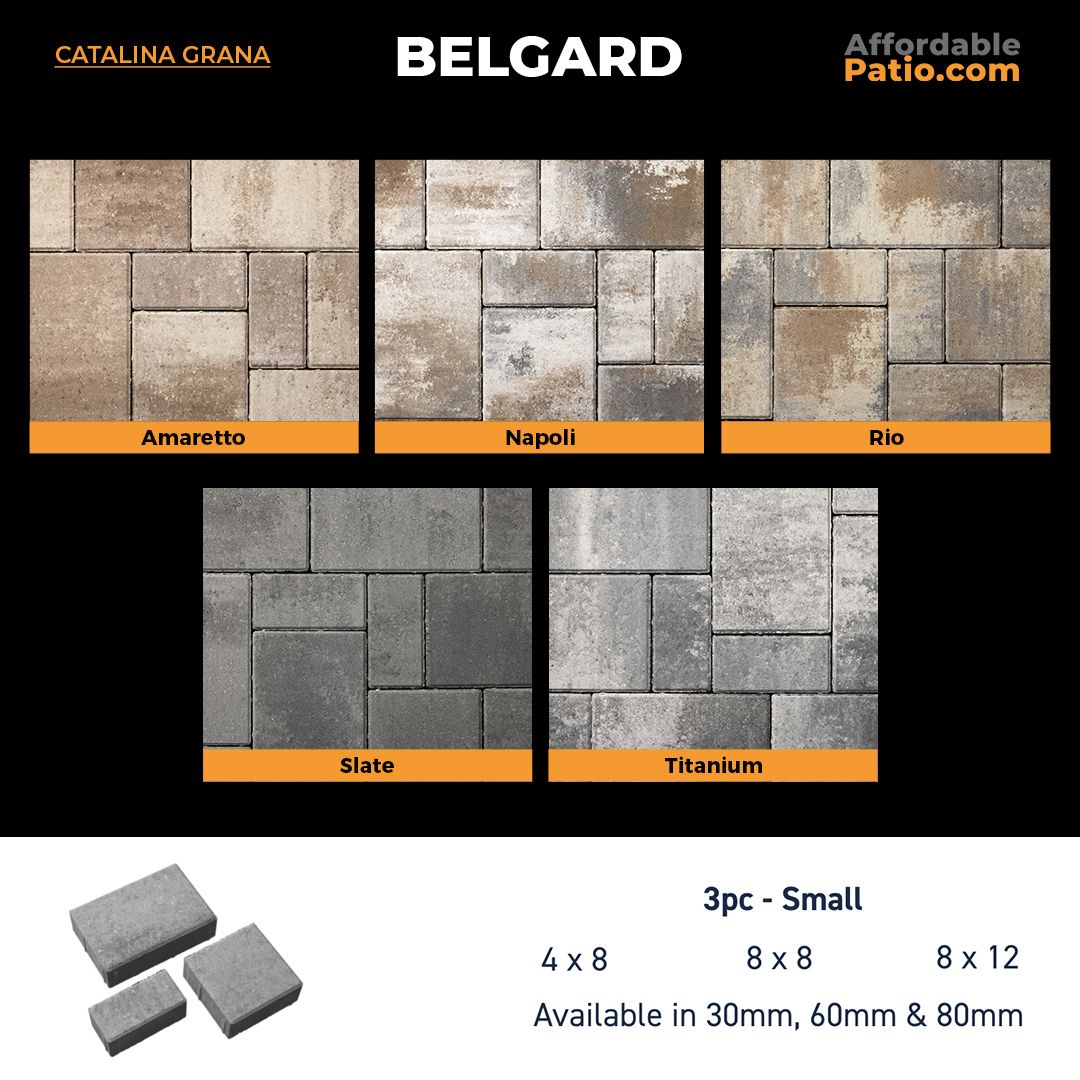
Pavers Included
Final Stages to Paver Construction
What we do next is add a concrete edge to the perimeter of the patio that is exposed. This concrete edge is a restraint and keeps the pavers from shifting out of place. The concrete is set about 1 inch below the top of the paver and then gets covered by topsoil.
Paver Sealants
You may say to yourself that you love the way the colors look when the patio is wet. There are sealers that can leave the pavers with that look.
Sealing your pavers will also seal the sand that is in between the joints, preventing it from coming out of the joints.
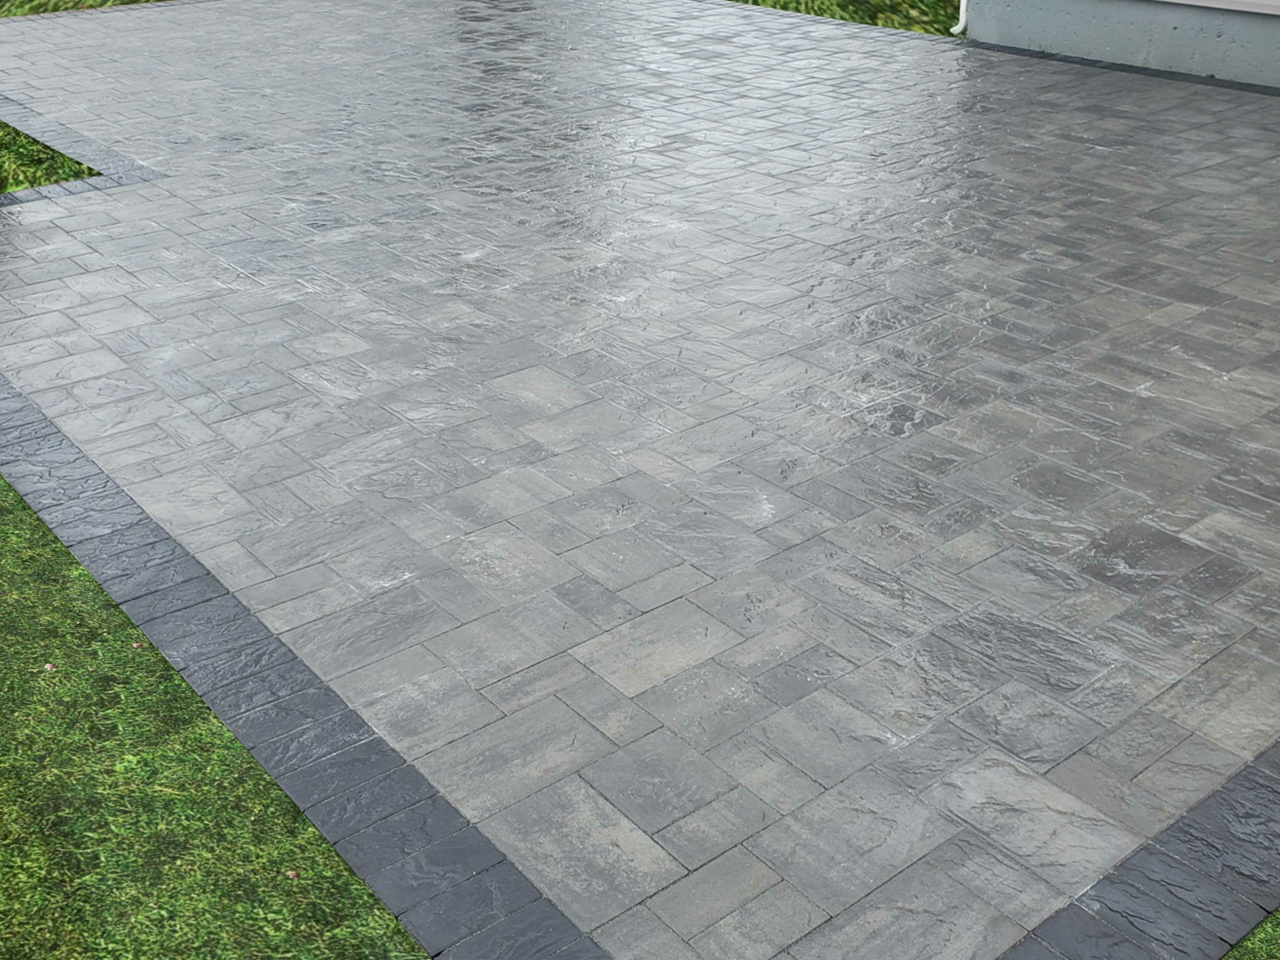
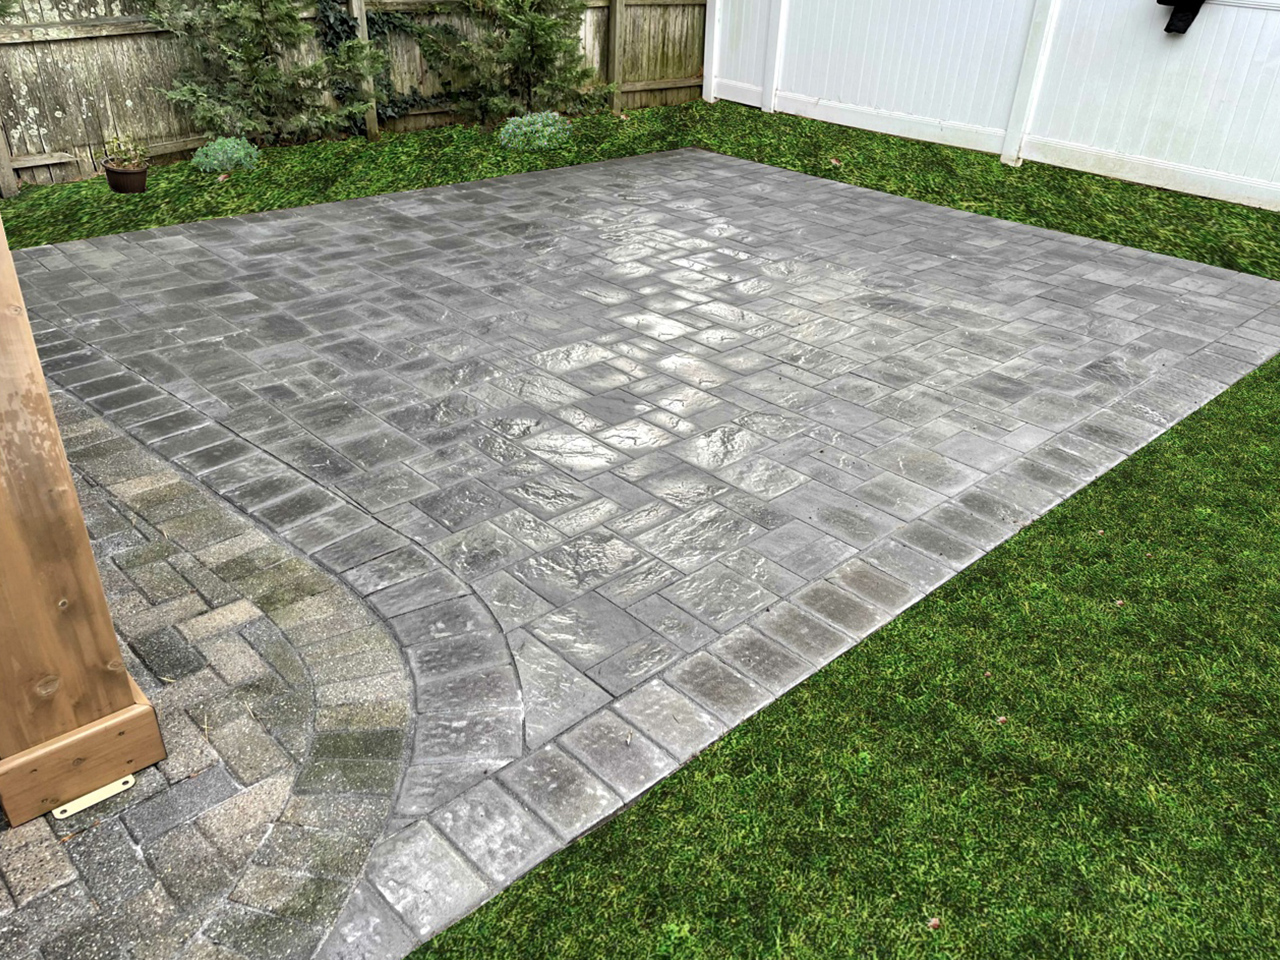
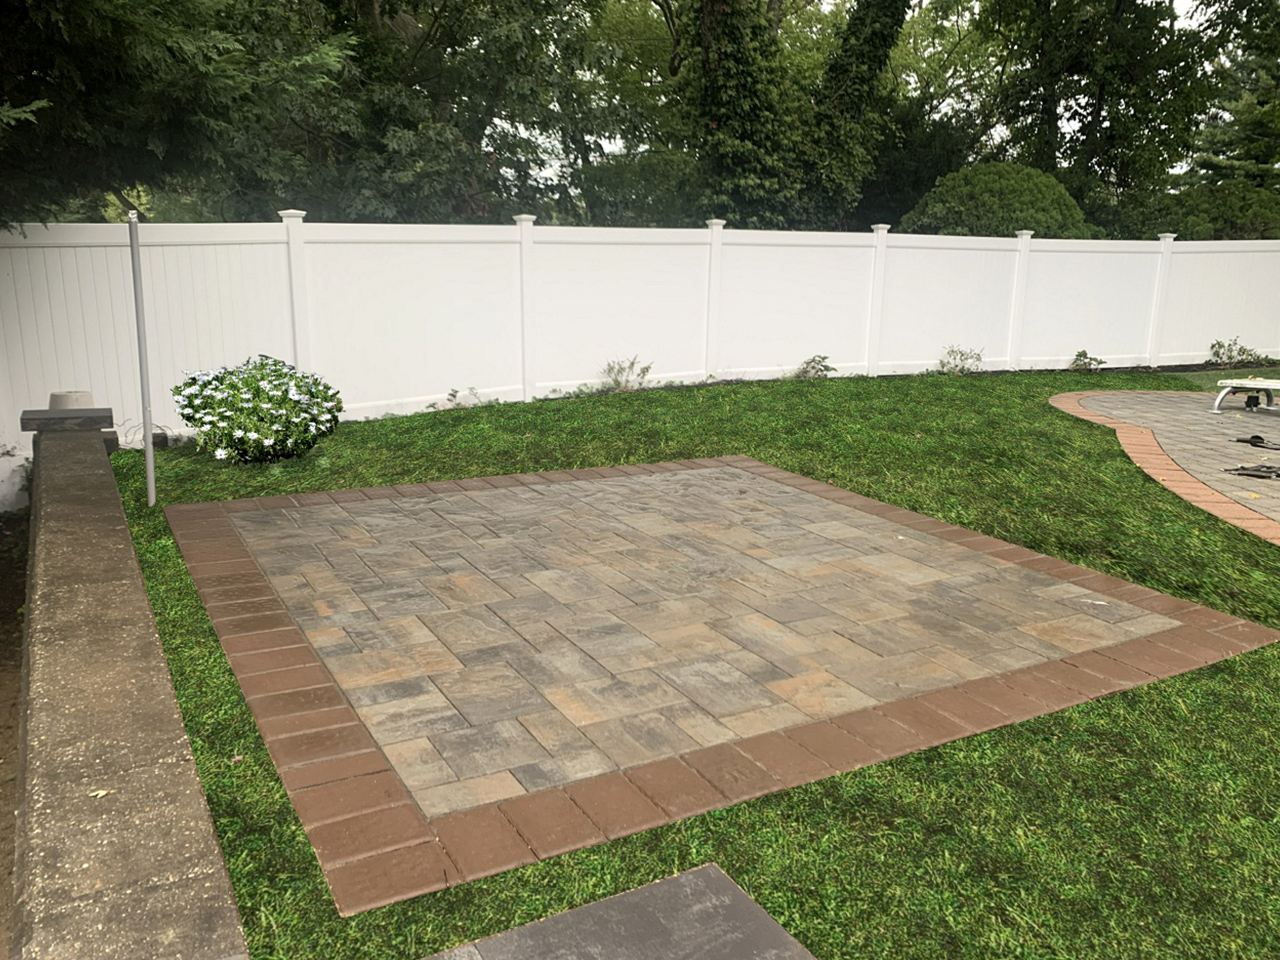
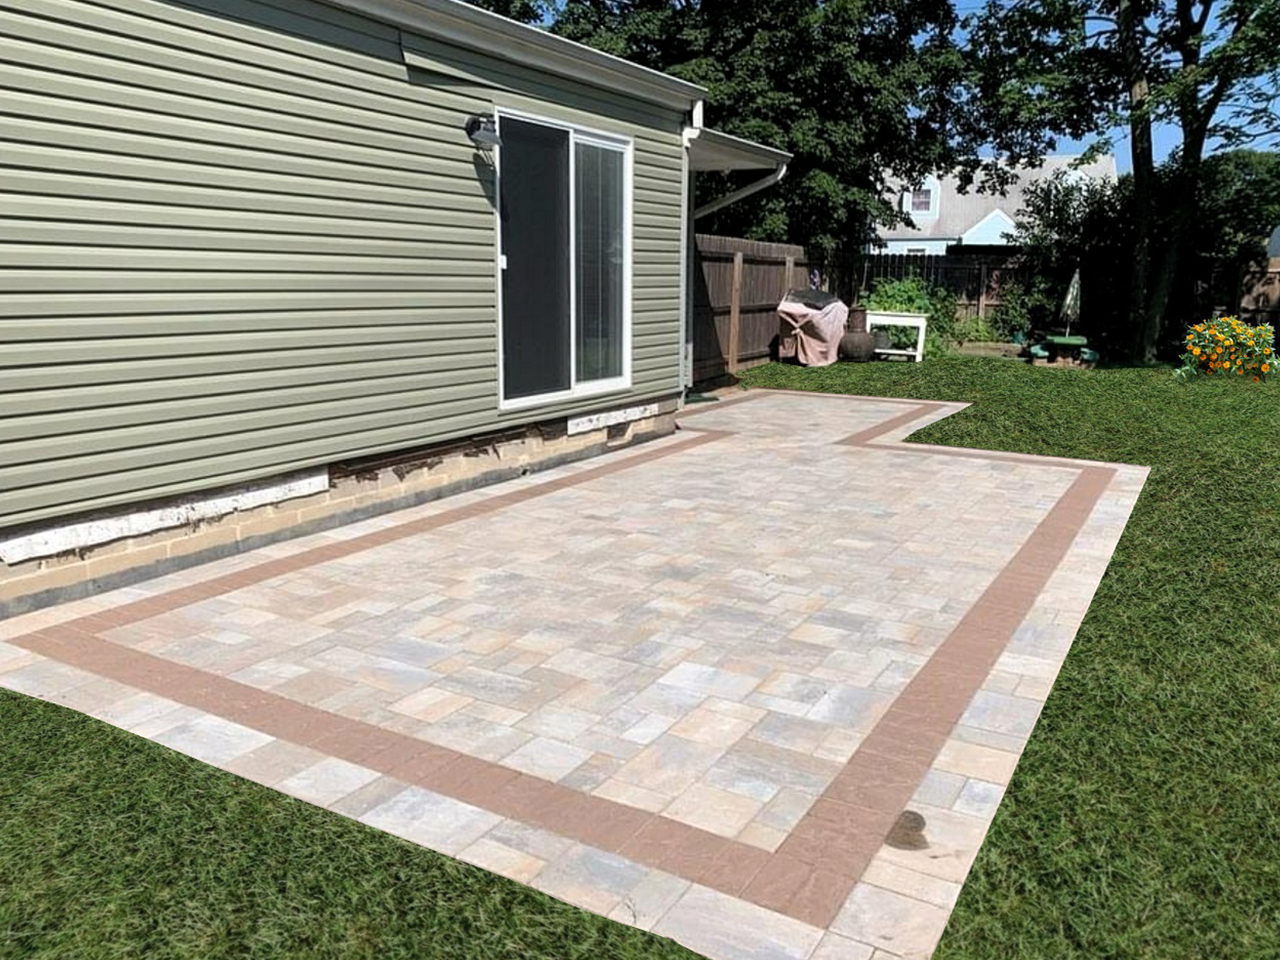
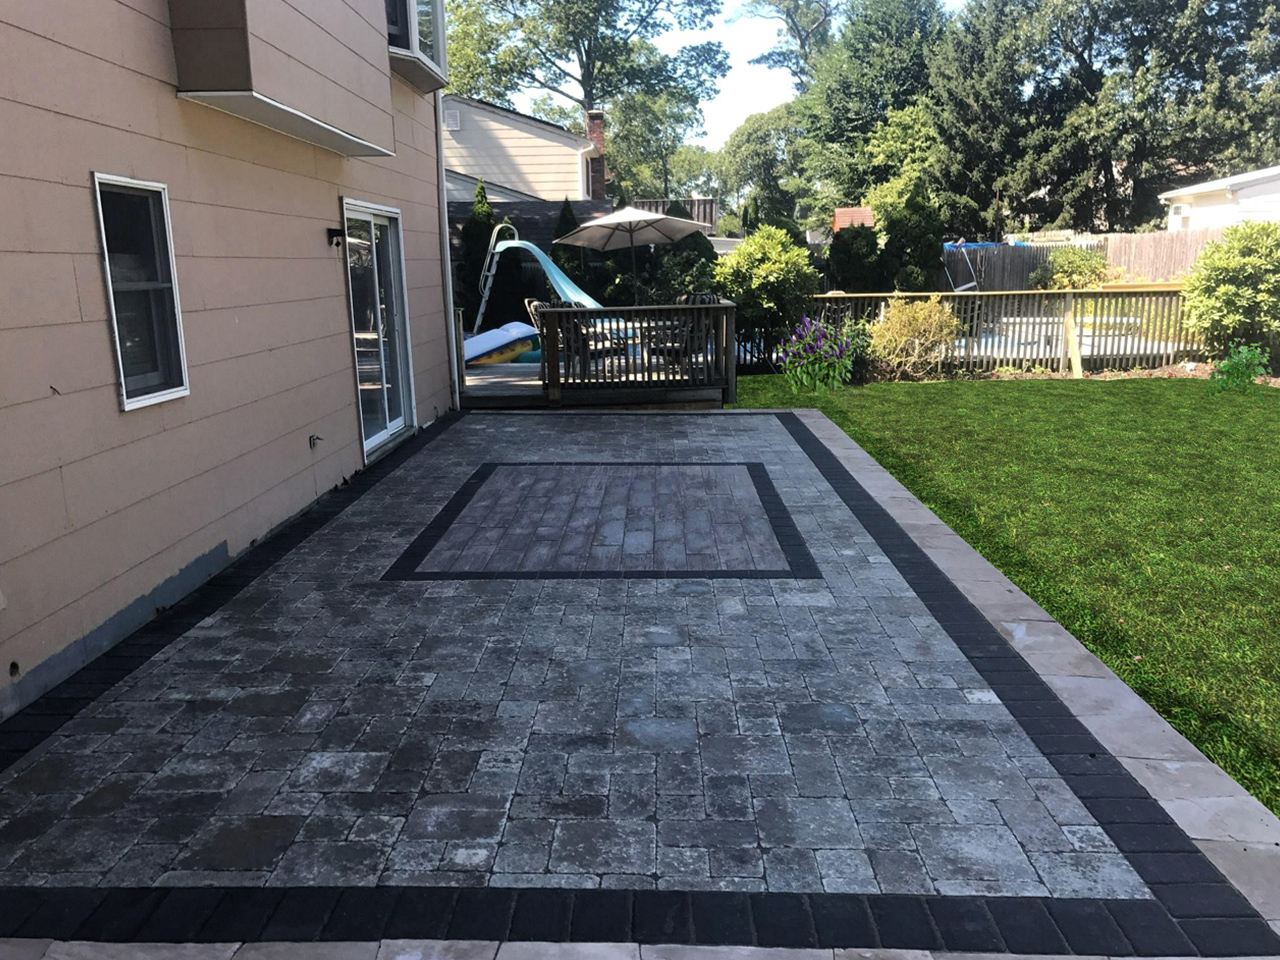
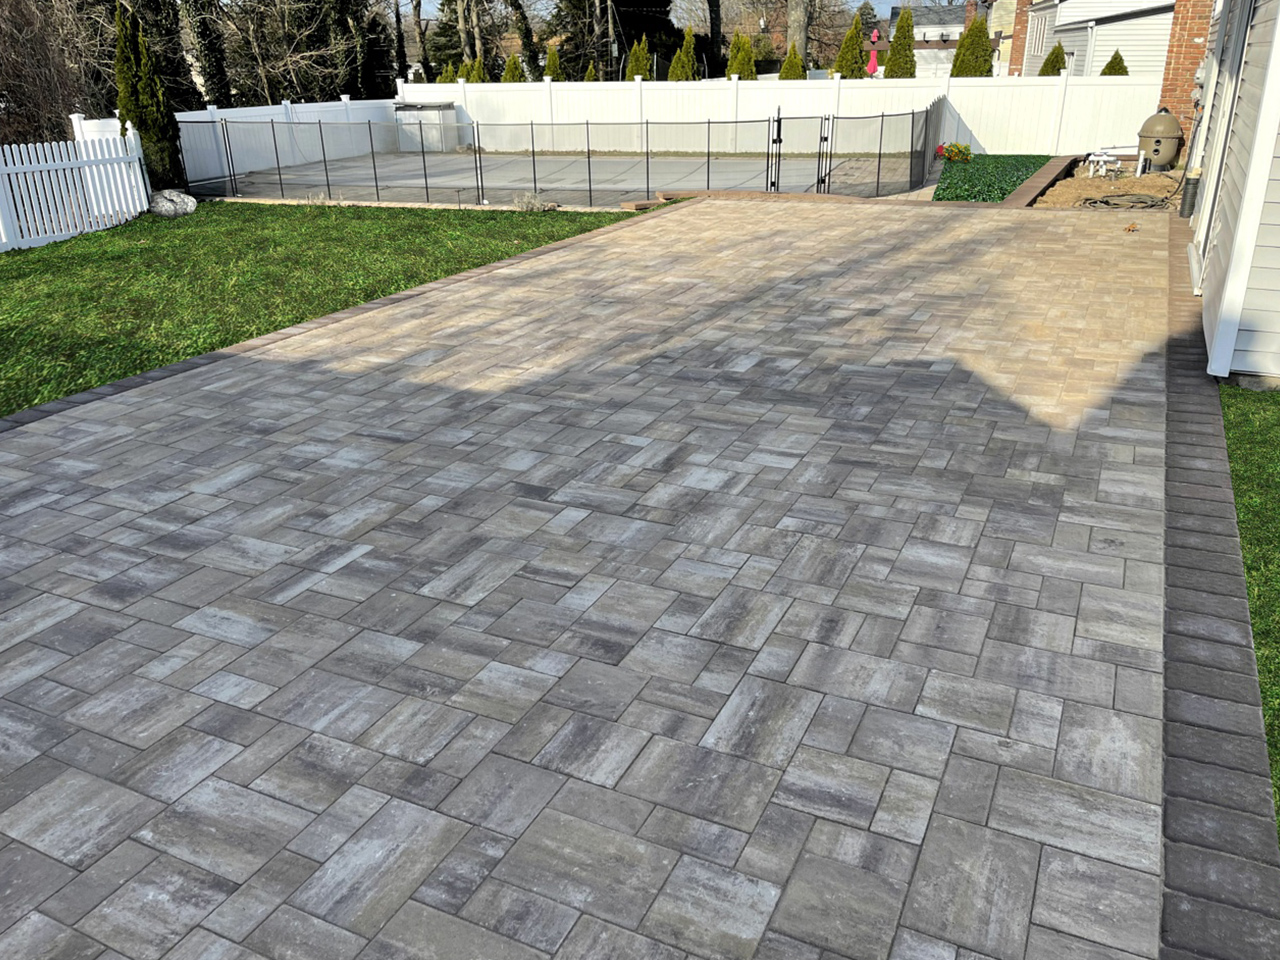
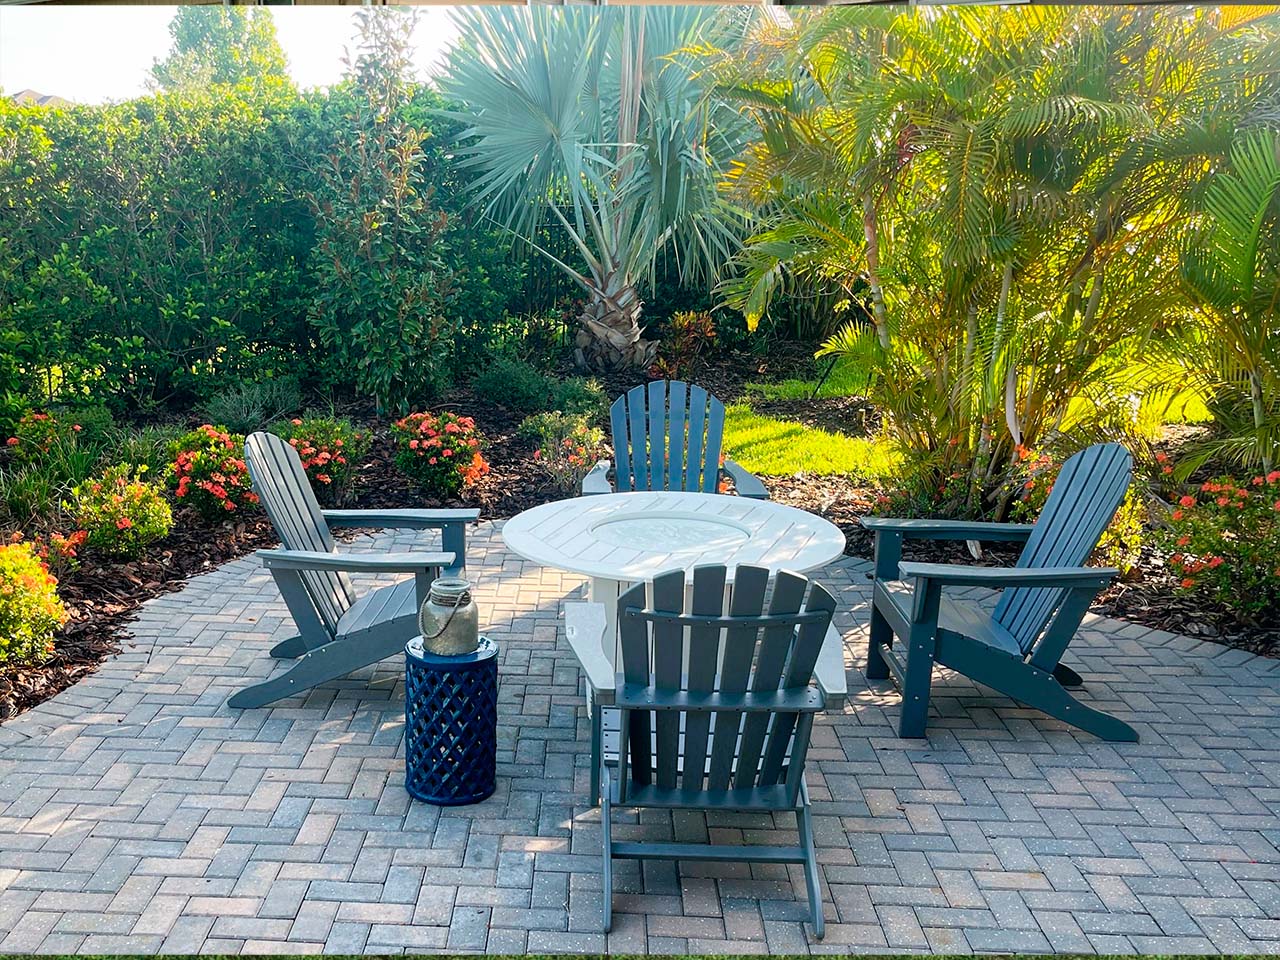
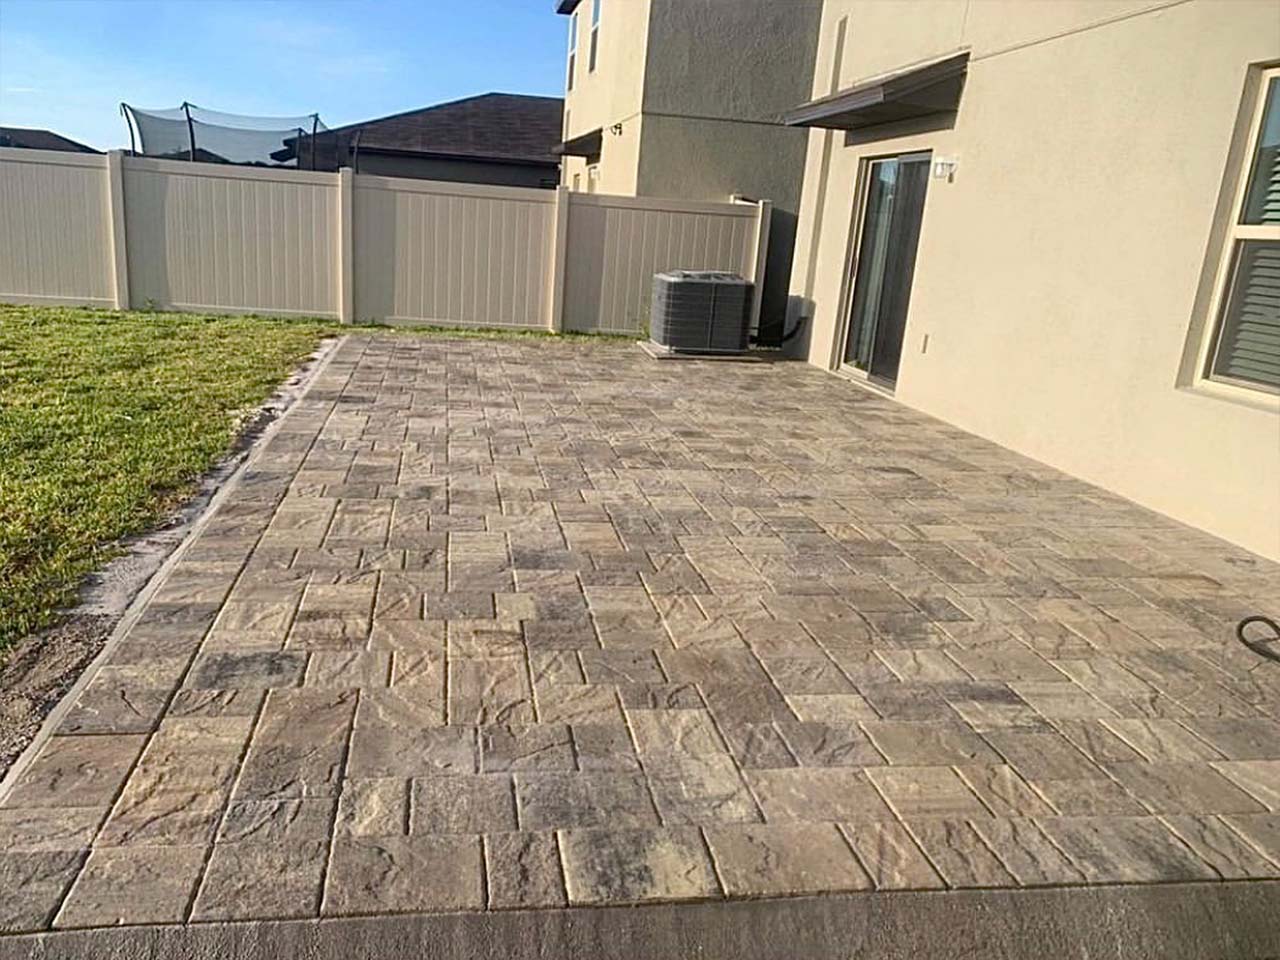
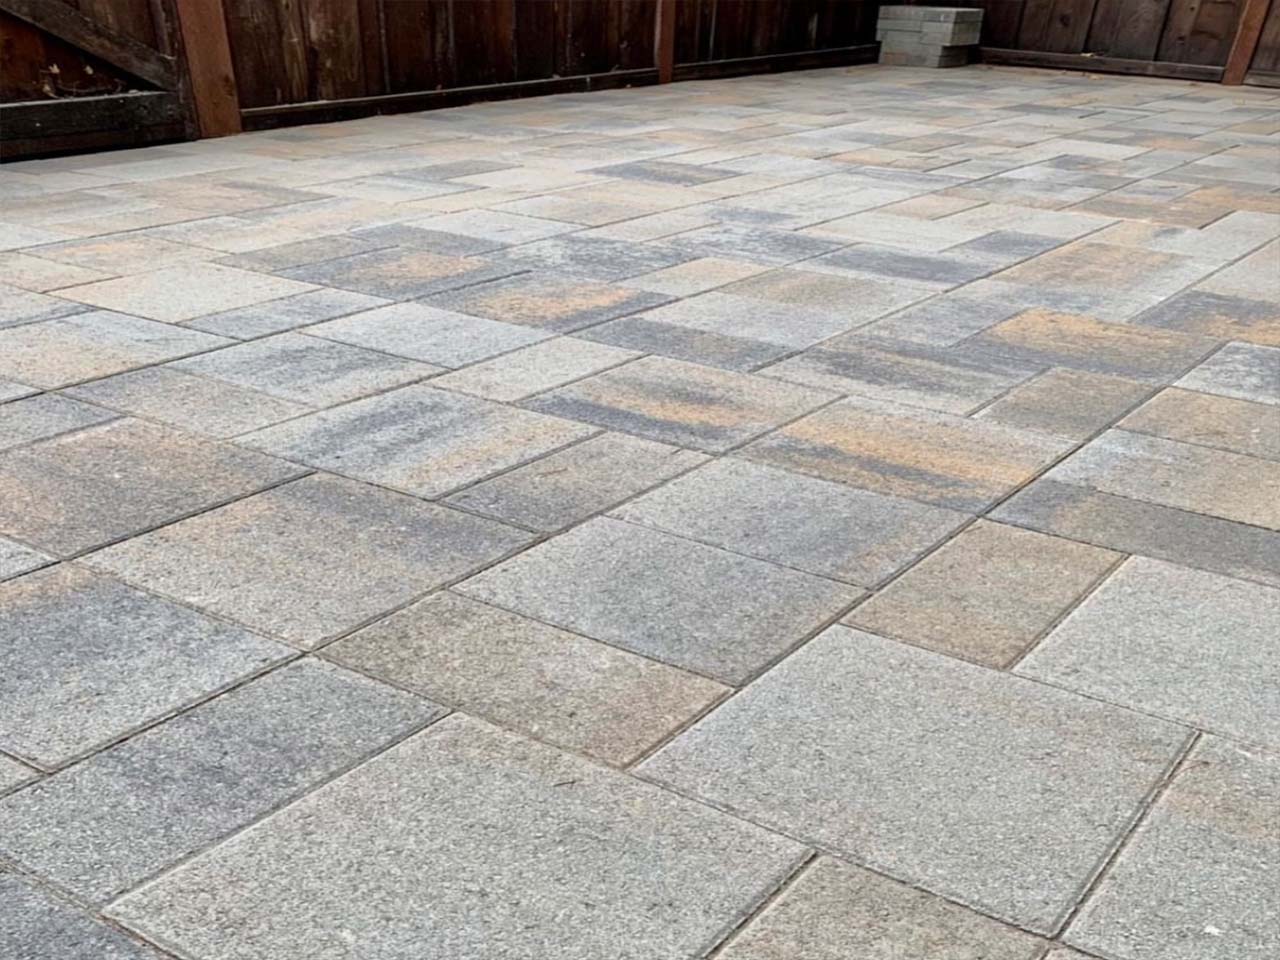
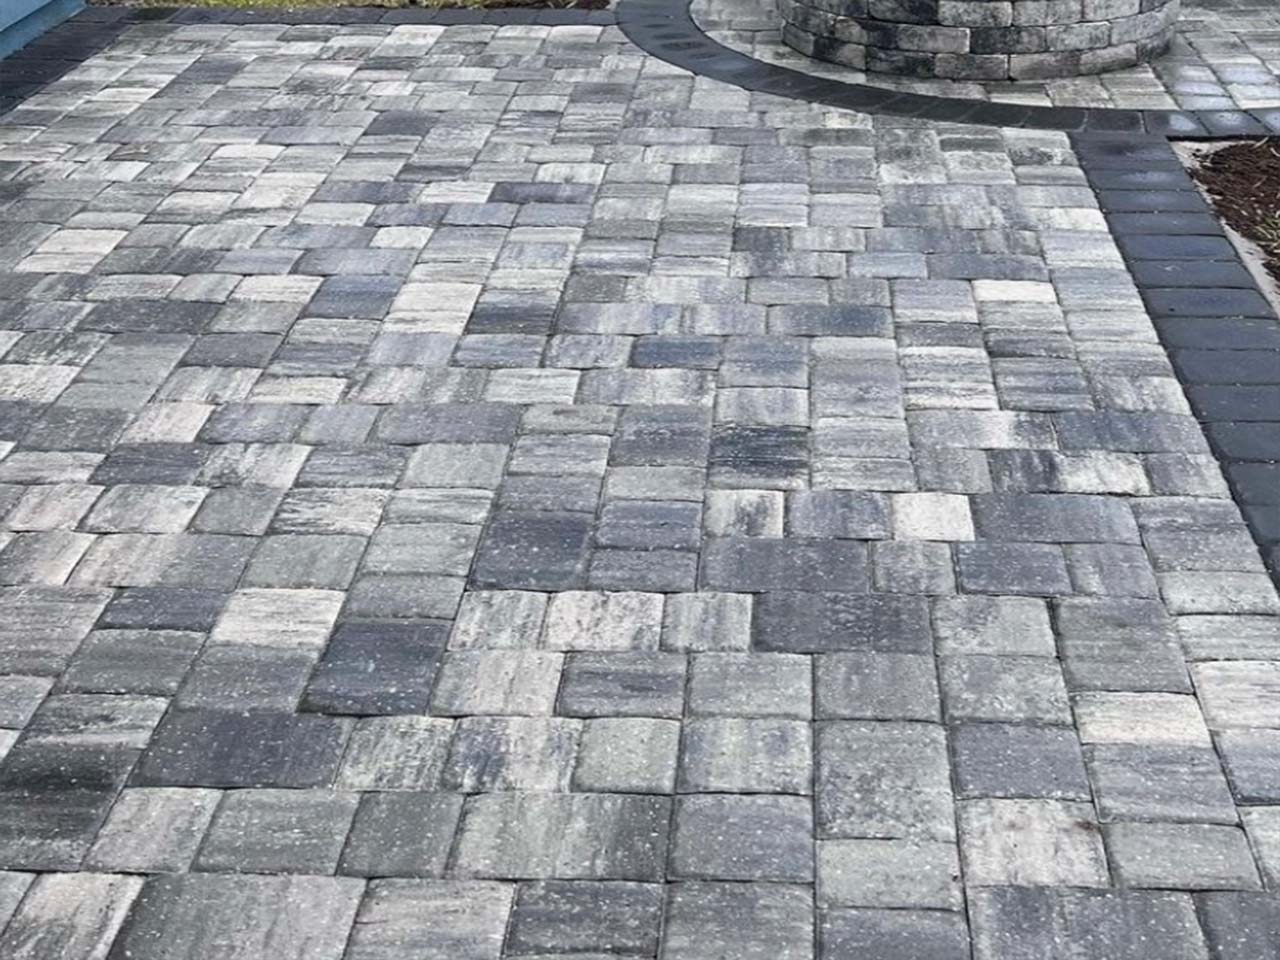
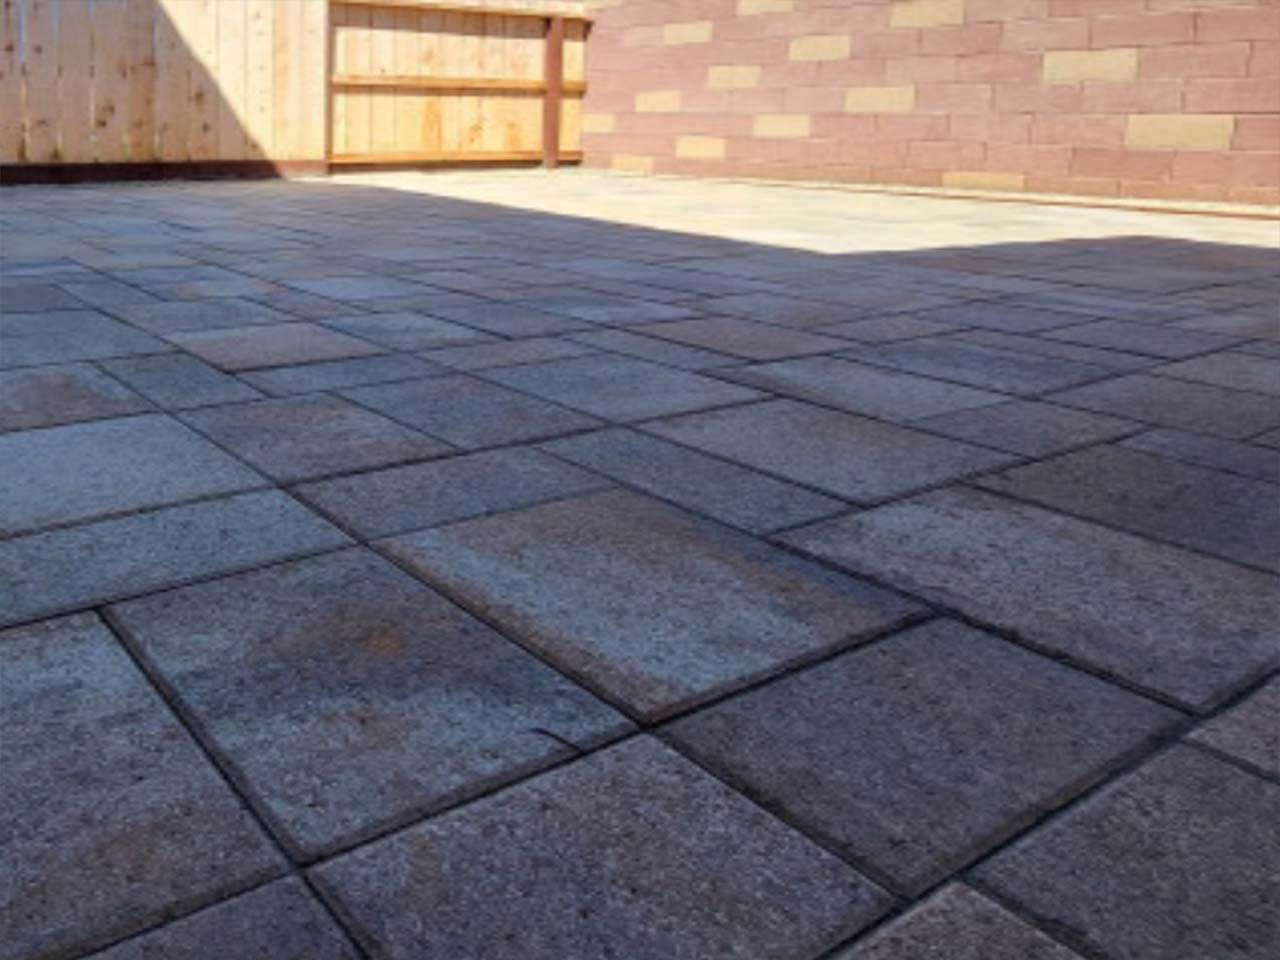
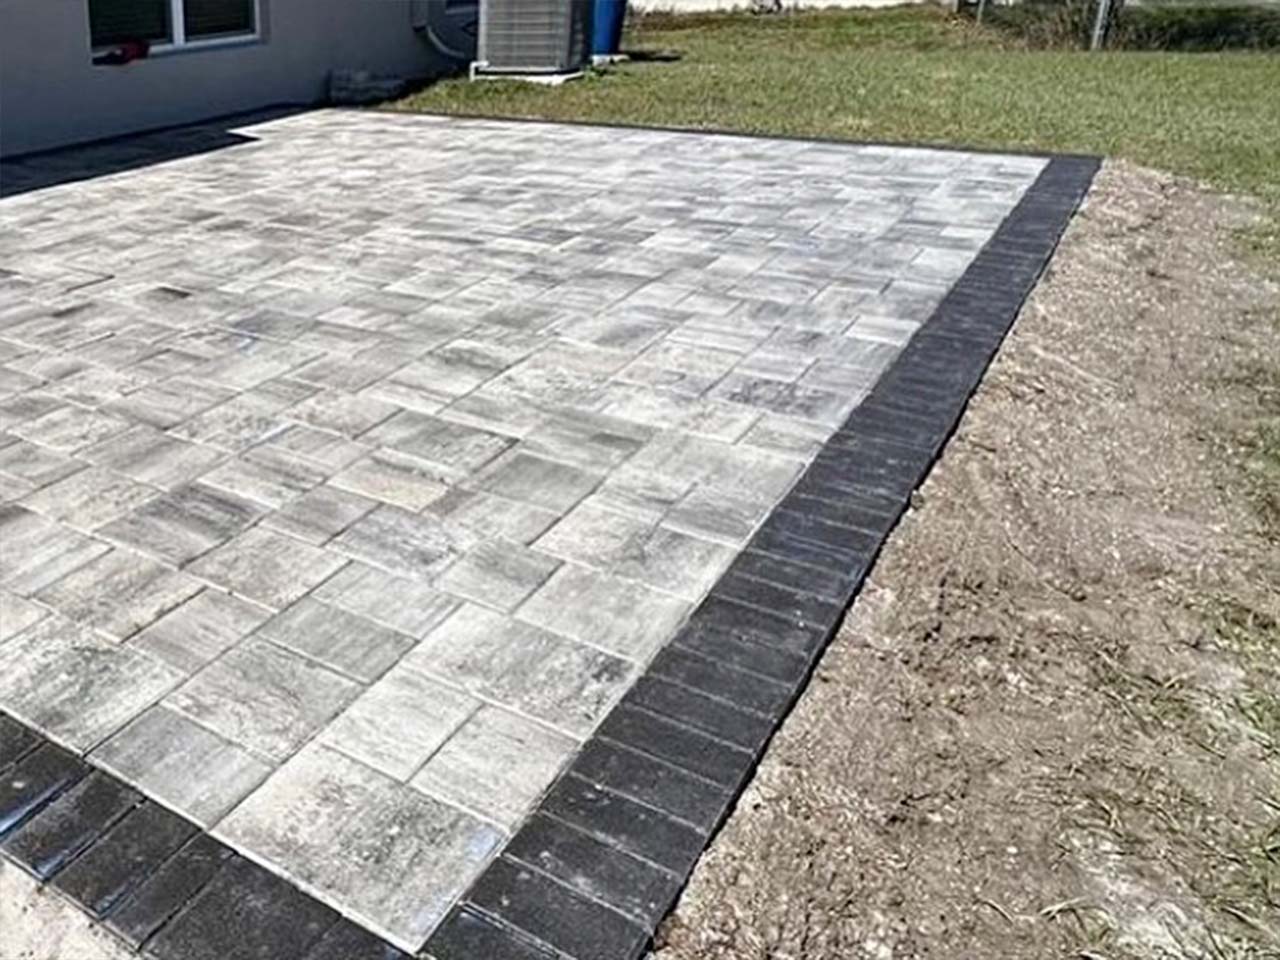
Check out some of our projects
What AP Customers Are Saying
Trustindex verifies that the original source of the review is Google. I have used Affordable Patio three times now for three different projects and I have always been happy with their service. Dealing with James and Kristina in the office is a pleasure. The entire project is thoroughly planned out and executed appropriately. I highly recommend this company. Thanks again AP for all your help!!!Trustindex verifies that the original source of the review is Google. You guys killed it. Thanks for rocking out the back patio. We’re super excited to make new memories. Thanks for the great work guysTrustindex verifies that the original source of the review is Google. We had a wonderful experience from start to finish. James, Kristina, and the entire crew were great to work with!! We will have them back for more projects for sure!!Trustindex verifies that the original source of the review is Google. Working with James Gio Kristina and evo plus his team was an awesome experience. As somone in the industry I was truly impressed and couldn’t believe the standard held by precision. Would recommend 10/10!! Super knowledgeable and worth every penny! felt better than family!!Trustindex verifies that the original source of the review is Google. I just had my patio done and from start to finish everything went amazing. From the moment they came for an estimate, to the moment they finished, everything went smoothly. All the workers were professional and worked so fast. There were no hidden costs, no surprises. Kristina in the office keeps you informed step by step from the point they send the estimate, selecting the brick, start of the project and even throughout the project. She even sent photos of different color combinations as I was indecisive at first. Can't wait to enjoy my backyard with family and friends this summer. Will definitely be using them for future projects to come. Home projects can be stressful and feel like a chore between companies not showing up for estimates, hidden costs, poor workmanship, etc. That was not the case with James, Kristina and the rest of the crew. They made it feel like a breeze!Trustindex verifies that the original source of the review is Google. Affordable Patio is an amazing company! From the estimate, to the install and the clean up. We went online and more or less got a price on our own. We then scheduled an appointment with James, Kristina answered the phone and all of our questions, she’s was polite, knowledgeable and courteous! James came to give us an estimate and was able to figure out a way for us to get a fire pit! We always dreamed of a fire pit! When the install was getting done, the crew was courteous and walked us threw every step and cleaned up like we never had any work done! 5 ⭐️ I love them and recommend them to everyone!Trustindex verifies that the original source of the review is Google. From the initial email that I sent for a quote, to the meeting with James, to the final finished project, I have nothing but excellent things to say about this company. It was an absolute pleasure working with Kristina throughout this whole process. She was very attentive and very quick with responses and questions that I had. Joe and his crew did beautiful work on my patio. I highly recommend this company to anyone looking for a backyard transformation.Trustindex verifies that the original source of the review is Google. Recently had a patio done 18x 35 in size . The crew that came was one of the best that I have seen . They all worked as a team . The lead guy joe was great , explained every detail that was going to happen . They worked together and completed the job in a day and a half . The bob cat did rip up some grass but they brought in top soil and leveled. the lawn to repair the damage . Clean up was just as good . The garbage was placed in bags , removed the dirt from the driveway . Filled the track marks with top soil . Did a great job and would use them again . The entire process was painless .Trustindex verifies that the original source of the review is Google. James and Kristina were very helpful and got the job done very quickly. My patio came out great! I would highly recommend them.Trustindex verifies that the original source of the review is Google. James, Kristina and their work crew did an amazing job. They not only did our backyard they also did stone work on the front of our home and of course our front porch. The crew always cleaned up after their work day.. We couldn't be happier with how our home turned out!
Frequently Asked Questions
What is the first step in a professional paver patio installation in Florida to ensure the ground is level?
Why should homeowners hire experienced paver patio contractors in Florida instead of attempting a DIY project?
How does a proper paver patio installation handle heavy rainfall and drainage?
What are the benefits of using high-quality paving stones for a patio project?
Is it possible to get an instant cost breakdown for a masonry project without an on-site consultation
How much experience does Affordable Patio have with patio projects in Hillsborough County?
Lorem ipsum dolor sit amet, consectetur adipiscing elit. Ut elit tellus, luctus nec ullamcorper mattis, pulvinar dapibus leo.
Ready for Pricing?
Have questions? Want to get started? Reach out! We are available during normal business hours.
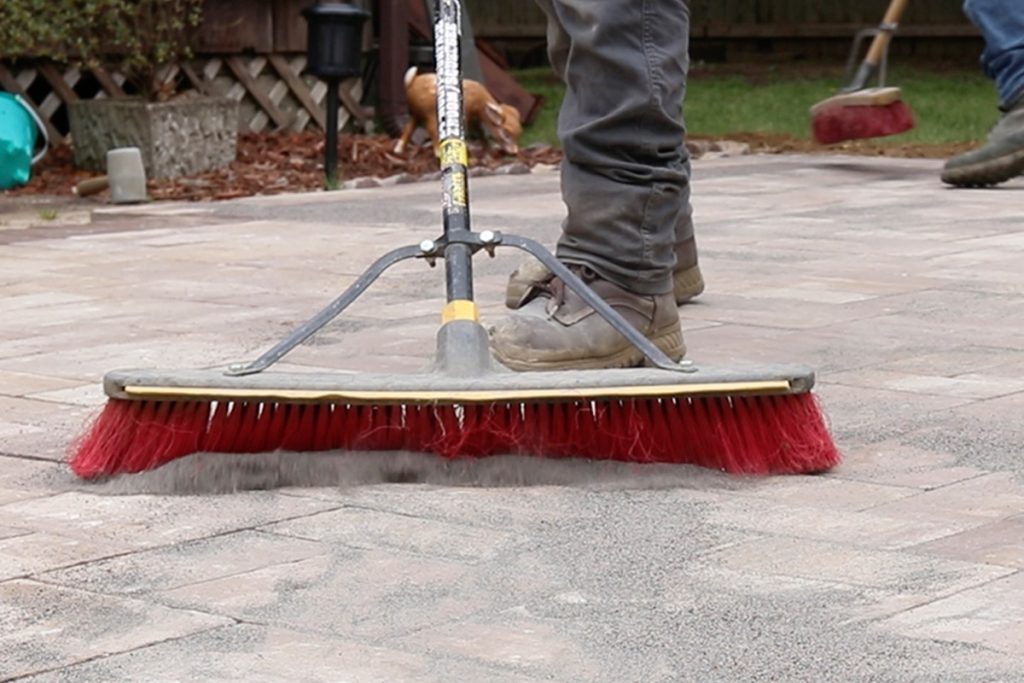
To fill in all the joints between the pavers we use sand. This process is where we sweep the sand into the joints and after proper installation and adding water the sand will set to a hard finish. Ultimately locking out weeds and helping keep the pavers together.