
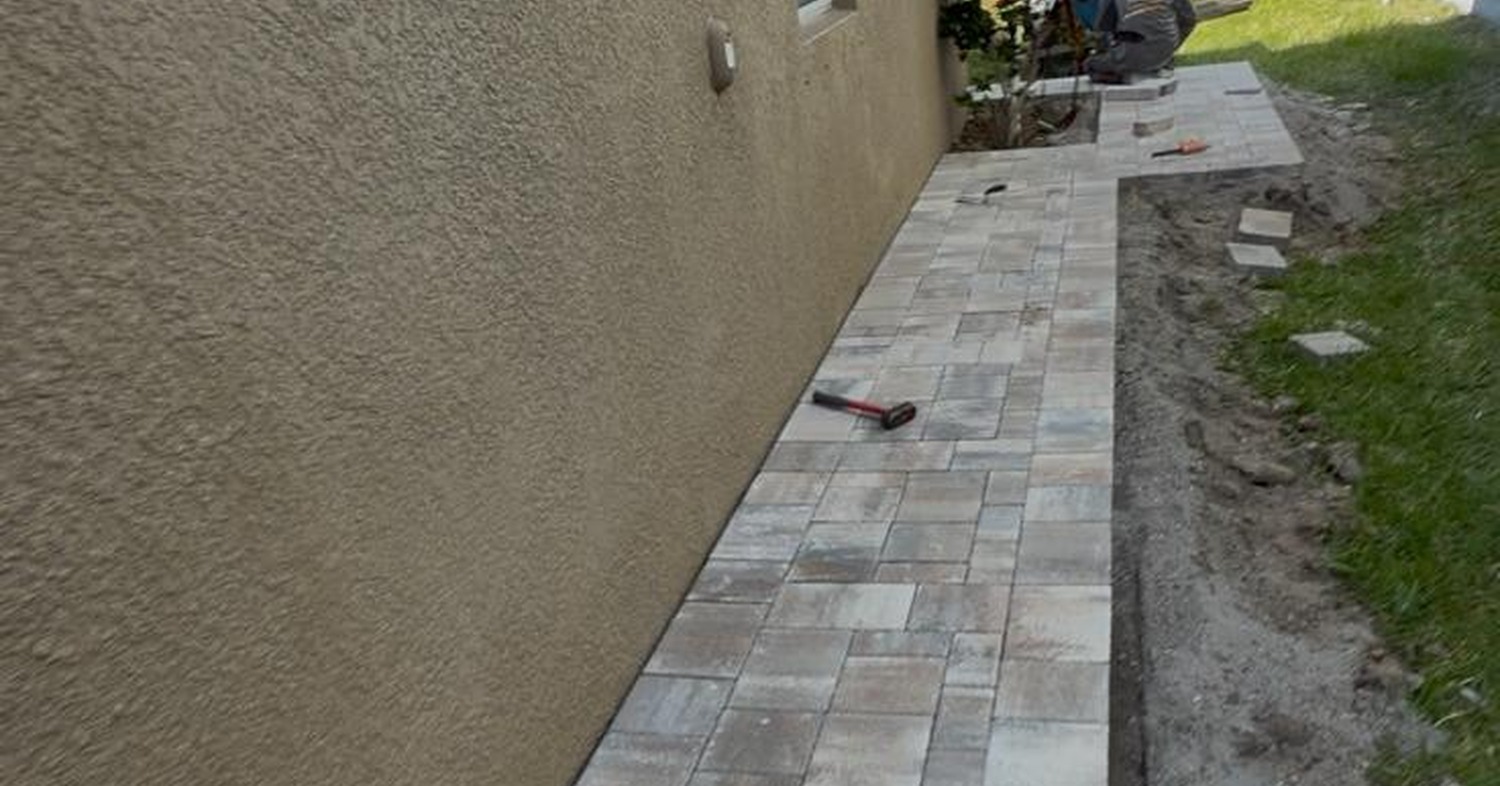
Learning how to install a walkway with pavers is one of the most rewarding outdoor projects a homeowner can take on — and knowing how to install a walkway with pavers correctly — but it requires careful planning, the right tools, and a solid understanding of what goes beneath the surface. How to install a walkway with pavers is not just about laying stones in a pattern. The base preparation, drainage pitch, and edge restraint work are what separate a walkway that looks great for 20 years from one that shifts and buckles after two rainy seasons. This guide walks you through every step clearly so you know exactly what’s involved before you start digging.
How to install a walkway with pavers follows six core steps: mark and excavate the path, compact the sub-base, add and screed a sand layer, set pavers in your chosen pattern, cut edge pieces, and lock everything with joint sand and edge restraints. A standard 3-foot-wide walkway takes one to two weekends for a motivated homeowner with basic tools. Professional installation by an experienced crew typically takes half a day to one full day.
Tools and Materials You Need Before You Start
Before you begin learning how to install a walkway with pavers, gather everything on this list. Stopping mid-project to find tools wastes time and can compromise the work if sand or base materials are left exposed overnight.
- Pavers — Belgard, Flagstone, or your material of choice
- Crushed stone or RCA sub-base (4 inches deep)
- Coarse bedding sand (1 inch deep)
- Plate compactor (rent from a hardware store)
- Mason’s string line and stakes
- Rubber mallet
- Paver chisel or diamond blade wet saw for cuts
- Screed pipes (two metal conduit sections)
- Plastic or concrete edge restraints with spikes
- Polymeric joint sand
- Landscape fabric (optional)
- Level and measuring tape
Step 1 — Plan Your Layout and Mark the Path
The first step in how to install a walkway with pavers is planning your path precisely before you touch a shovel. Mark both edges of the walkway using stakes and mason’s string, keeping a minimum width of 36 inches for comfortable single-person passage and 48 to 60 inches if you want two people to walk side by side. Curve sections can be marked with a garden hose laid flat before you transfer the shape to spray paint on the ground.
Account for paver dimensions when designing your layout. Cutting too many pieces slows installation and creates weak edge points. A 4-foot-wide path using 4×8-inch brick-style pavers in a running bond pattern requires almost zero cuts along straight sections — plan dimensions around your chosen paver size whenever possible.
Step 2 — How to Install a Walkway with Pavers: Excavation Depth
How to install a walkway with pavers correctly demands proper excavation depth. You need to remove enough soil to accommodate: 4 inches of compacted crushed stone base, 1 inch of bedding sand, plus the full thickness of your chosen paver (typically 2.375 to 3.125 inches). Total excavation depth runs 7 to 8.5 inches below your finished surface grade in most cases.
Slope matters too. Build in a 1.5-inch drop per every 10 feet of run, sloping away from any structures. In Florida, where afternoon tropical rainstorms are routine, this drainage pitch keeps your walkway from becoming a river and protects your home’s foundation from pooling water.
Step 3 — Install and Compact the Sub-Base
The sub-base is the most important variable in how to install a walkway with pavers that lasts. Pour 4 inches of crushed concrete (RCA) or compactible gravel into the excavated area and rake it level. Run a plate compactor over the entire surface twice — once in one direction, then perpendicular. Check that no section has more than a quarter-inch variation in height using a straight board or long level.
If your soil is particularly sandy or soft, as is common in parts of Hillsborough and Manatee County, add a layer of landscape fabric between the native soil and sub-base to prevent migration over time. This small addition significantly extends the life of your walkway base.
Step 4 — Screed the Bedding Sand Layer
Place two sections of metal conduit pipe parallel to each other across the compacted base, positioned at your walkway edges. Pour coarse bedding sand between them to a 1-inch depth, then drag a straight board (a screed board) across the conduit pipes to create a perfectly flat sand surface. Pull the pipes out after screeding and fill the channels by hand.
Do not compact the sand at this stage — it needs to remain loose so pavers can be pressed into it uniformly. One of the most common mistakes in how to install a walkway with pavers is over-compacting the sand layer before pavers are set.
| Layer | Depth | Material |
|---|---|---|
| Sub-base | 4 inches compacted | Crushed concrete (RCA) or compactible gravel |
| Bedding sand | 1 inch | Coarse concrete sand |
| Pavers | 2.375 – 3.125 inches | Belgard, Flagstone, or selected paver type |
Skipping this step or rushing it is the most common reason walkways fail early. If you’d rather leave the base work to professionals, our Florida team is available for free estimates with a 24-hour turnaround.
Step 5 — Set the Pavers
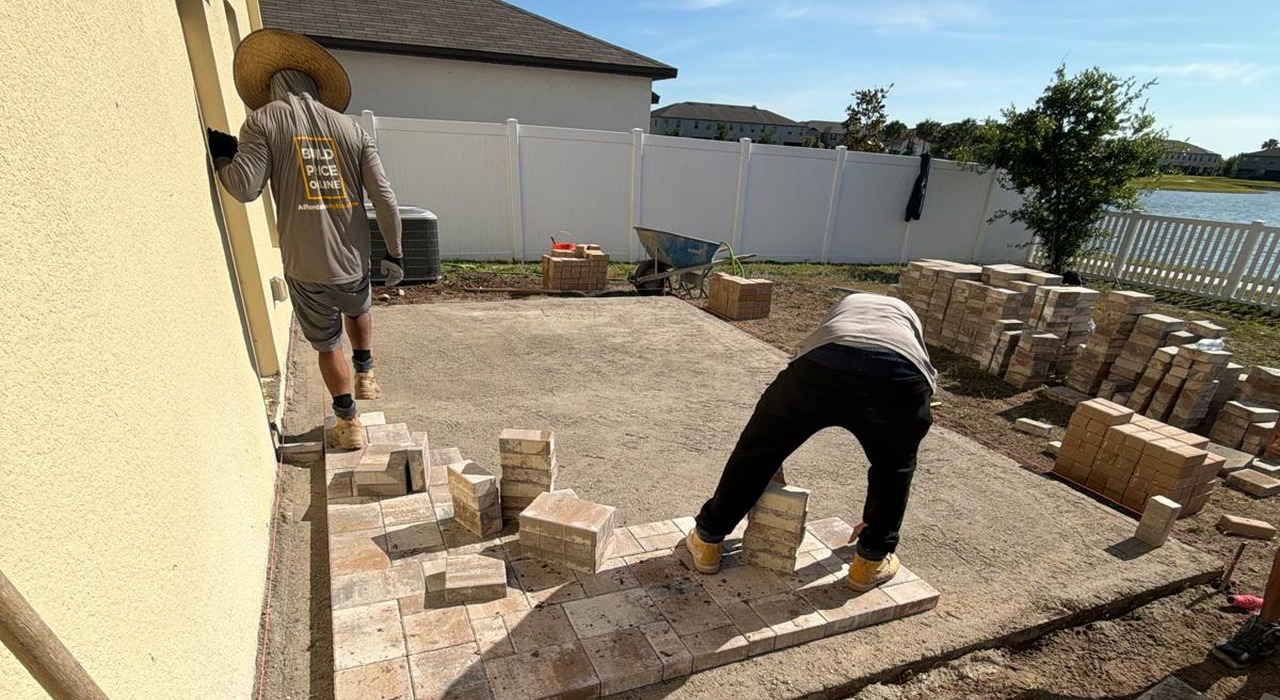
Start setting pavers from a fixed straight edge — typically along the house or a defined border. Knowing how to install a walkway with pavers means always working from a fixed reference point so rows stay straight across the full run. This is the step most DIY guides skip, but it is the one that determines whether your finished path looks professional. Press each paver firmly into the sand with your hands, then tap it level with a rubber mallet. Maintain consistent joint spacing using paver spacers or by eye if your pavers have built-in spacing lugs. Check for level every four to five rows using your level across the surface.
Common patterns for walkways include running bond (bricks offset like a wall), herringbone (45 or 90 degrees), and basket weave. Running bond is the easiest pattern when learning how to install a walkway with pavers because it minimizes cuts and moves quickly. Herringbone locks more tightly under foot traffic and is ideal for driveways or high-use paths.
Step 6 — How to Install a Walkway with Pavers: Cut, Edge, and Lock
Once all full pavers are set, measure and cut border pieces to fit using a diamond blade wet saw or angle grinder with a segmented blade. Wear eye protection and ear protection for all cuts. Install plastic edge restraints along both sides of the walkway and hammer landscape spikes through the restraint and into the sub-base every 12 inches.
The final step in how to install a walkway with pavers is joint sand. Pour polymeric sand across the entire surface and sweep it into the joints using a push broom. Run the plate compactor over the finished surface one final time to seat pavers firmly. Apply a light water mist to activate the polymeric binder in the joint sand — this hardens joints and resists weed growth. See our Florida walkway services page for examples of completed projects.
Want to see how our installation compares? Visit our step-by-step process page for a full visual walkthrough of how Affordable Patio’s crews approach each project from start to finish.
Frequently Asked Questions About Paver Walkway Installation
How to install a walkway with pavers on a curved or irregular path?
Curved paths use the same layered base method, but edge restraints are spiked more closely — every 6 to 8 inches on curved sections — to follow the arc tightly. Pavers on curves may need more cuts at the edges. A fan or wedge pattern can reduce cuts on gentle curves.
Can I install a paver walkway over existing concrete?
Only if the existing concrete is completely flat, crack-free, and properly pitched. Most professionals recommend removing old concrete because even small cracks allow water to migrate below the new pavers and create movement over time.
How long does a DIY paver walkway installation take?
A 3-foot-wide, 20-foot-long walkway typically takes one full weekend for a two-person team — one day for excavation and base work, one day for paver setting and finishing. Larger paths or curved designs take longer.
What joint sand should I use for a paver walkway?
Polymeric sand is the best choice because it hardens when wet, resists weed growth, and stays in place under foot traffic. The National Association of Home Builders recommends polymeric jointing sand as standard practice for residential paver installations. Standard mason sand migrates over time and allows weeds to establish in joints.
How do I prevent weeds from growing through my paver walkway?
Polymeric joint sand is your first defense. Landscape fabric beneath the sub-base helps too. Avoid standard joint sand if possible — it invites weeds and requires regular reapplication.
Conclusion: How to Install a Walkway with Pavers the Right Way
Knowing how to install a walkway with pavers correctly is about understanding that the visible surface is only as good as what’s underneath it. Every professional starts with the sub-base, not the stone. Proper excavation, a compacted 4-inch base, accurate drainage pitch, and polymeric joint sand are the difference between a walkway that lasts decades and one that shifts after the first rainy season. With 15 years of experience and over 1,000 completed masonry projects across Florida, Affordable Patio’s crews execute every step of this process with precision. If you’d prefer professional results without the weekend labor, we’re ready to help.
Get a free estimate on your Florida walkway project. Contact Affordable Patio or call (813) 777-5665. You can also use our online pricing tool for an instant estimate from home.