
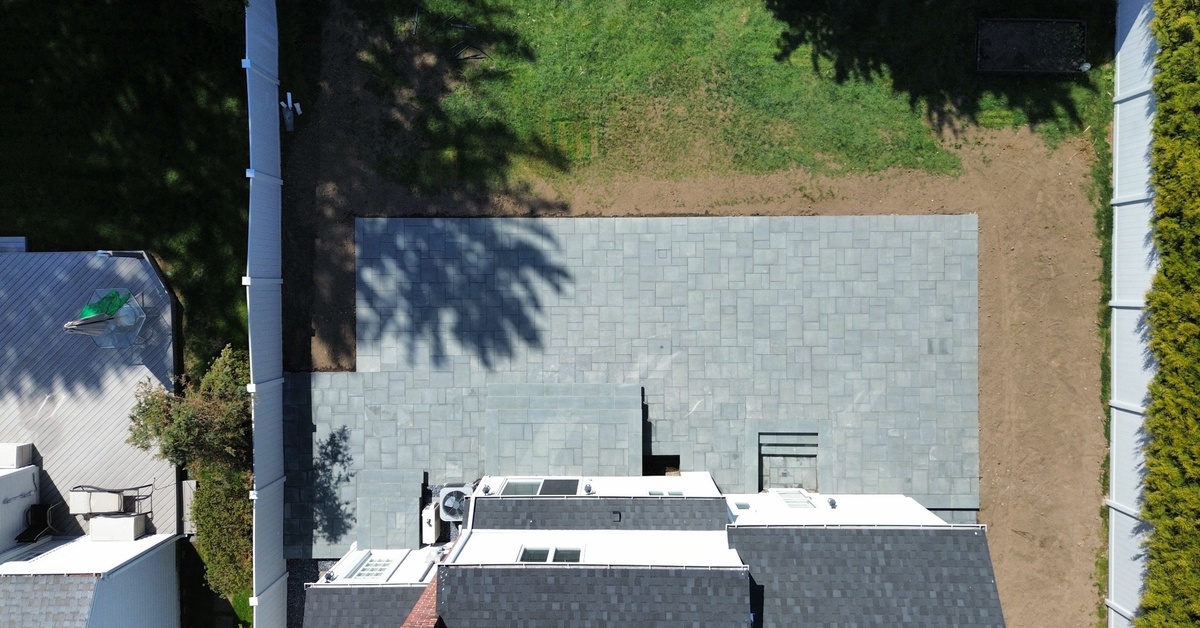
How to install paver driveway surfaces that hold up in Suffolk County starts with the base, not the pavers. A driveway has to handle parked cars, turning tires, delivery vehicles, stormwater, freeze-thaw cycles, and soil movement. Affordable Patio has installed over 1,000 driveways across Suffolk County, so we know the difference between a surface that looks good on day one and a driveway built for daily use. This guide explains paver driveway installation from a contractor’s point of view, including excavation, driveway base preparation, compaction, grading, edge restraint, paver driveway drainage, joint sand, and final inspection.
Table of Contents
Quick Answer
How to install paver driveway surfaces the right way starts with excavation, a compacted base, proper grading, edge restraint, drainage, and joint stabilization. In Suffolk County, the process also has to account for freeze-thaw cycles, coastal moisture, sandy soils, clay pockets, turning tires, and the daily weight of vehicles.
How to install paver driveway surfaces from a contractor’s point of view
How to install paver driveway surfaces professionally is different from a weekend patio project. A driveway is a working surface. It has to stay stable while vehicles stop, park, reverse, and turn in the same areas every day. That is why the first step is not picking a color. The first step is understanding load, grade, water movement, and soil conditions.
A proper paver driveway installation starts with a site review. A contractor should look at the garage elevation, street apron, existing asphalt or concrete, side-yard access, low spots, downspouts, slopes, and nearby walkways. If the driveway connects to a stoop or paver path, those elevations need to be planned before excavation.
Affordable Patio’s Suffolk County driveway service explains that driveway work often starts because old surfaces expand, settle, crack, or deteriorate. Paver stone driveway installation should solve those issues below the surface before the new driveway pavers are installed.
Excavation and driveway base preparation
Driveway base preparation controls the long-term strength of the project. If weak material stays under the driveway, the finished surface can settle, rut, or shift. During paver driveway installation, the old driveway material may need to be removed, and soft soil may need to be excavated until stable ground is reached.
For patios, Affordable Patio uses 4 to 6 inches of crushed concrete base, compacted with a gas-powered plate compactor, followed by about 1/4 inch of fine mason sand, paver installation, concrete edge restraint, and polymeric sand joints. Driveways need a more load-focused version of that thinking because vehicle weight is much more demanding than furniture and foot traffic.
How to install paver driveway surfaces correctly depends on the depth and quality of the base. In many Suffolk County yards, the site may include sandy soil, clay pockets, roots, old asphalt, or past patchwork. A contractor should adjust driveway base preparation around those conditions instead of using one generic depth for every property.
Compaction, grading, and load planning
Compaction turns loose base material into a stable support layer. Without proper compaction, driveway pavers can dip, spread, or move under pressure. A paver driveway installation should compact the subgrade and base in a way that fits vehicle use, not just foot traffic.
Affordable Patio’s driveway process describes using a 4-inch crushed concrete base compacted with a power roller for driveway work. That base is regraded and power rolled again before the finished surface is installed. The lesson for paver stone driveway installation is clear: driveways need stronger compaction planning than patios because cars and trucks create repeated loads.
Grading matters just as much. A driveway should not send water toward the garage, foundation, front entry, or neighbor’s property. How to install paver driveway surfaces in Suffolk County includes reviewing high points, low points, apron height, garage threshold, and the way stormwater leaves the property.
| Step | What pros check | Why it matters |
|---|---|---|
| Site review | Garage height, apron, slope, old surface, and access | Prevents layout and drainage surprises |
| Excavation | Old material, weak soil, roots, and depth | Creates space for proper driveway base preparation |
| Compaction | Subgrade strength, base lifts, and equipment access | Helps driveway pavers resist settling and rutting |
| Drainage | Pitch, low spots, water exit points, and garage edge | Protects the paver driveway base during storms |
| Final inspection | Edges, joints, surface level, and traffic readiness | Confirms the driveway is ready for use |
If your existing driveway has dips, puddles, or cracked edges, contact Affordable Patio before choosing new driveway pavers. A site review can show whether the issue is on the surface or deeper in the base.
Paver driveway drainage and Long Island weather
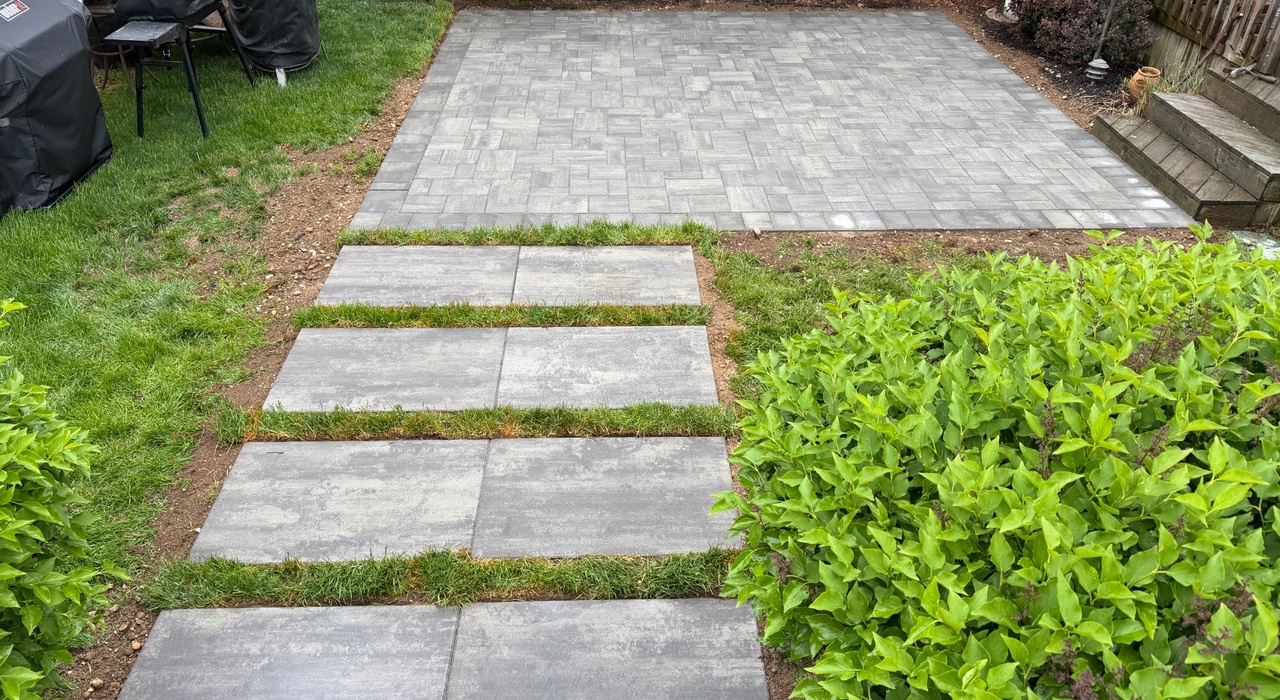
Paver driveway drainage is one of the most important parts of the build. Water can weaken the base, collect near the garage, freeze in low areas, or push into nearby soil. In Suffolk County, storms, coastal moisture, winter freeze-thaw cycles, and changing soil conditions can all affect driveway performance.
The Department of Energy explains that managing moisture includes drainage methods that move water away from building areas. That same principle applies to hardscape planning. Paver driveway drainage should move water away from the house, garage, walkway, stoop, and driveway edge.
How to install paver driveway surfaces for Long Island weather means looking beyond the top layer. South Shore soils may drain quickly but shift if base material is weak. North Shore properties may have clay, rock, or steeper grades. East End homes may deal with sandy loam and salt-air exposure. A Suffolk County driveway plan should be site-specific.
Edge restraint, bedding layer, and joint sand
Edge restraint helps keep driveway pavers from spreading outward under vehicle movement. This matters most near curves, open edges, the street apron, and turning areas. A driveway edge that looks fine at installation can move over time if it is not locked in properly.
The bedding layer should create a consistent setting bed for the pavers, not hide uneven base work. During paver driveway installation, the surface should be prepared so the pavers sit evenly and transfer loads into the compacted base below.
Joint sand helps stabilize the surface by filling the spaces between pavers. Paver stone driveway installation should include careful sweeping, compaction, and joint finishing so the surface works as a connected system. How to install paver driveway surfaces correctly means every layer has a job.
Final inspection before a paver driveway is ready for use
The final inspection should look at more than appearance. A contractor should check surface consistency, edge support, joint fill, drainage flow, garage transition, apron connection, and any areas where tires will turn. Driveway pavers should look clean, but they should also feel stable under traffic.
Homeowners should also ask when the driveway can be used after installation. The answer can depend on the materials, joint sand, final compaction, weather, and edge conditions. A clear timeline prevents early vehicle use from disturbing the finished surface.
Use Affordable Patio’s Build & Price tool to organize the project details, then review the step-by-step process before scheduling an estimate. Paver stone driveway installation is easier to plan when access, grade, and drainage are clear from the start.
Before work begins, ask how to install paver driveway surfaces for your exact property, not just in general. The best plan should match your vehicles, soil, slope, drainage, and daily parking habits.
Frequently Asked Questions
How do pros install paver driveway surfaces?
Pros install paver driveway surfaces by reviewing the site, excavating old material, preparing a strong base, compacting in layers, grading for drainage, setting edge restraint, installing pavers, filling joints, and inspecting the finished surface.
Why is driveway base preparation so important?
Driveway base preparation is important because the base carries the vehicle load. If the base is weak, driveway pavers can settle, move, dip, or spread even if the surface looks good at first.
How does paver driveway drainage work?
Paver driveway drainage works by using proper pitch, stable base planning, and water exit paths. The goal is to move water away from the garage, house, walkway, and driveway edge.
Is paver driveway installation different from patio installation?
Paver driveway installation is more demanding because driveways carry cars, trucks, and turning tires. Patios mainly carry people, furniture, and outdoor features, so the base and compaction needs are different.
What makes paver stone driveway installation last longer?
Paver stone driveway installation lasts longer when excavation, base depth, compaction, drainage, edge restraint, joint sand, and final inspection are handled correctly for the property and expected vehicle use.
Conclusion
How to install paver driveway surfaces for Suffolk County weather starts with the base and ends with a full inspection. Excavation, driveway base preparation, compaction, grading, paver driveway drainage, edge restraint, joint sand, and vehicle-use planning all work together. With 15+ years of Suffolk County experience and more than 1,000 driveways installed, Affordable Patio helps homeowners understand what separates a good-looking driveway from one built for daily use.
For help with paver stone driveway installation in Suffolk County, contact Affordable Patio today and plan a driveway built around Long Island weather, proper drainage, and long-term vehicle use.