There is a reason paver patios have become one of the most requested outdoor improvements for New Hampshire homeowners. They look great, hold up to hard winters, and last for decades when installed correctly. But that phrase installed correctly carries a lot of weight. We have seen plenty of DIY paver projects and budget contractor jobs that looked fine on day one and were a problem by year two. Knowing how to install patio pavers the right way is the difference between a backyard you enjoy for years and one that becomes an expensive headache.
At Affordable Patio New Hampshire, we follow a proven installation process on every project. Below, we walk through that process step by step so you understand exactly what proper paver installation involves and what to watch for whether you are doing it yourself or hiring a contractor.
Table of Contents
- What You Are Really Getting Into
- Planning and Layout: Where Most Projects Go Wrong First
- Excavation: Digging to the Right Depth
- Building a Proper Base
- Installing Edge Restraints
- Screeding the Bedding Sand
- Setting the Pavers
- Compaction and Joint Sand
- The Mistakes That Cost Homeowners the Most
- When It Makes More Sense to Hire a Professional
- FAQs About How to Install Patio Pavers
- Let Affordable Patio Handle the Hard Part
What You Are Really Getting Into
Learning how to install patio pavers is genuinely useful knowledge, whether you plan to tackle the project yourself or hire a contractor. Understanding the process helps you evaluate bids, ask informed questions, and know when something is being done correctly or cut short. It is physical, detail-oriented work, and the difference between a patio that looks great for twenty years and one that starts shifting in three often comes down to steps that take ten extra minutes but get skipped anyway.
At Affordable Patio New Hampshire, we have built enough patios across the region to know exactly where things go sideways. This guide walks through how to install patio pavers correctly, from initial planning through the final sweep of polymeric sand, with honest notes on where common mistakes occur and what they cost to fix.
Whether you prefer a rustic stone look or a modern finish, our expert patio services offer a wide variety of high-quality materials.
Planning and Layout: Where Most Projects Go Wrong First
Before a single shovel goes in the ground, the project needs a clear plan. That means determining the exact dimensions of the patio, how it relates to the house and the rest of the yard, what slope is needed for drainage, and where the finished surface will sit relative to existing doors, steps, or grade changes.
Drainage is one of the most overlooked elements at this stage. A patio surface needs a subtle pitch, typically about one inch of drop for every eight feet of surface, to direct water away from the house foundation. Getting this right means establishing accurate reference points before excavation begins, not trying to adjust on the fly after the base is in.
Mark out the patio perimeter using stakes and string lines. Use a level to confirm your pitch is correct along the string lines. This step takes time, but it sets the geometry for everything that follows. A square that is slightly out of square at this stage will cause cutting headaches and visible alignment problems at the edges.
Excavation: Digging to the Right Depth
The total excavation depth depends on your paver thickness plus the base layers. For a standard residential patio using standard pavers, you are typically digging seven to eight inches below the desired finished surface. That accounts for four to six inches of compacted crushed stone, one inch of bedding sand, and the paver thickness itself.
Remove all organic material, roots, and soft soil. If you hit a soft spot during excavation, do not simply fill over it. Compact the area or remove the soft material and replace it with compacted fill before proceeding. Soft spots in the subgrade translate directly into low spots on the finished surface over time.
If you are renting a skid steer or mini excavator, plan your access carefully. These machines are efficient but they leave significant track marks in lawns and can damage landscaping if access is tight. Plan before you dig to minimize that collateral disruption.
Building a Proper Base
The crushed stone base is where most paver installation projects either succeed or fail in the long run. Use angular processed gravel, typically three-quarter-inch crusher run, and compact it in two- to three-inch lifts using a plate compactor. Do not dump all the stone at once and compact once. Each lift needs its own compaction pass before the next layer goes down.
Total compacted depth should be four to six inches. In New Hampshire’s climate, staying at five to six inches provides better resistance against frost heave. After the final lift, check the surface with a long straightedge or level. It should be flat, firm, and consistent across the entire area.
Installing Edge Restraints
Edge restraints go in before the bedding sand. These are typically plastic or aluminum borders staked into the compacted base at the perimeter of the patio. Their job is to keep the pavers from migrating laterally over time. Without them, even a perfectly installed patio will slowly spread at the edges, opening joints and allowing pavers to shift.
Stake the restraints into the base every twelve inches or so. On curves, use more frequent staking to hold the shape. On straight runs, make sure the restraints are tight to the string line and level before staking them down permanently.
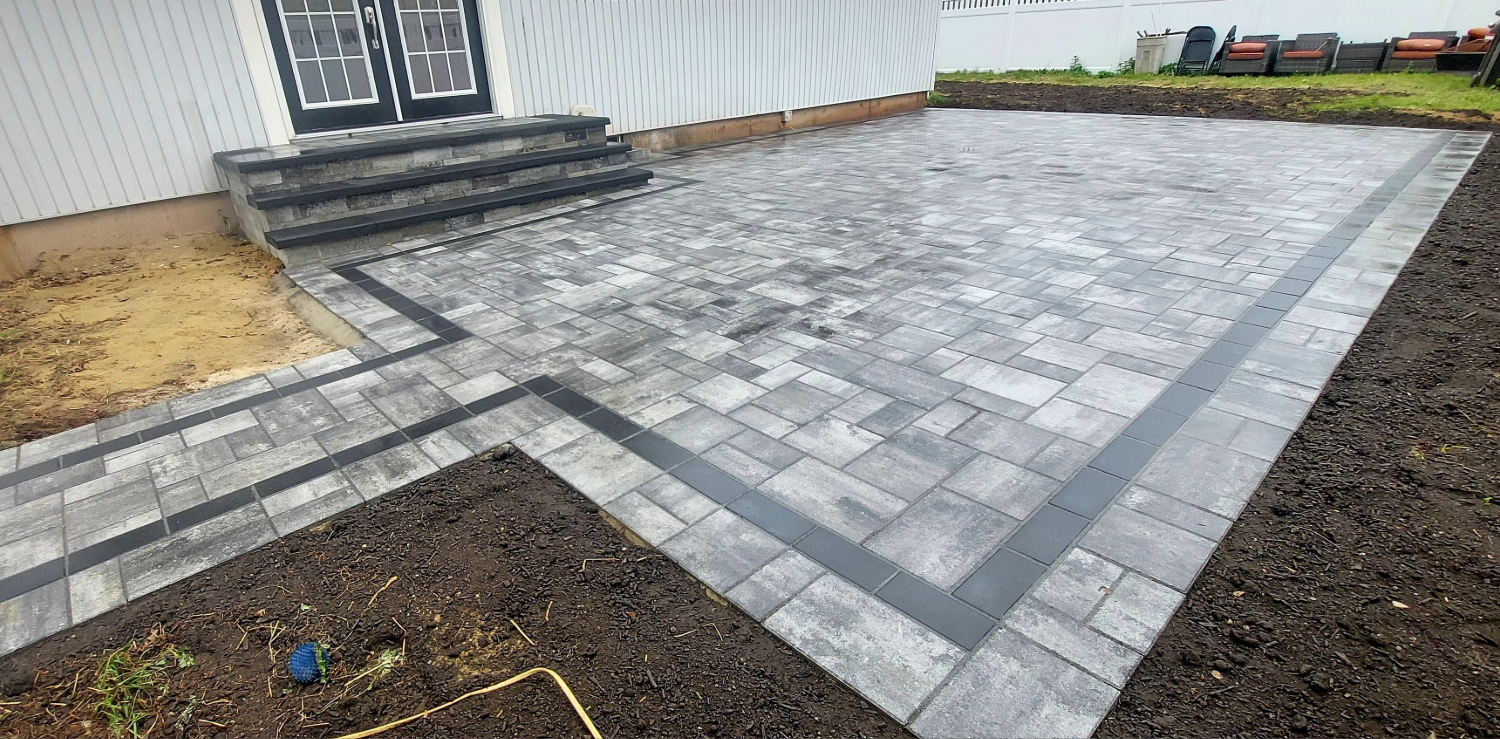
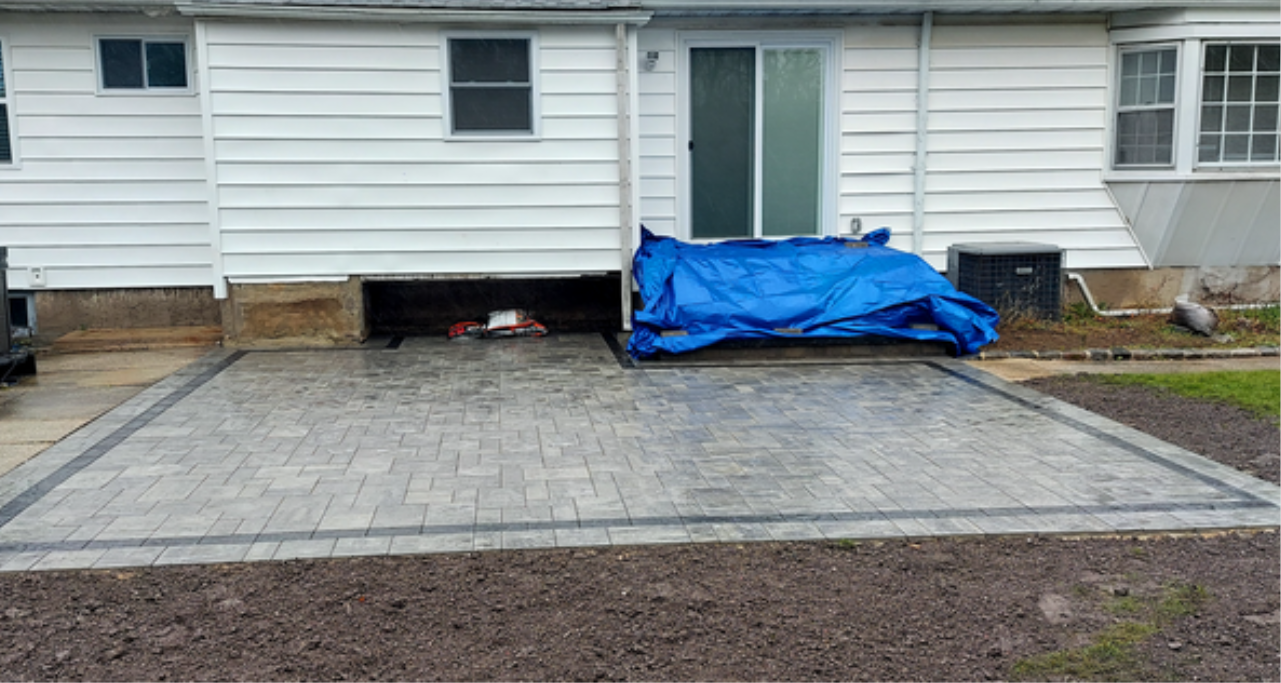
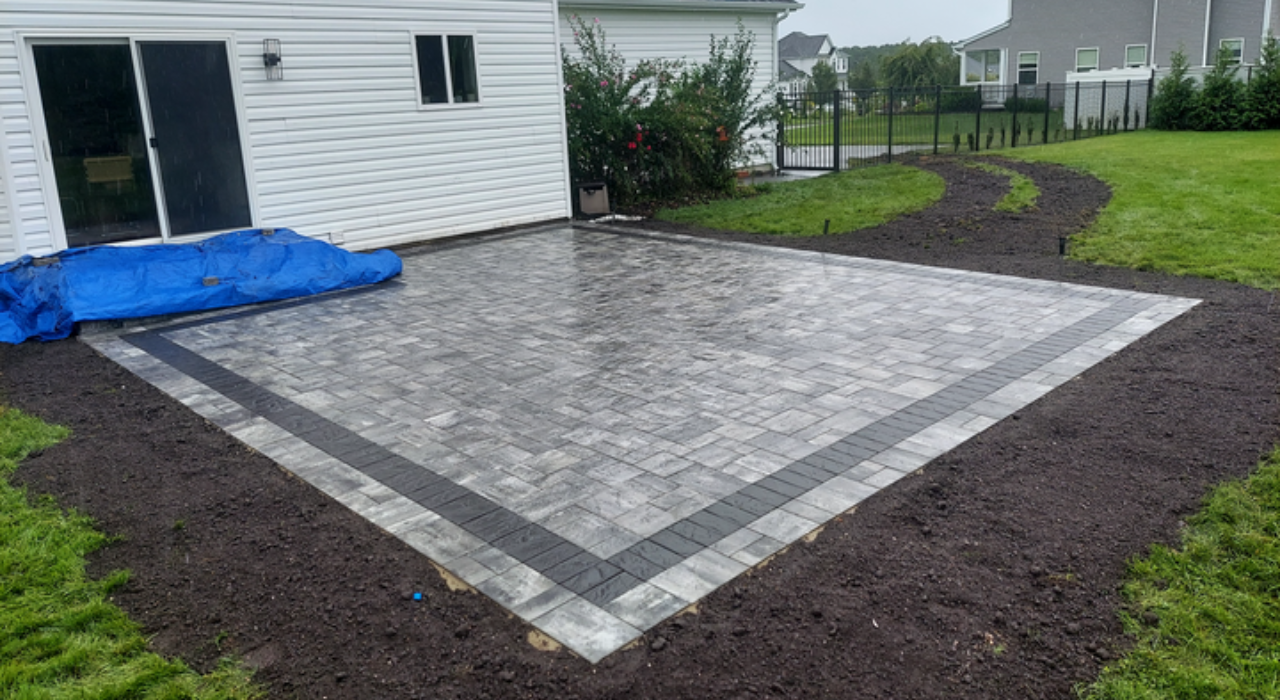
Get inspired for your own design by viewing our active job sites to see these materials in a real-world setting.
Screeding the Bedding Sand
One inch of coarse bedding sand goes over the compacted stone base. The purpose of this layer is fine leveling, not drainage or cushioning. Use screed pipes or rails set at the correct height to pull the sand flat and consistent across the area. Work backward so you do not step on screeded sand and create depressions.
Do not wet the sand before screeding. Damp sand compresses differently than dry sand and can cause inconsistencies in the finished surface. Keep it dry and work it flat. Once you have screeded a section, do not walk on it before setting pavers.
Setting the Pavers
Start in a corner, typically at the house, and work outward. Set each paver by placing it flat, not dropping it. Dropping pavers disturbs the sand beneath and creates high spots. Butt each paver tight against the previous one, maintaining consistent joint width throughout.
Use a string line as a guide to keep rows straight. Every few rows, check with a long level to make sure you are maintaining the correct pitch toward drainage. Catching a drift early costs you a minute. Catching it after twenty rows costs you an afternoon of re-setting pavers.
When you reach the edges, you will almost certainly need to cut pavers. A wet saw with a diamond blade gives the cleanest cuts. Mark each cut carefully using the paver in position and a pencil or chalk line before cutting.
Compaction and Joint Sand
Once all pavers are set, run a plate compactor over the entire surface with a rubber pad or piece of carpet between the machine and the pavers to prevent surface scratching. This step seats the pavers firmly into the bedding sand and locks the whole installation together.
After compaction, spread polymeric sand over the surface and work it into the joints using a broom. Polymeric sand contains a binding agent that, once activated with water, hardens in the joints and resists weed growth, ant tunneling, and joint erosion. Sweep multiple times to make sure joints are completely filled, then lightly mist the surface to activate the binder.
The Mistakes That Cost Homeowners the Most
Skipping base compaction is the most expensive mistake. A patio re-installation to fix a failed base costs nearly as much as the original installation.
Using regular sand as a base instead of crushed stone creates a surface that looks fine initially but shifts dramatically through the first winter. New Hampshire frost heave is not forgiving on poorly prepared bases.
Failing to establish drainage pitch before digging means water pools on the patio or runs toward the foundation. Correcting drainage after installation means lifting and re-setting the whole surface.
Not using polymeric sand in joints leaves an open invitation for weeds and ant colonies that undermine the bedding sand from below.
When It Makes More Sense to Hire a Professional
Small patios, say under two hundred square feet, are manageable for an experienced DIYer with the right equipment. Larger projects, complex shapes, elevated areas, integrated features like fire pits or sitting walls, or patios near sensitive drainage areas are much better handled by professionals. The cost of mistakes scales with the size and complexity of the project.
Affordable Patio New Hampshire specializes in exactly this work. We provide a detailed estimate within twelve to twenty-four hours of our property evaluation, and our process is fully transparent from materials selection through final walkthrough. Homeowners always know what is happening and why.
You can easily calculate the cost of different paver styles using our convenient online estimator.
FAQs About How to Install Patio Pavers
How long does it take to install a paver patio?
A professional crew can typically complete a standard residential patio in one to two days, depending on size and complexity. DIY projects on similar-sized areas often take a full weekend or two because of the time needed for equipment rental logistics, learning the process, and troubleshooting as you go.
Do patio pavers need to be sealed after installation?
Sealing is optional but recommended. A quality paver sealer enhances color, reduces staining, and helps lock polymeric sand in the joints. Most manufacturers recommend waiting at least ninety days after installation before applying a sealer to allow the pavers to fully settle and the polymeric sand to cure completely.
What type of pavers are best for a patio in a cold climate?
Concrete pavers with a dense, low-absorption composition perform best in cold climates. These pavers resist water absorption, which means less freeze-thaw damage at the paver surface itself. Natural stone like bluestone or granite is also durable in cold climates, though it requires more careful attention to jointing and sealing.
Can you install patio pavers over an existing concrete slab?
It is possible but not always advisable. The concrete slab must be in good structural condition, properly sloped, and at an elevation that allows for the added paver height without creating problems at doors or transitions. Any cracks or movement in the existing slab will eventually telegraph through to the pavers above it.
How do you keep weeds from growing between patio pavers?
Polymeric sand in the joints is the most effective long-term strategy. It hardens when wet and does not provide the loose, soil-like environment that weed seeds need to germinate. Regular maintenance, including prompt removal of debris accumulation in joints, helps prevent the thin organic layer that allows opportunistic weed growth over time.
Let Affordable Patio Handle the Hard Part
Knowing how to install patio pavers gives you a real advantage as a homeowner. You understand what quality looks like and what corners not to cut. If you decide you would rather have an experienced team handle the work, we are here for exactly that.
Affordable Patio New Hampshire brings skilled craftsmanship, premium materials, and a proven process to every project we take on. We back every installation with a three-year warranty because we are confident in how we build. Whether you are ready to move forward or just want to talk through what your project would involve, our team is happy to help. Use our online Build and Price tool to explore sizing and options, or reach out directly and we will walk through it with you. Call us at (603) 999-9696 or visit our contact page at affordablepatio.com to get started today.